
Chapter 9 Git Graphical Tools
Author: shenhao
9.0 Preface: Why Use Git GUI?
Although Git is an open-source distributed version control system that can effectively and efficiently handle project version management from very small to very large projects, during actual project development, developers typically only use a few common commands for collaborative work. From previous chapters, we have gained in-depth understanding of Git's basic principles and numerous commands, some of which are difficult to remember due to infrequent use. Therefore, for most project developers, pure text commands running in the terminal are not the optimal choice; sometimes a visual graphical interface better suits user habits. Git GUI provides users with a visual graphical interface, allowing project developers to conveniently use Git through simple clicks, eliminating the need to manually input numerous text commands in the terminal. This enables developers to perform project version management more efficiently and conveniently.
This chapter will introduce the following three mainstream Git GUI graphical tools to help developers utilize Git for project version management more easily and efficiently.
- GitHub Desktop
- TortoiseGit
- Vscode Git
This tutorial only introduces some Git GUI graphical clients. For more detailed information, please visit ✅Git Official Website.
9.1 GitHub Desktop
GitHub Desktop is probably the most famous solution among all Git visualization applications. Almost all developers are familiar with GitHub, and GitHub Desktop is the open-source Git GUI graphical client launched by GitHub. It can be used on Windows and macOS platforms, but currently does not support Linux platforms.
9.1.1 Basic Usage
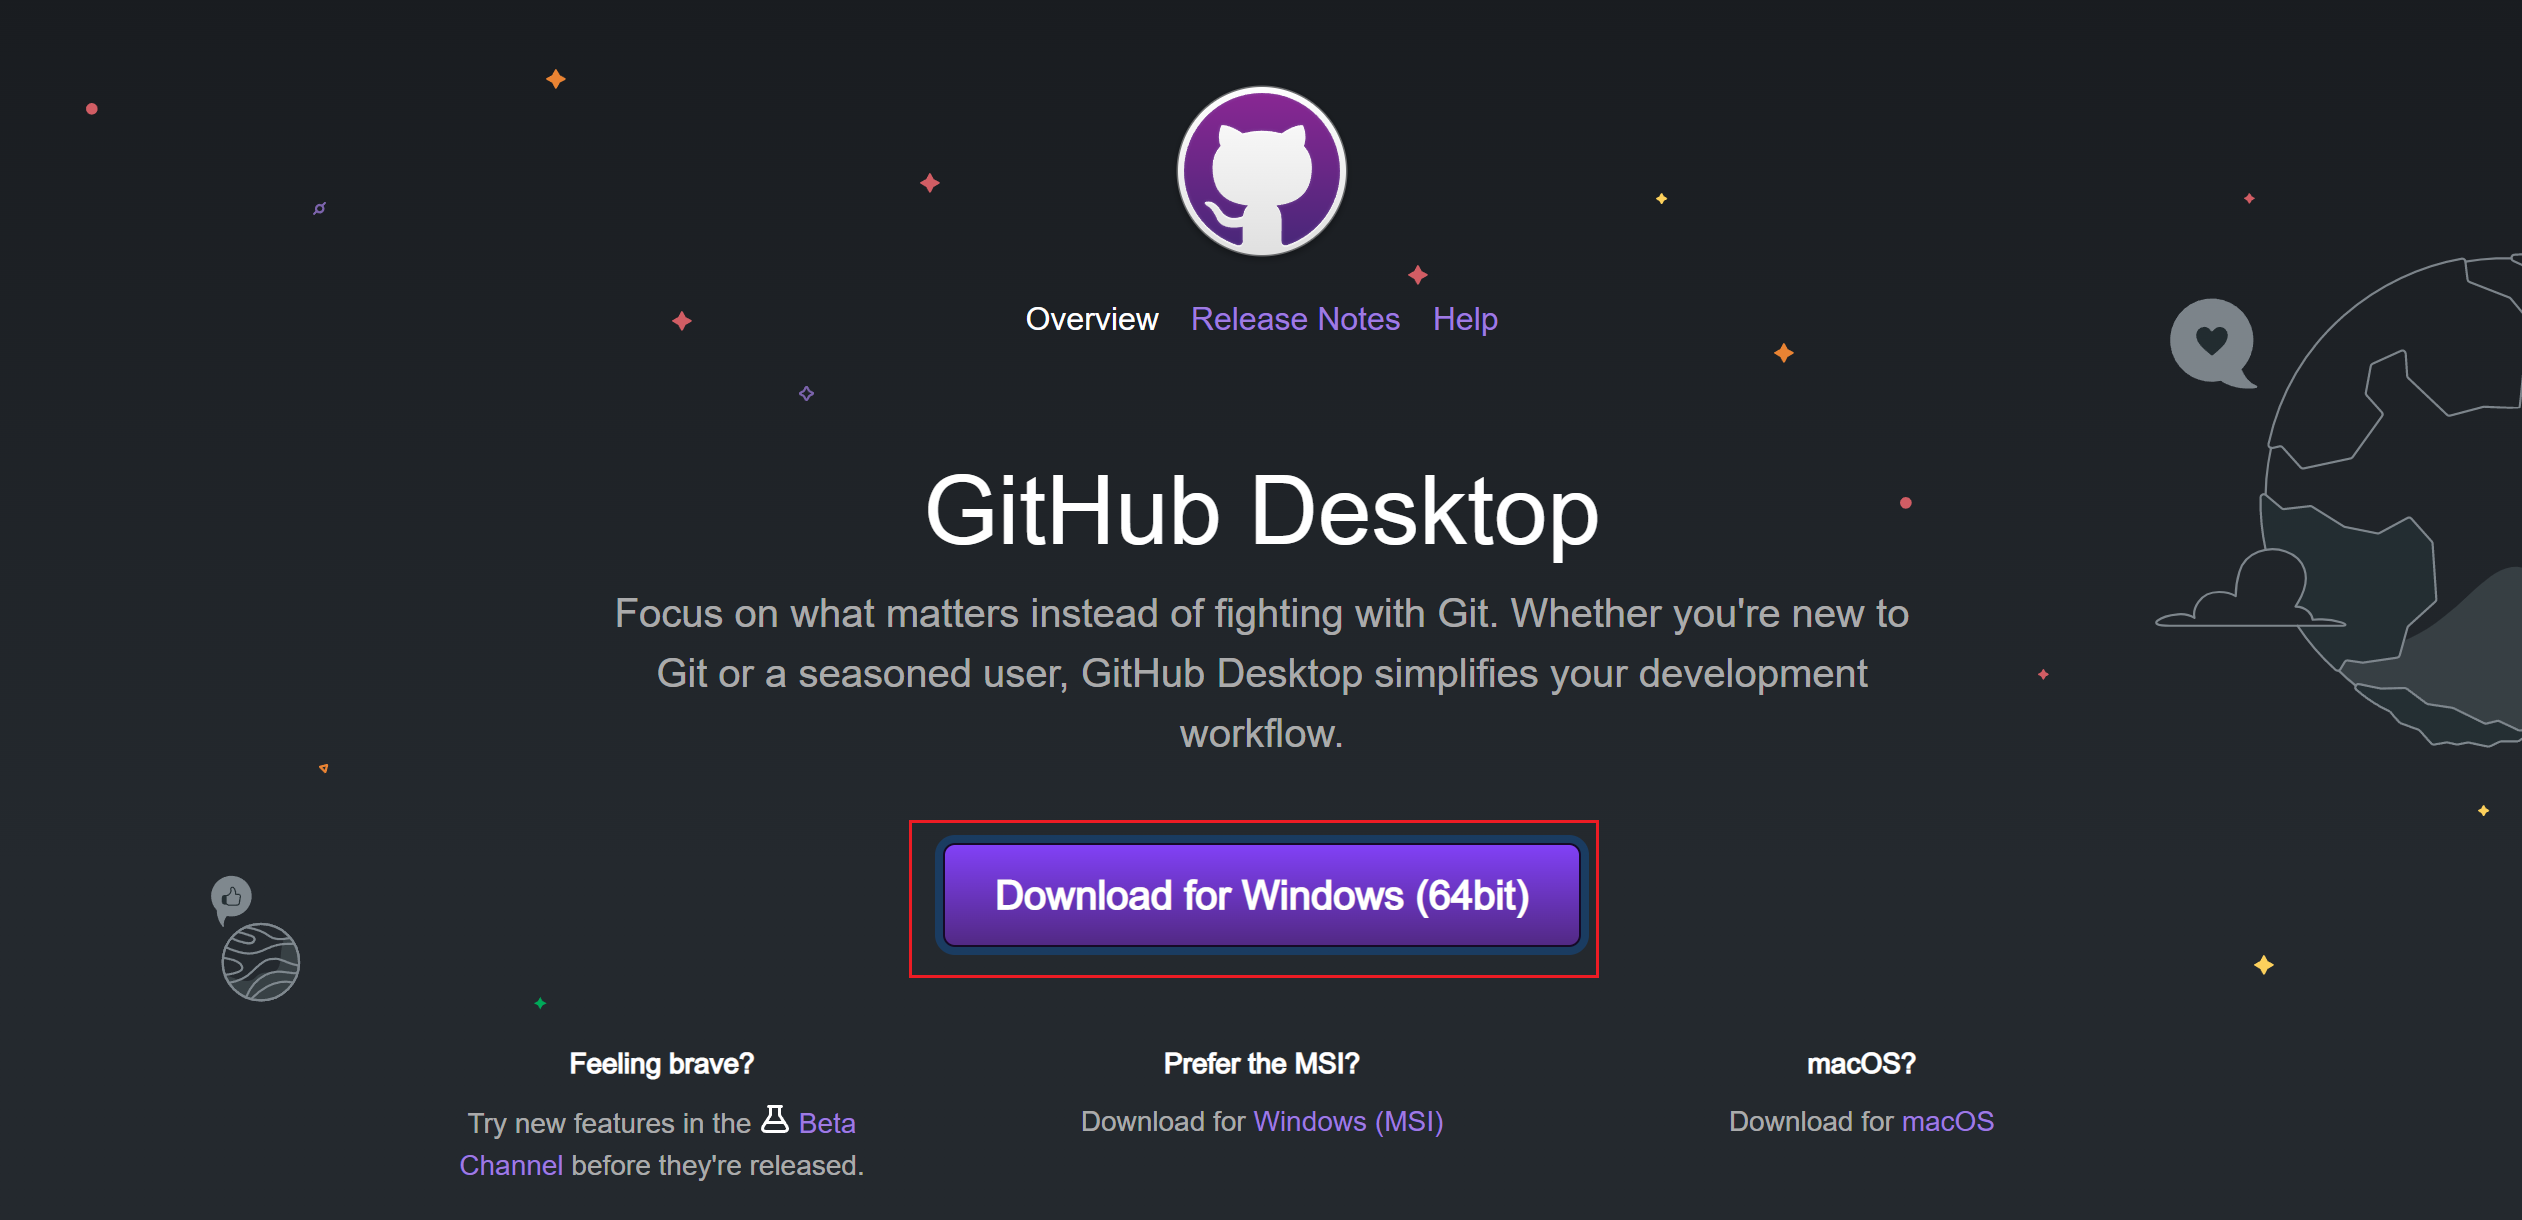
First, visit the official website and download and install the corresponding version of GitHub Desktop according to your operating system.
9.1.1.1 Login
After completing the download, the first time you open the software, you will be directly asked to log in to your personal GitHub account for authorization and configure your username and email (to identify commits created by you).
If you cannot find where to log in to your GitHub account, you need to go to File -> Options -> Accounts -> Sign in to log in.
After completing the basic configuration, the following interface will appear:
9.1.1.2 Create Your First Repository
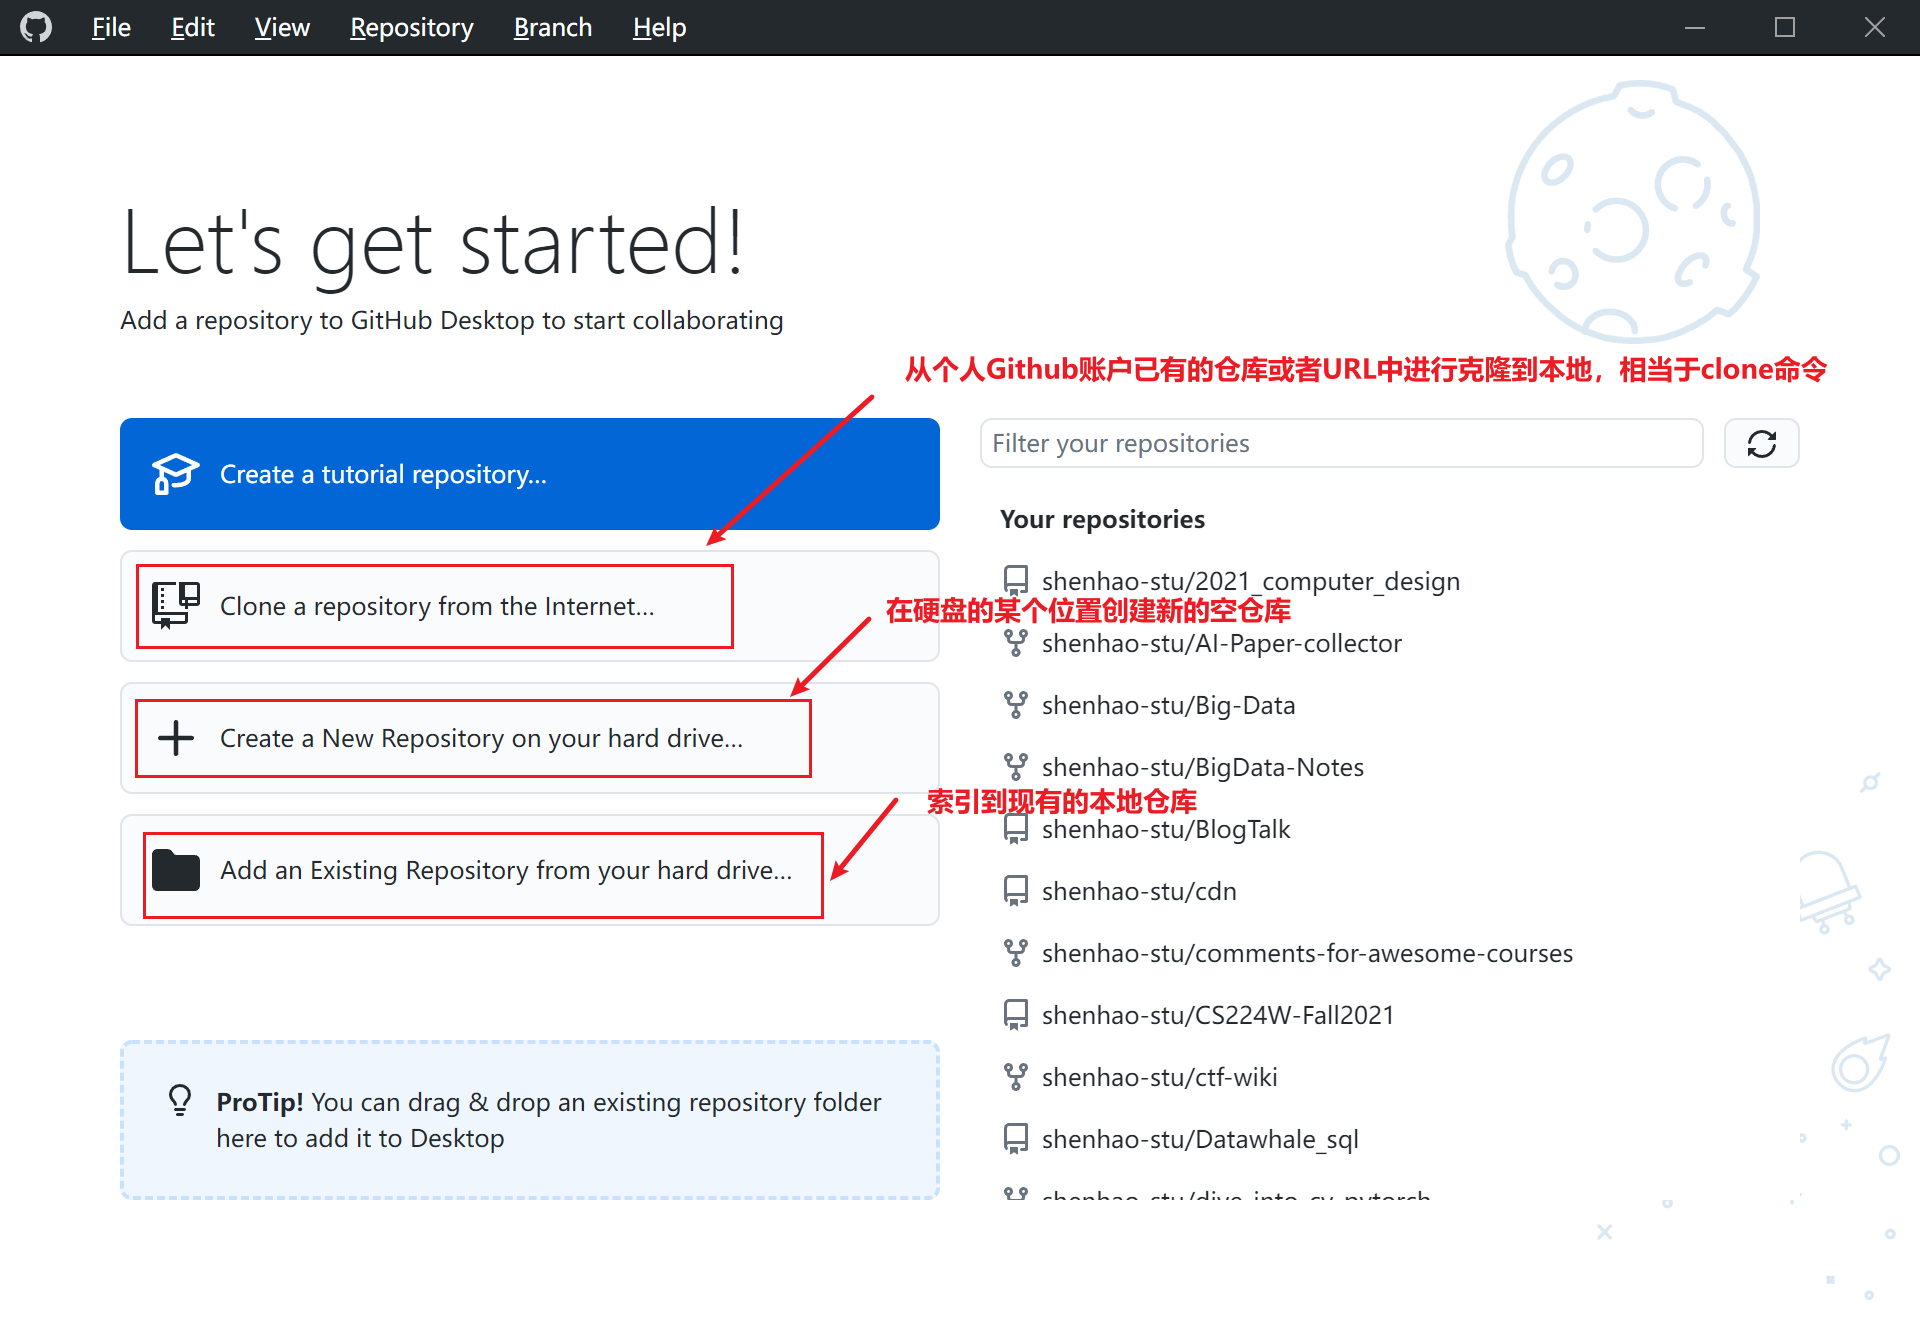
Upon first login, you will see three options for creating your first repository.
You can create a repo through three methods:
- clone a repository: Clone a repo
- create new repository: Create a new repo
- add a local repository: Add a local repo
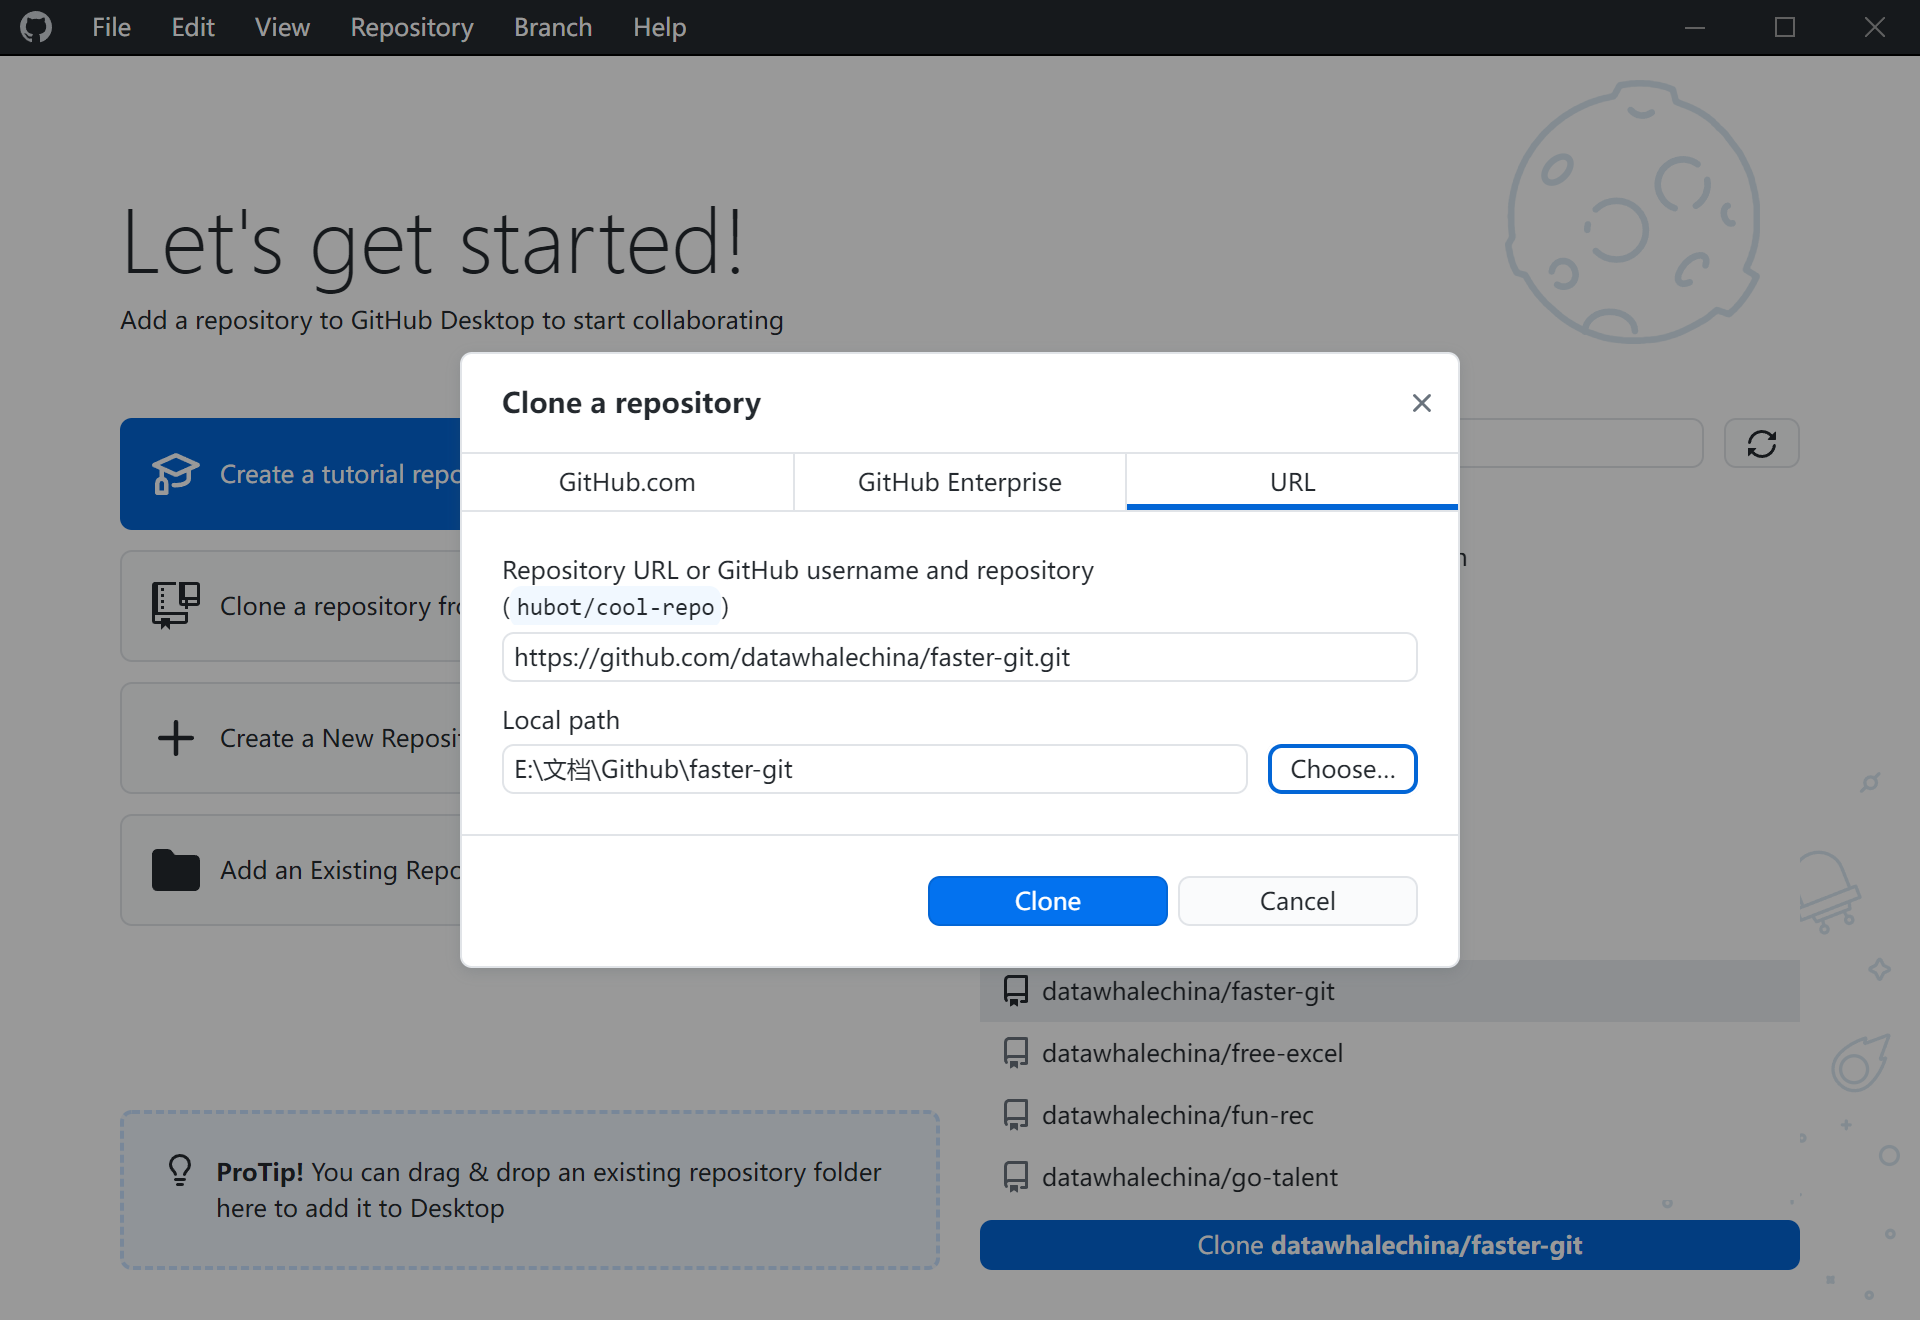
Let's first choose to clone the faster-git repository from URL. As shown in the figure below, you need to modify the URL link and the local storage path.
9.1.1.3 Submit Pull Request
fork
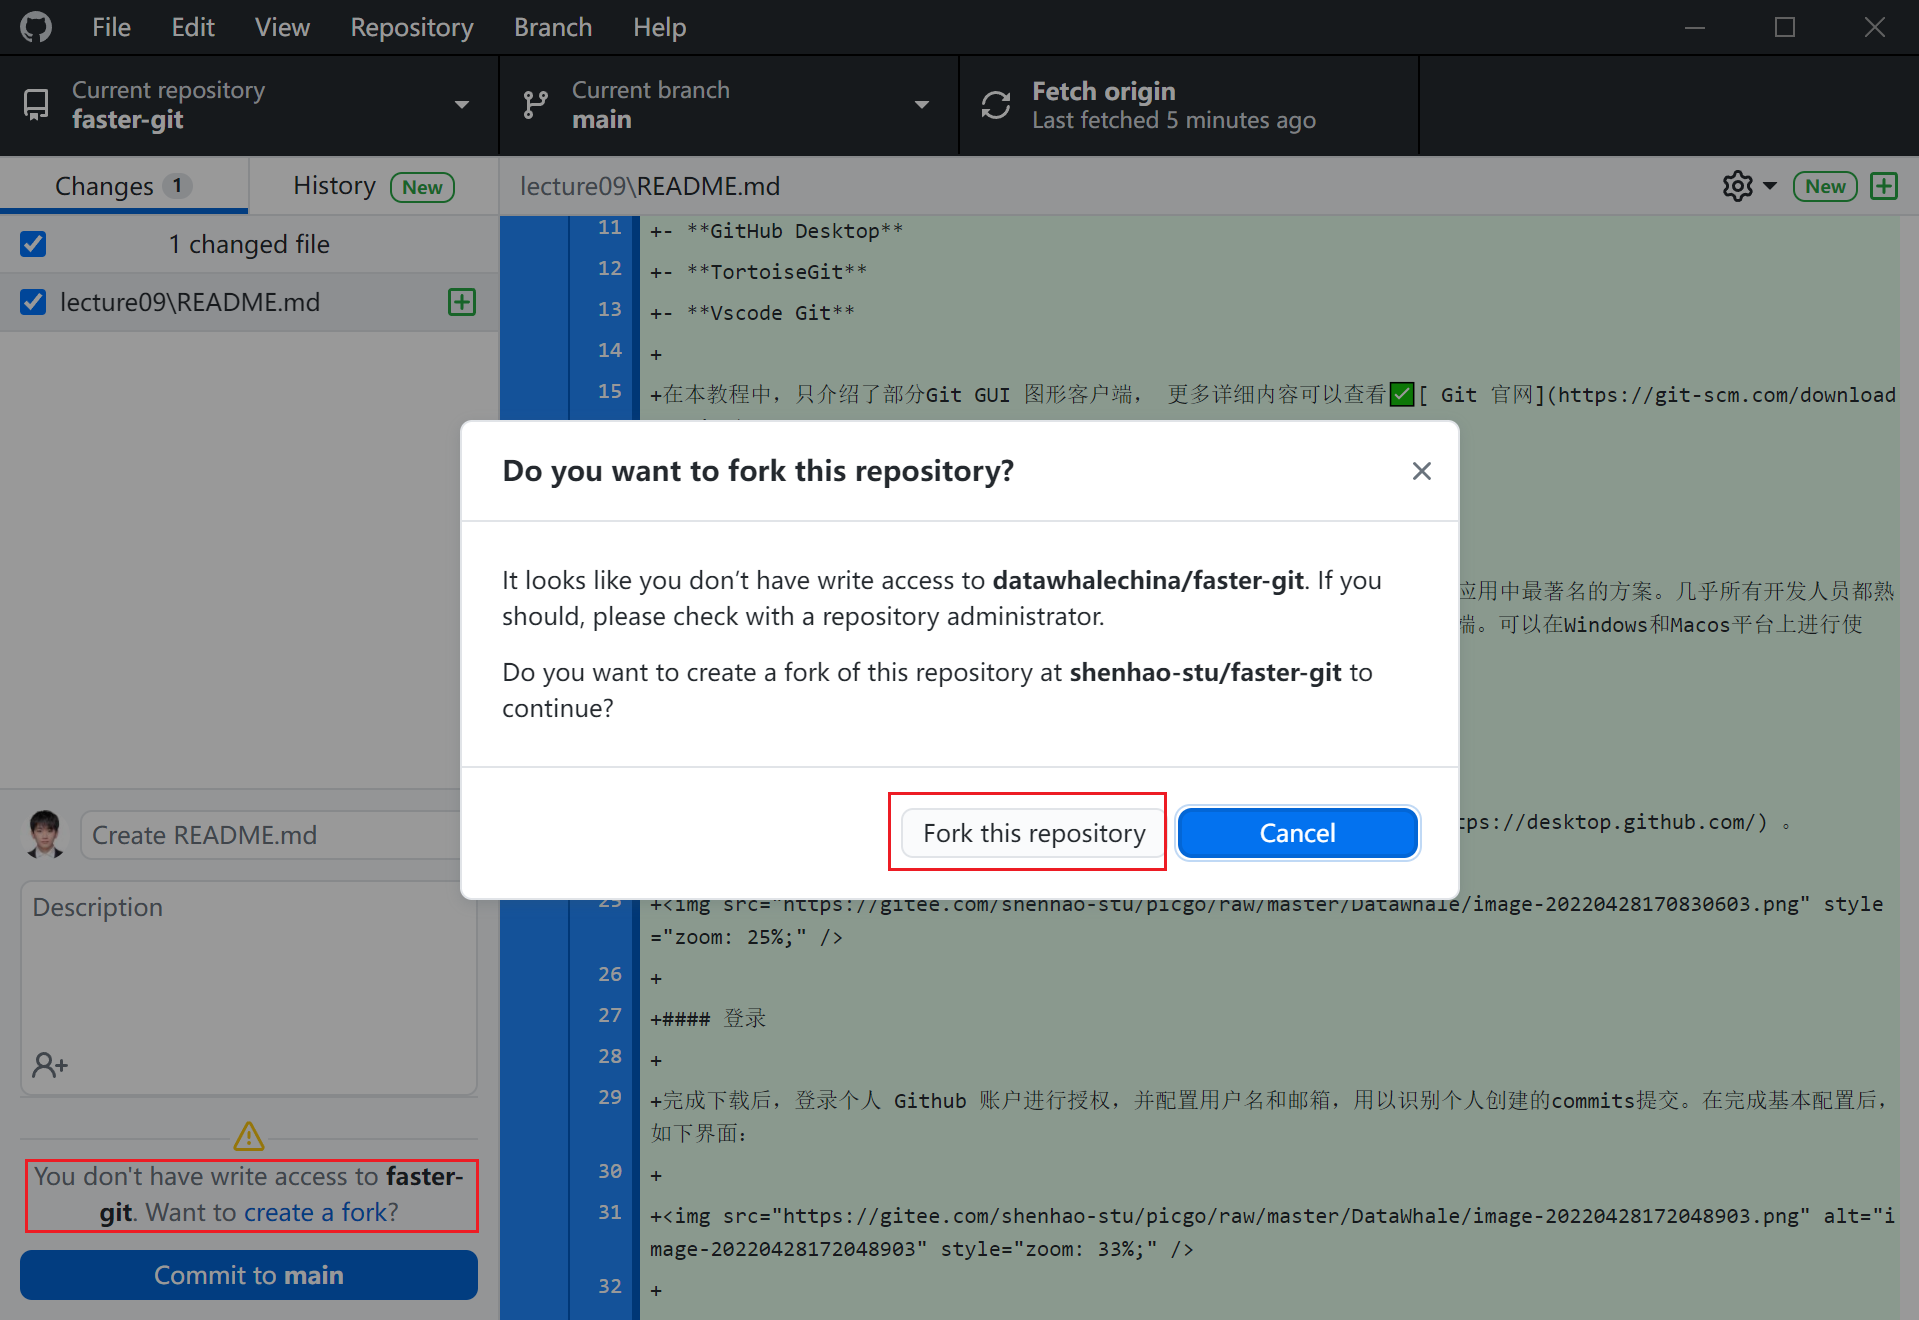
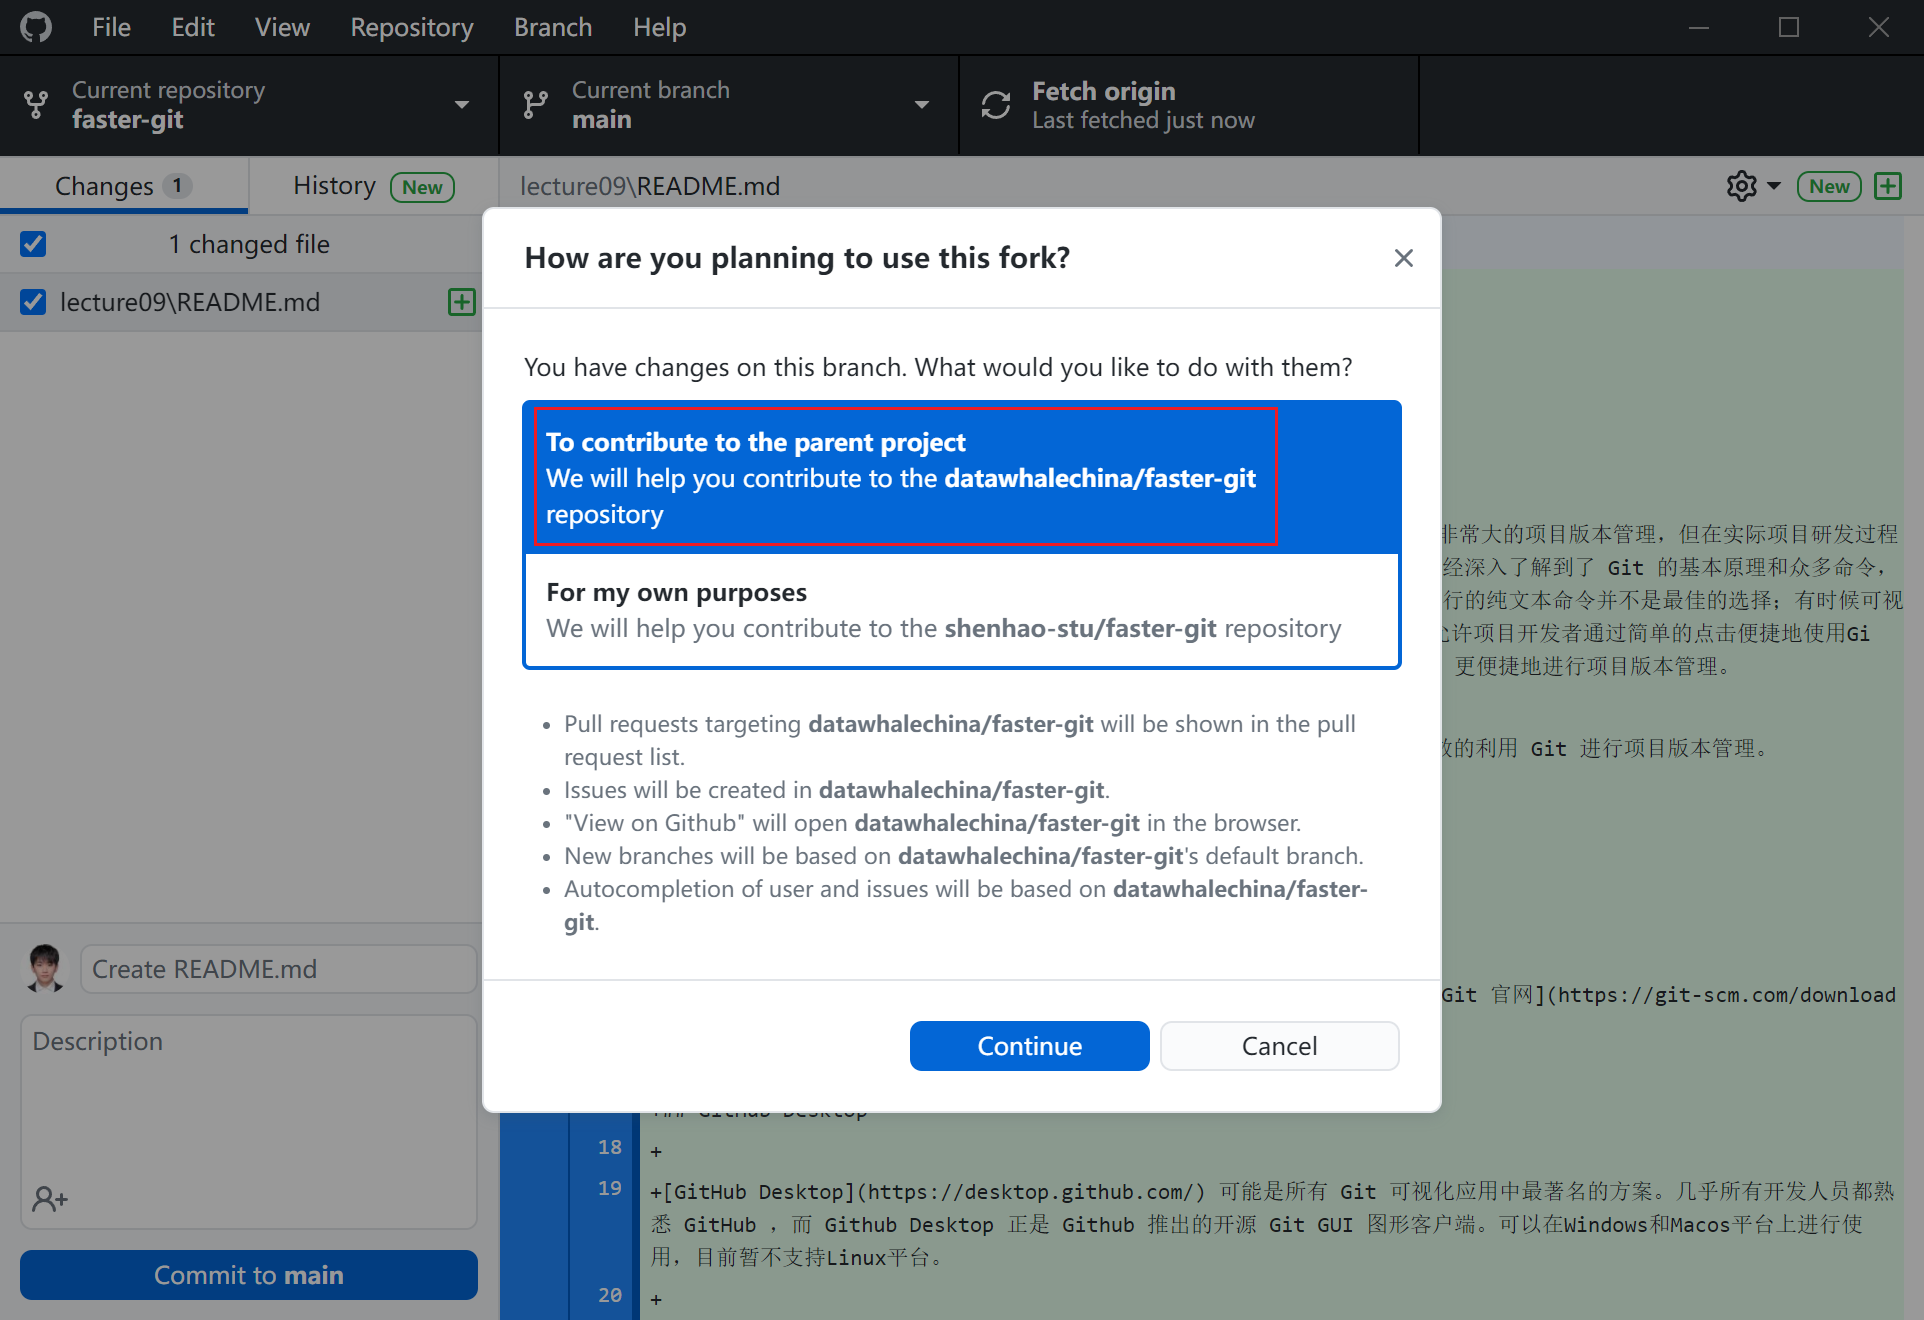
Since in the actual process of contributing to open-source projects, developers often do not have direct permission to modify repository content, they need to first perform a fork operation on the target repository, and then contribute code by submitting a PR. In the figure below, you can determine whether the user has permission to the target repository through the warning sign ⚠ in the lower left corner. If you don't have write permission, click "create a fork" to fork the target repository into your own repository for free modification.
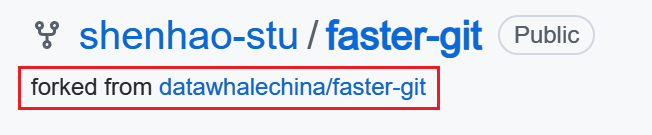
After completing the fork in GitHub Desktop, log in to the GitHub webpage and you can see the forked version of the target repository in your personal repository, as shown below.
commit & push
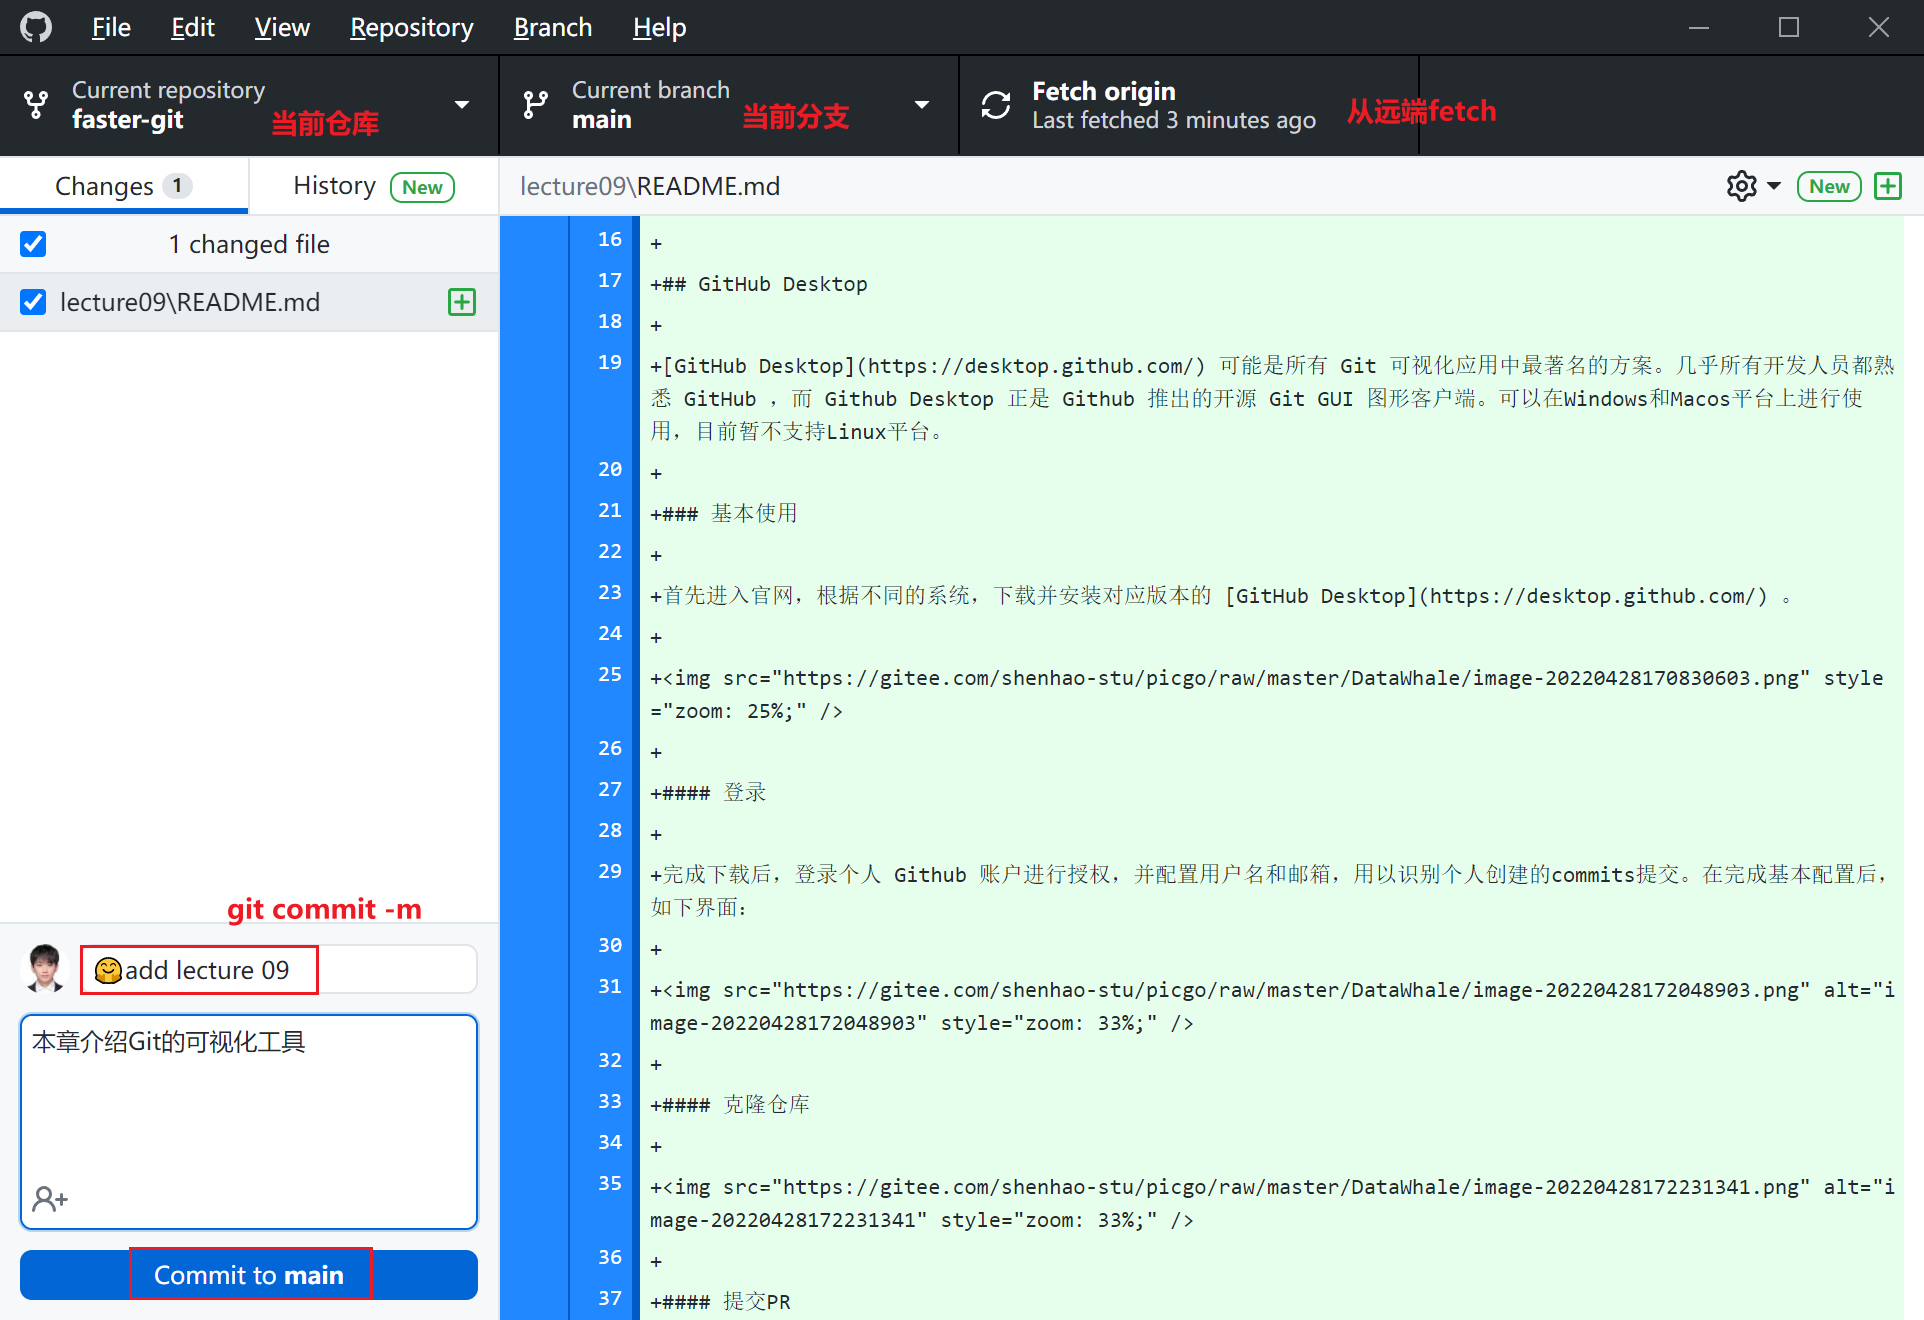
After completing the fork, the current repository will be indexed to the user's personal forked repository, corresponding to the files in the specified local directory. At this point, the user has all permissions for the forked repository, including modification, deletion, changing visibility status, etc. Next, you can modify and update the code in the local branch, and then push it to the user's personal forked repository.
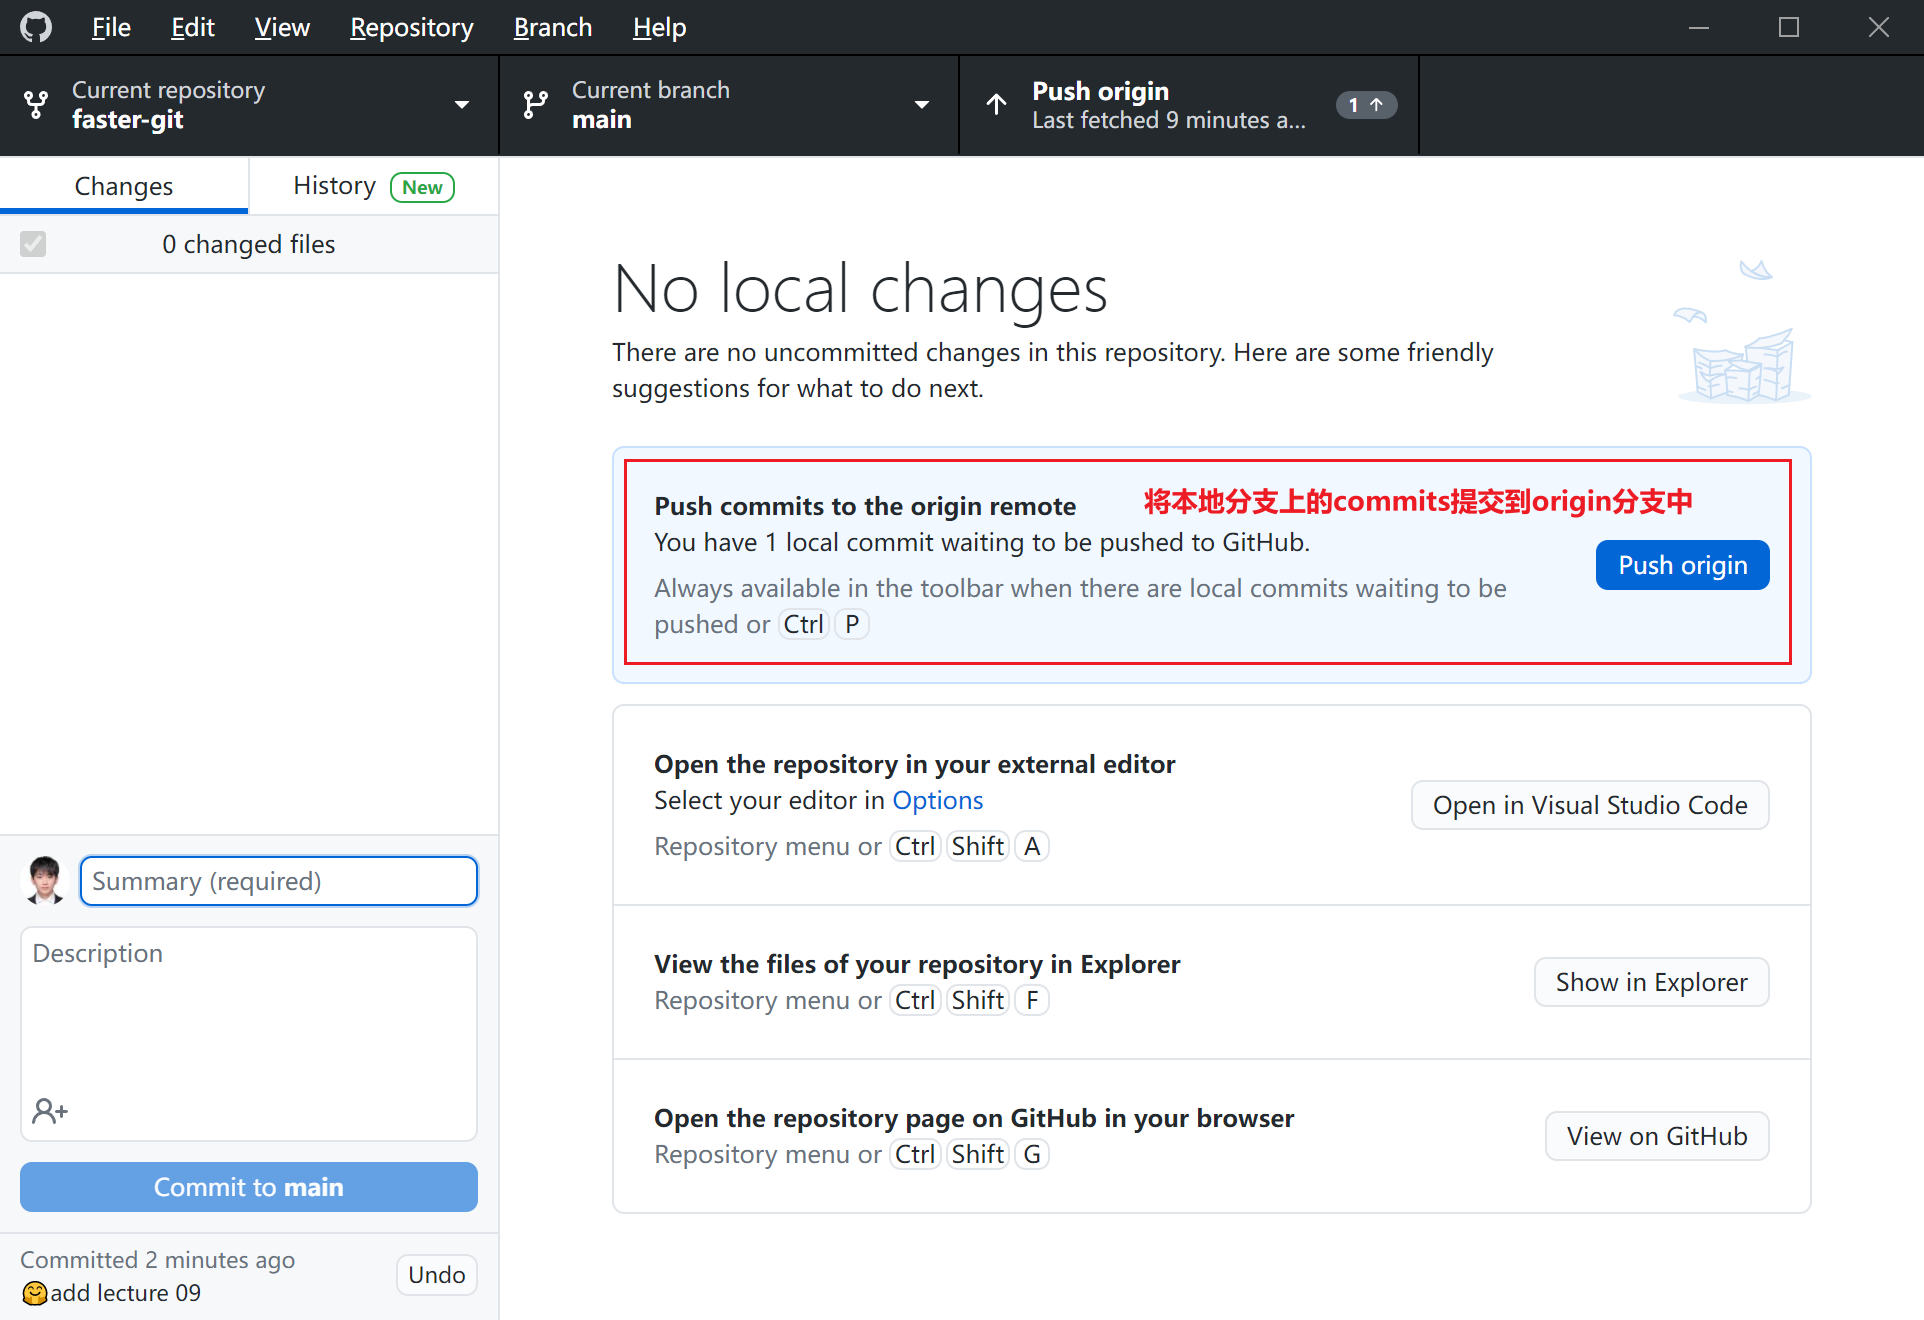
At this point, logging into the GitHub web version, you will find that the locally modified code has been uploaded to the cloud, and the personal forked repository has been synchronized with the local changes.
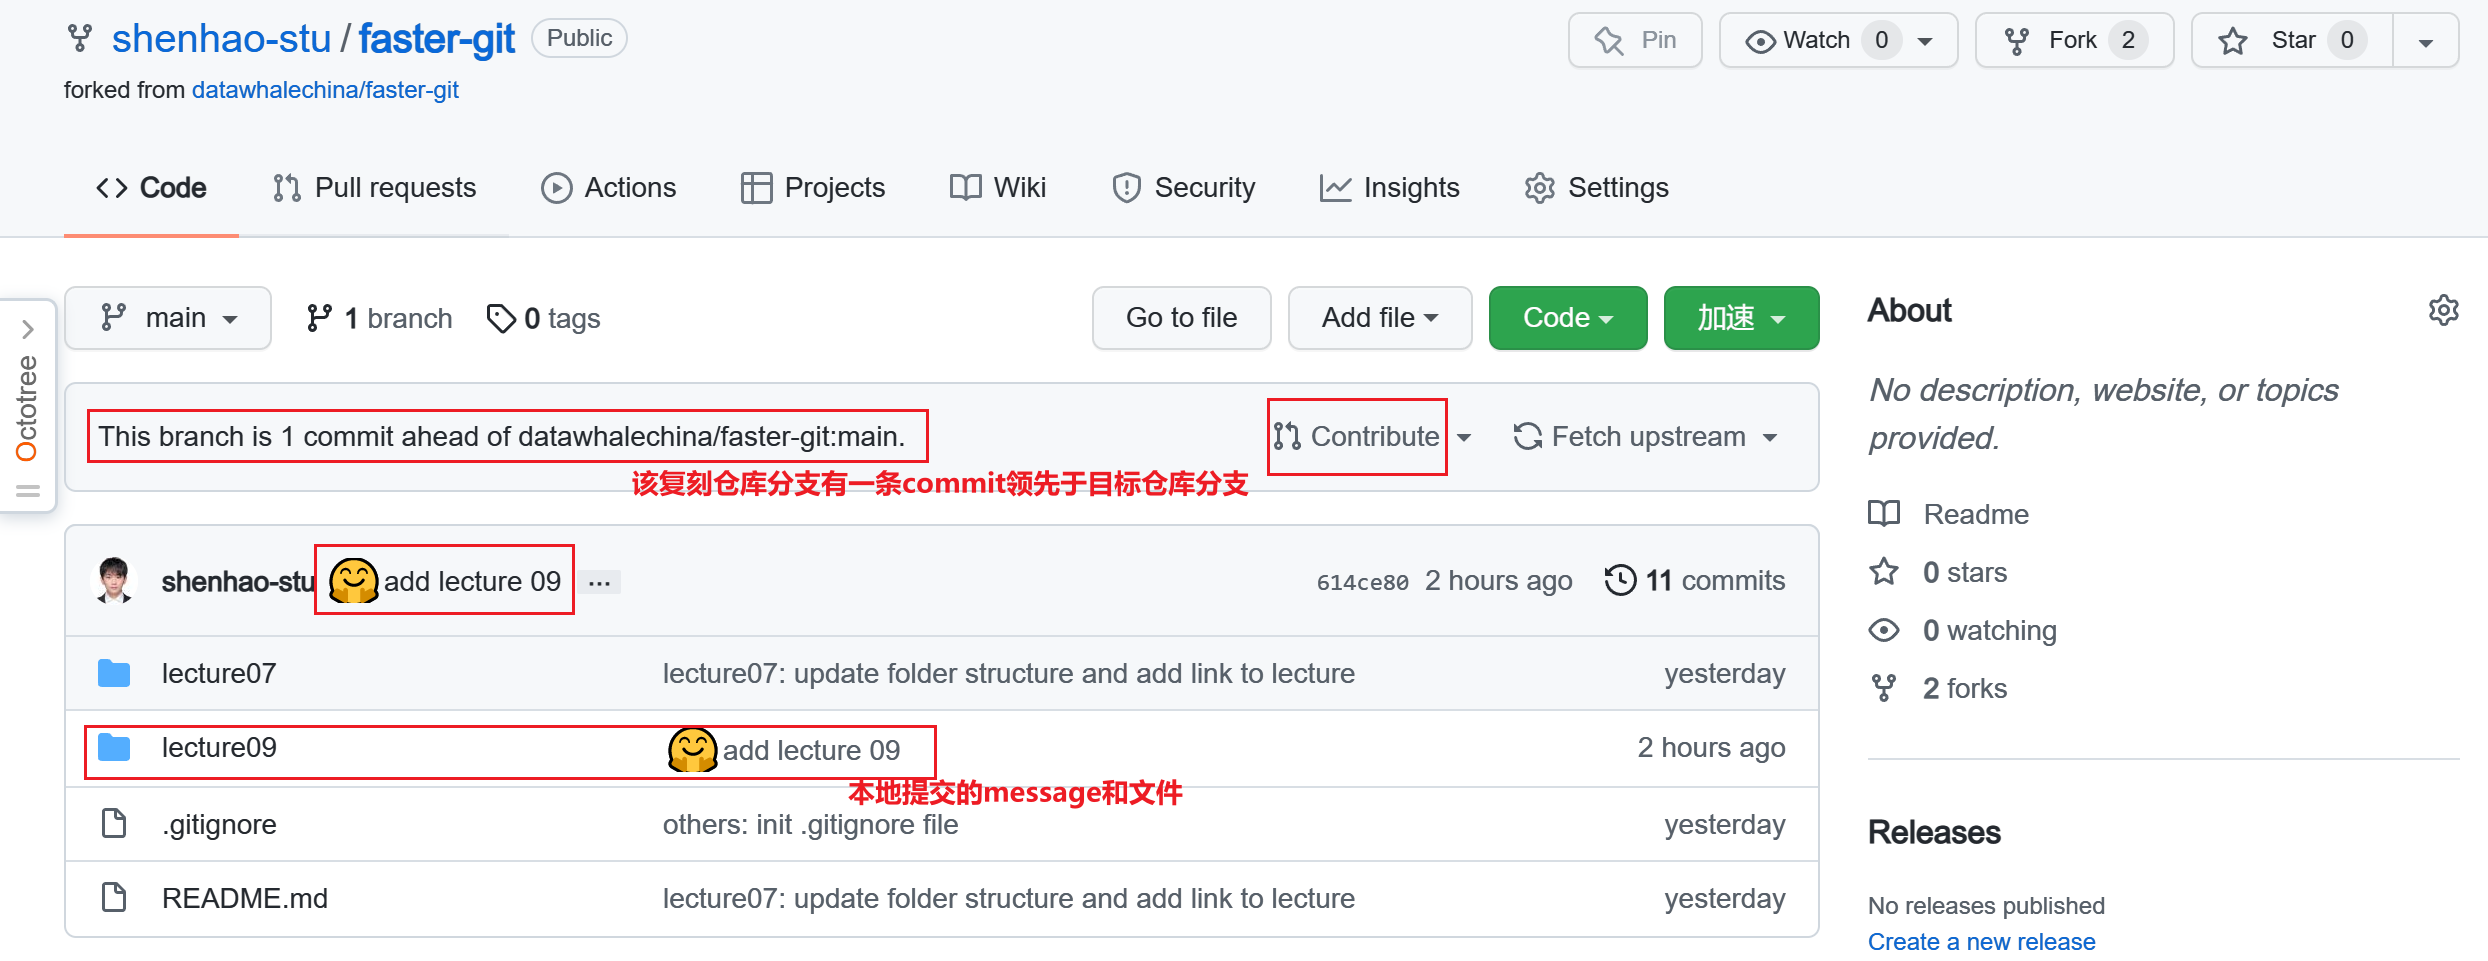
PR
After completing the code update of the personal repository, you should also pay attention to the sequence of the personal repository branch and the target branch. If the target branch is ahead of the fork branch, you need to update it through the fetch upstream operation first, and then submit the PR.
The upstream branch points to the upstream address, which is the target branch. The name upstream can be specified arbitrarily, but the upstream address is generally called upstream.
Click Contribute and Open pull request to submit an upload request to the target repository.

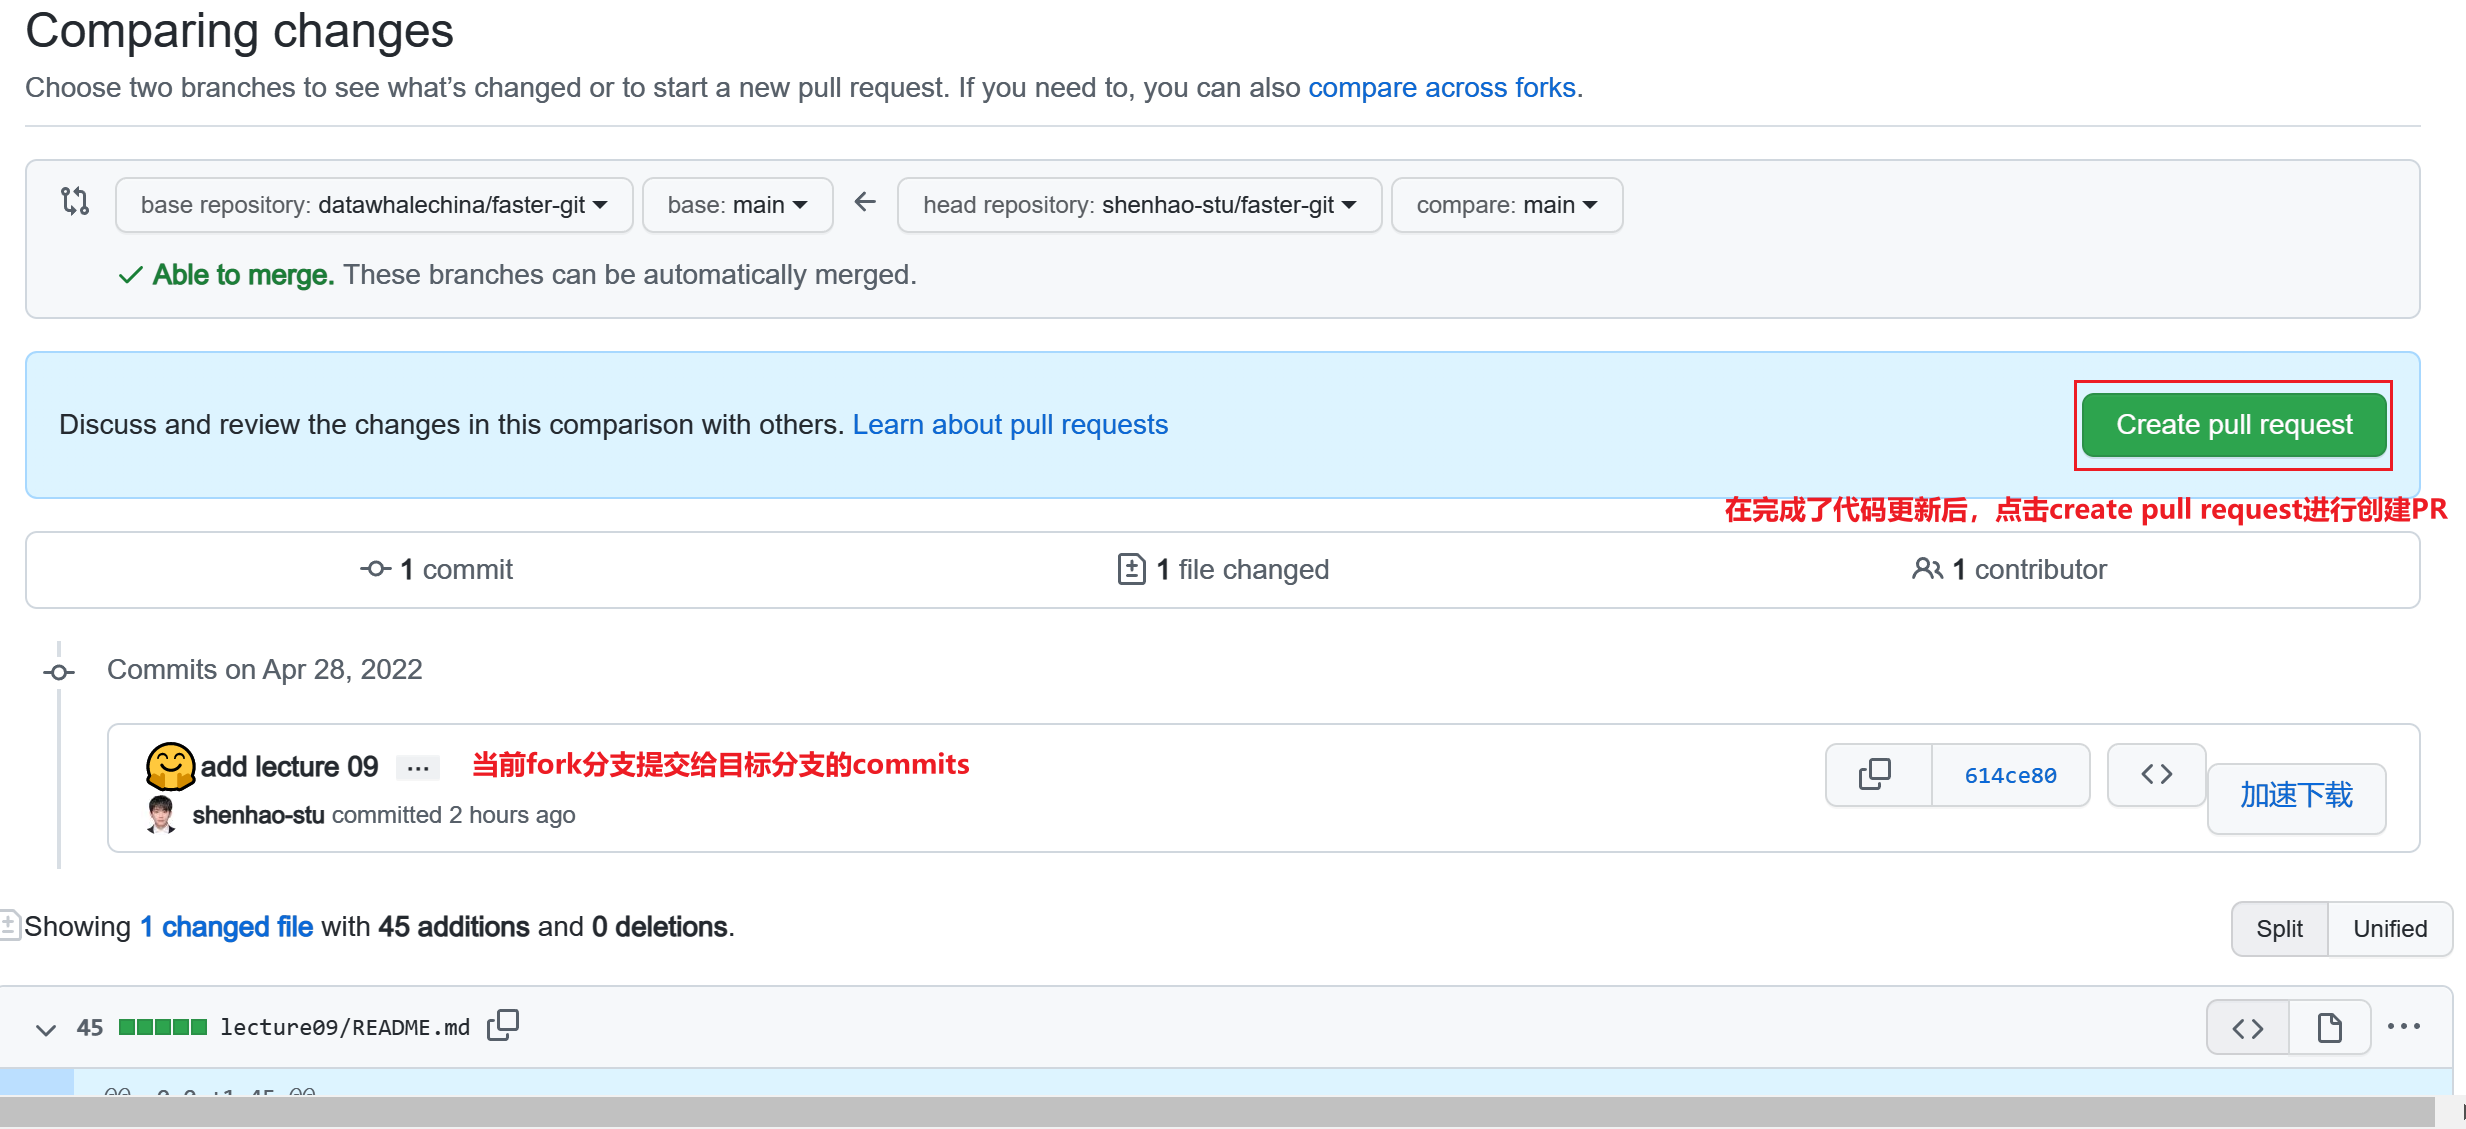

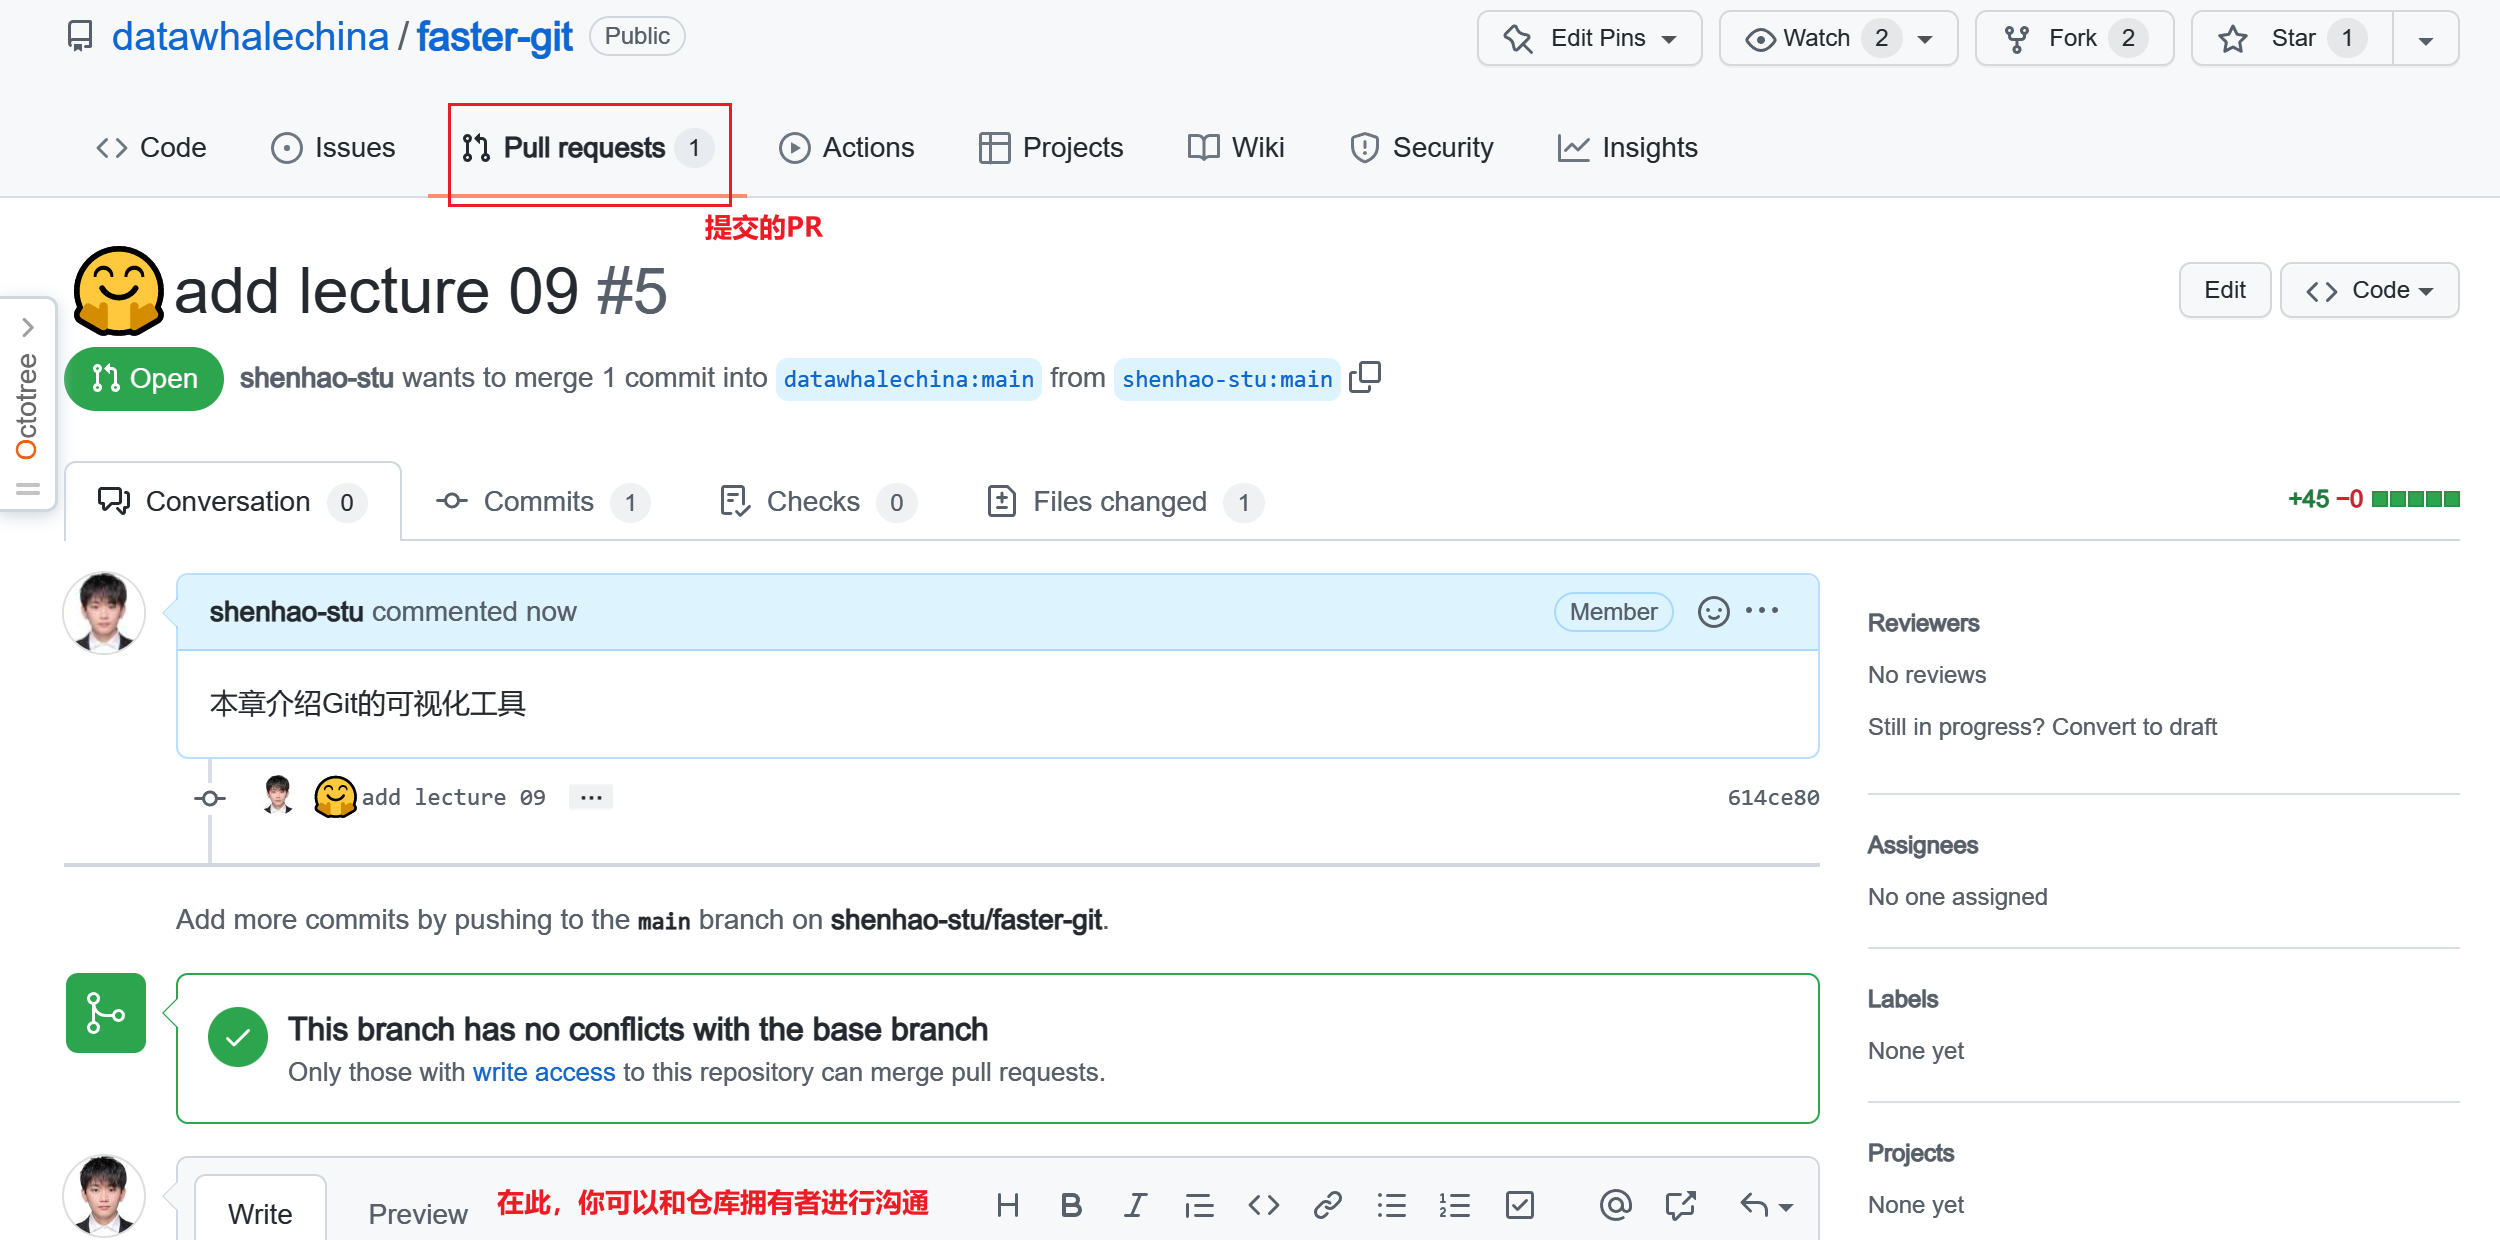
After completing the PR, it will automatically jump to the target repository. You can see that in the Pull requests column, the superscript has increased by 1, which is the PR submitted by the contributor. After that, the owner of the target repository needs to review the contributed code. If the code is compliant and usable, the commits from the fork branch will be merged into the main branch. In this way, a contribution is completed!! 👏👏
9.2 TortoiseGit
TortoiseGit, abbreviated as tgit, Chinese name Turtle Git, is an open-source Git version control system client for Windows systems, providing Chinese language support. Since it is not an integration for a specific IDE (such as Visual Studio, Eclipse, or others), it can be used with any development tool and any type of file. Unlike traditional graphical interactions like GitHub Desktop, interaction with TortoiseGit mainly utilizes the context menu of Windows Explorer, so there is no need to open any software, making it very lightweight and convenient.
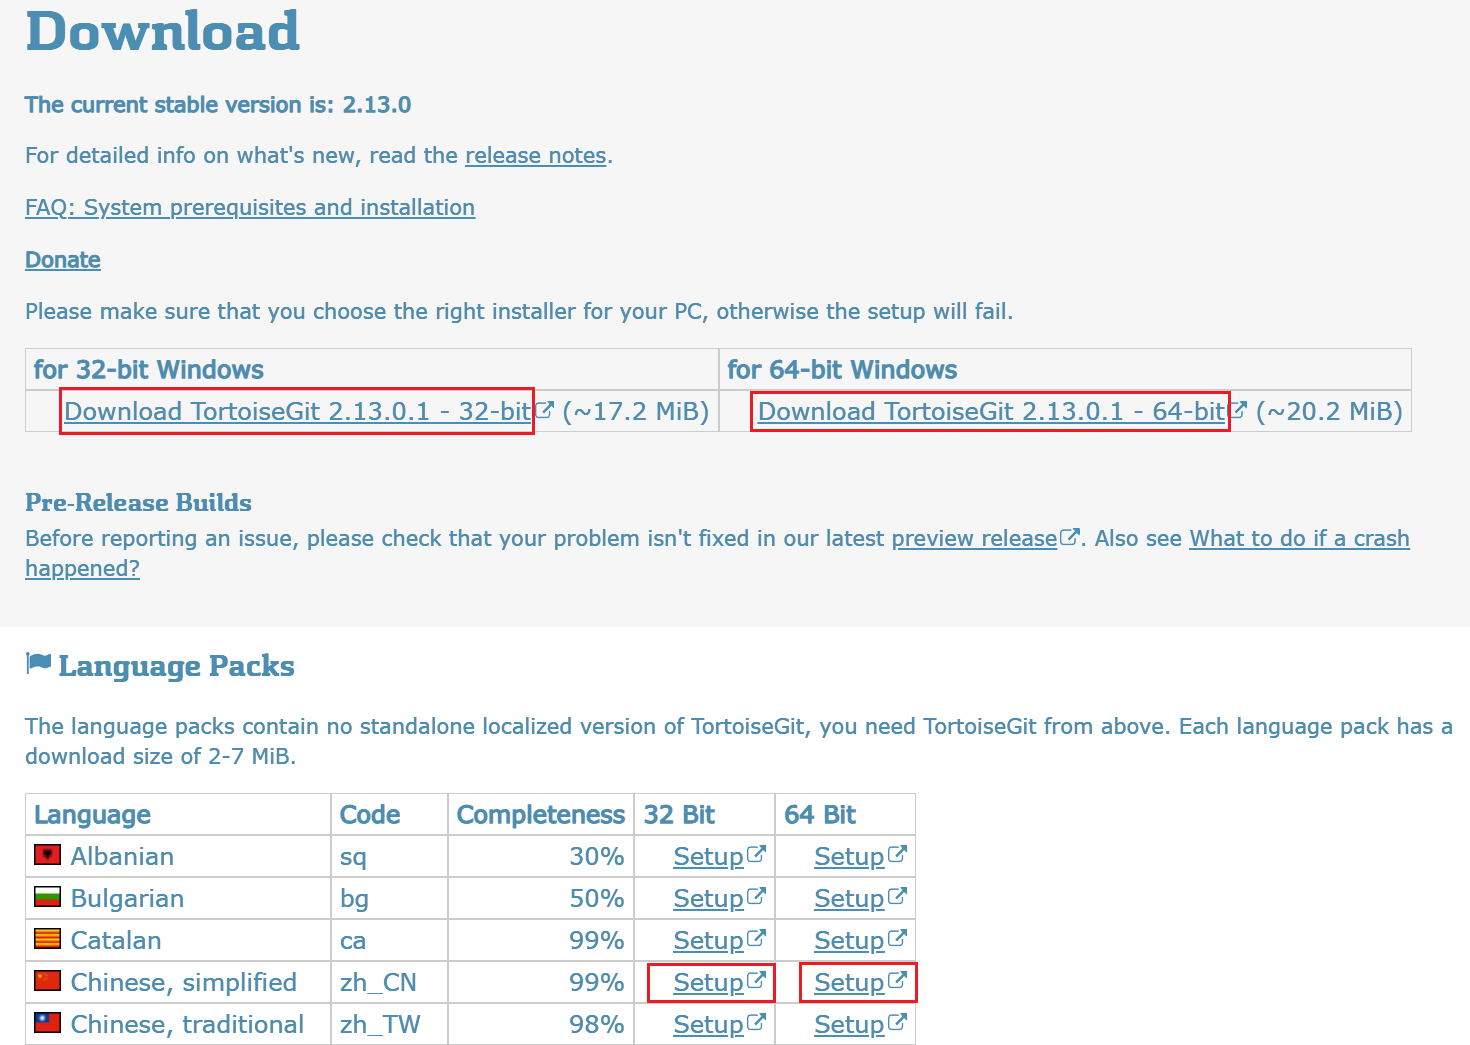
9.2.1 Download
According to the number of bits of your operating system, download and install the corresponding version of TortoiseGit and the Chinese language pack (✅ TortoiseGit and language pack download, ✅TortoiseGit installation tutorial).
9.2.2 Installation
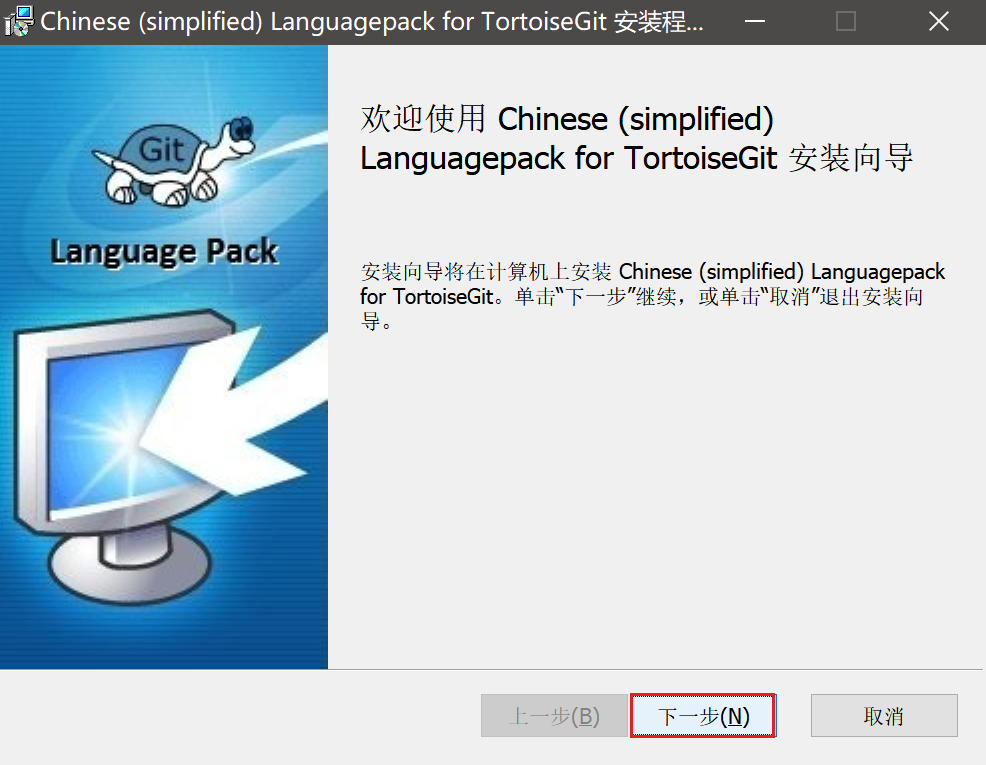
- Double-click the msi file you just downloaded to start the installation
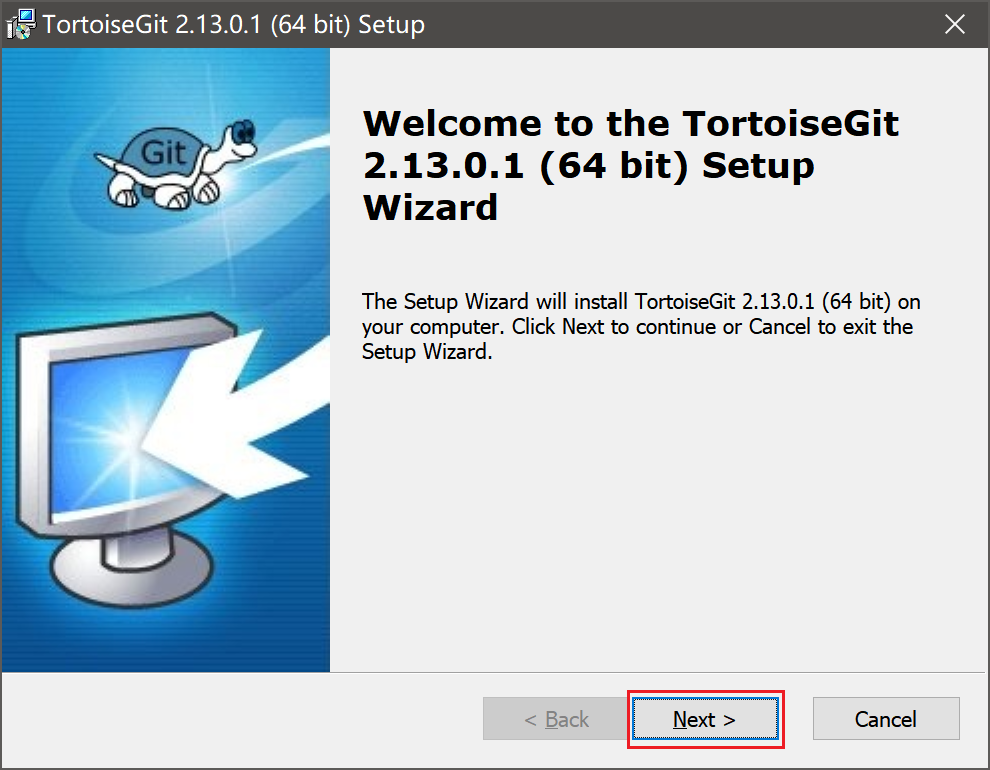
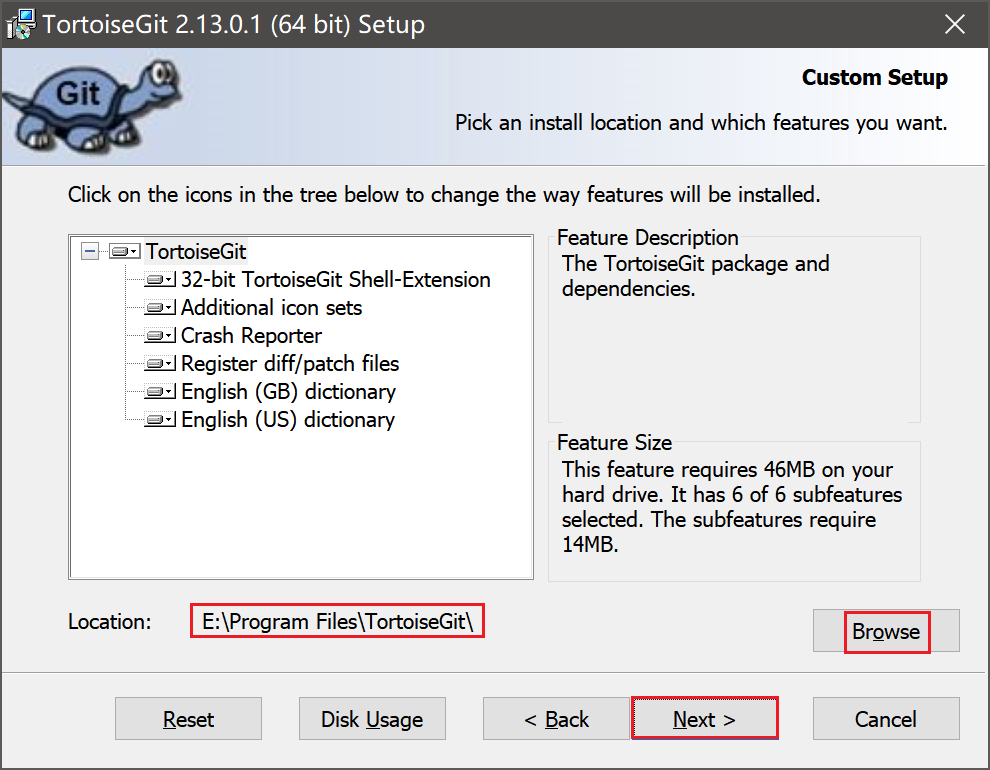
- After clicking next twice, you will reach the following page. Change the download location and continue with next
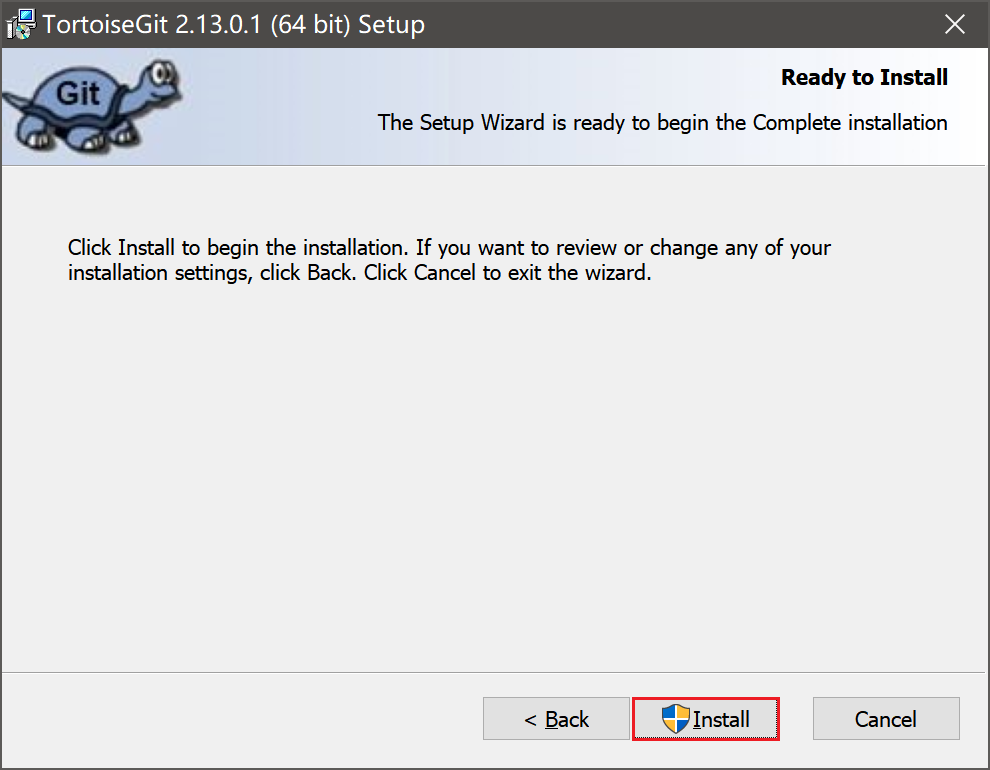
- Click Install to proceed with installation
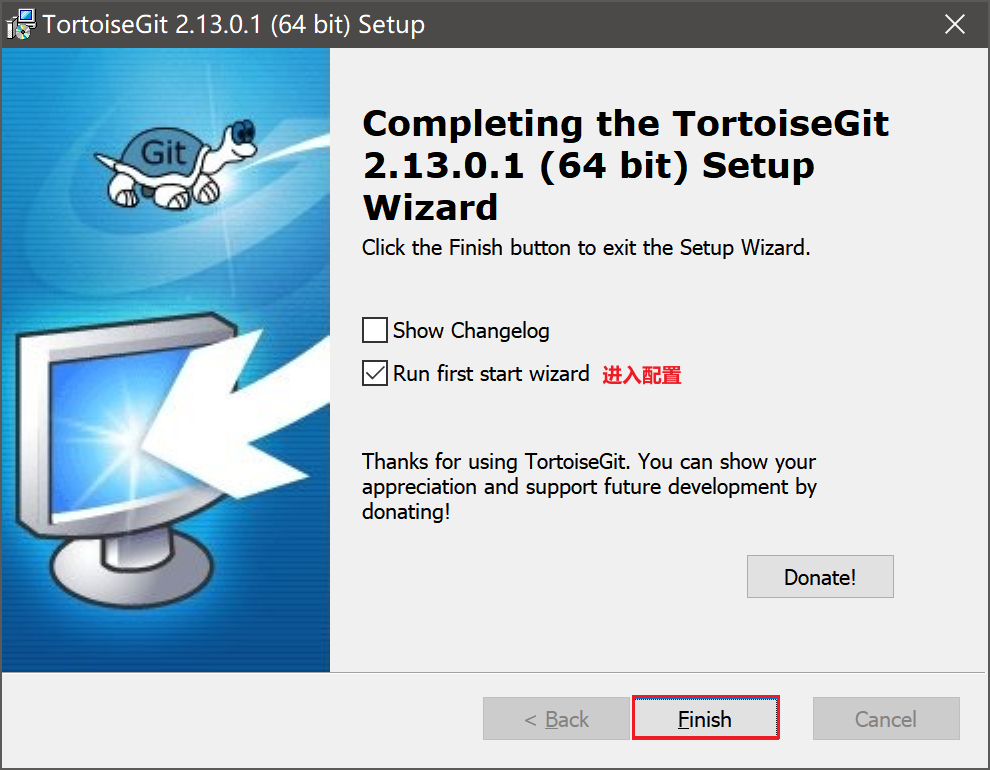
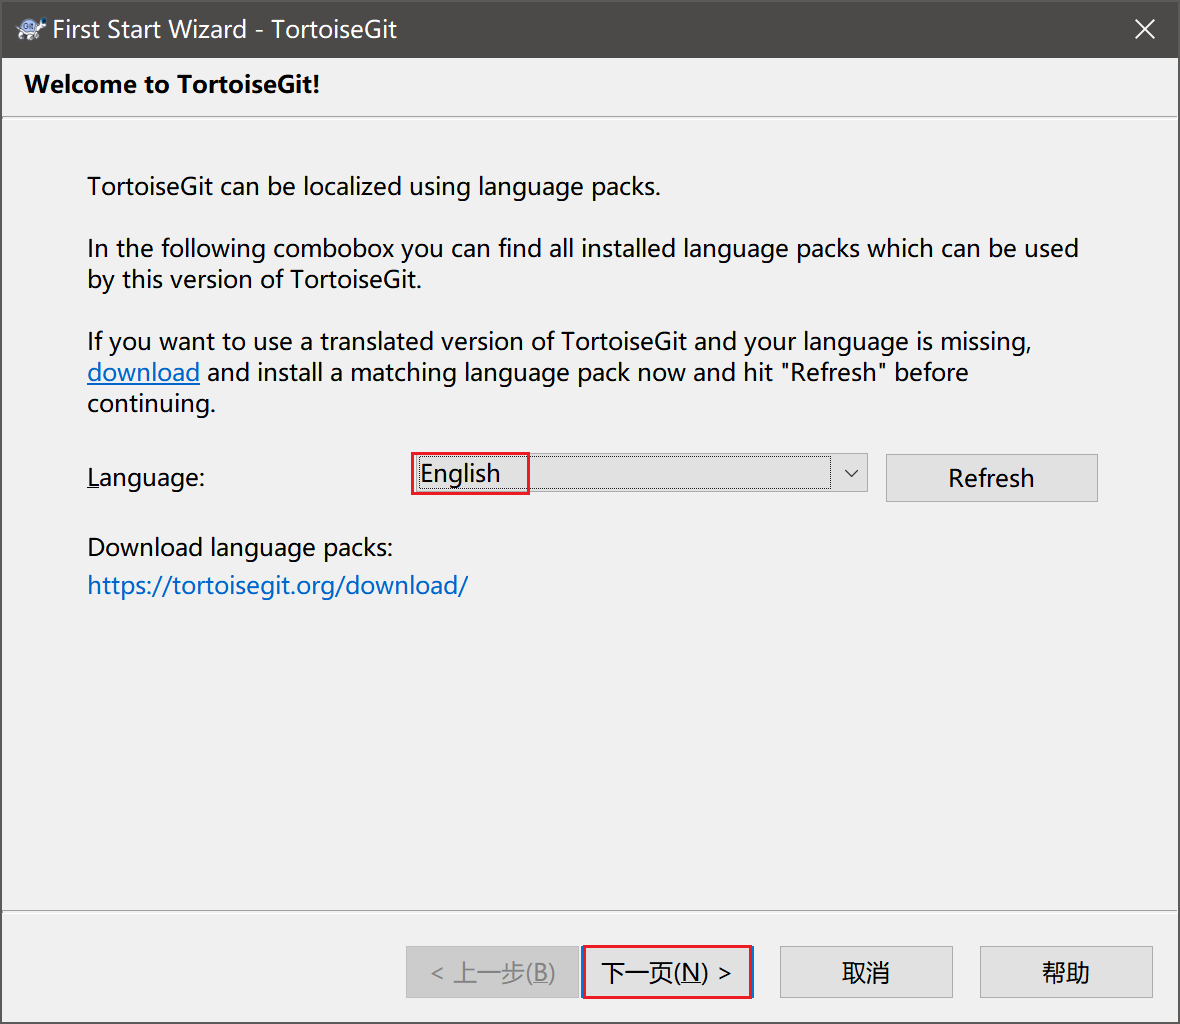
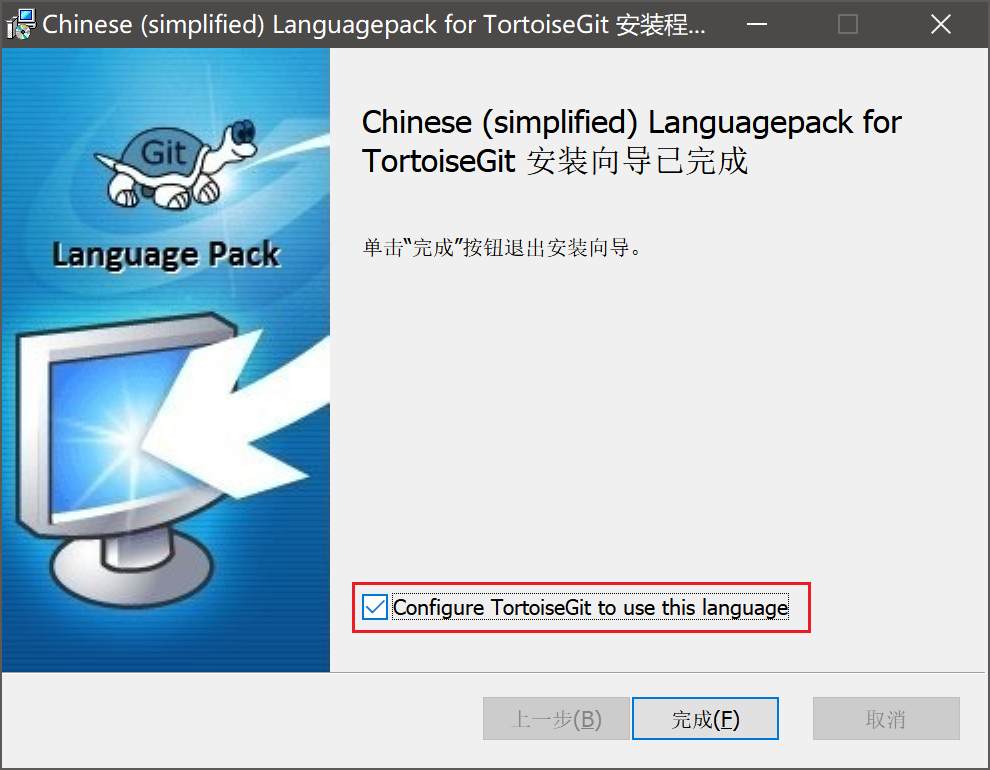
- Click Finish to configure TortoiseGit
- Select English and click next twice
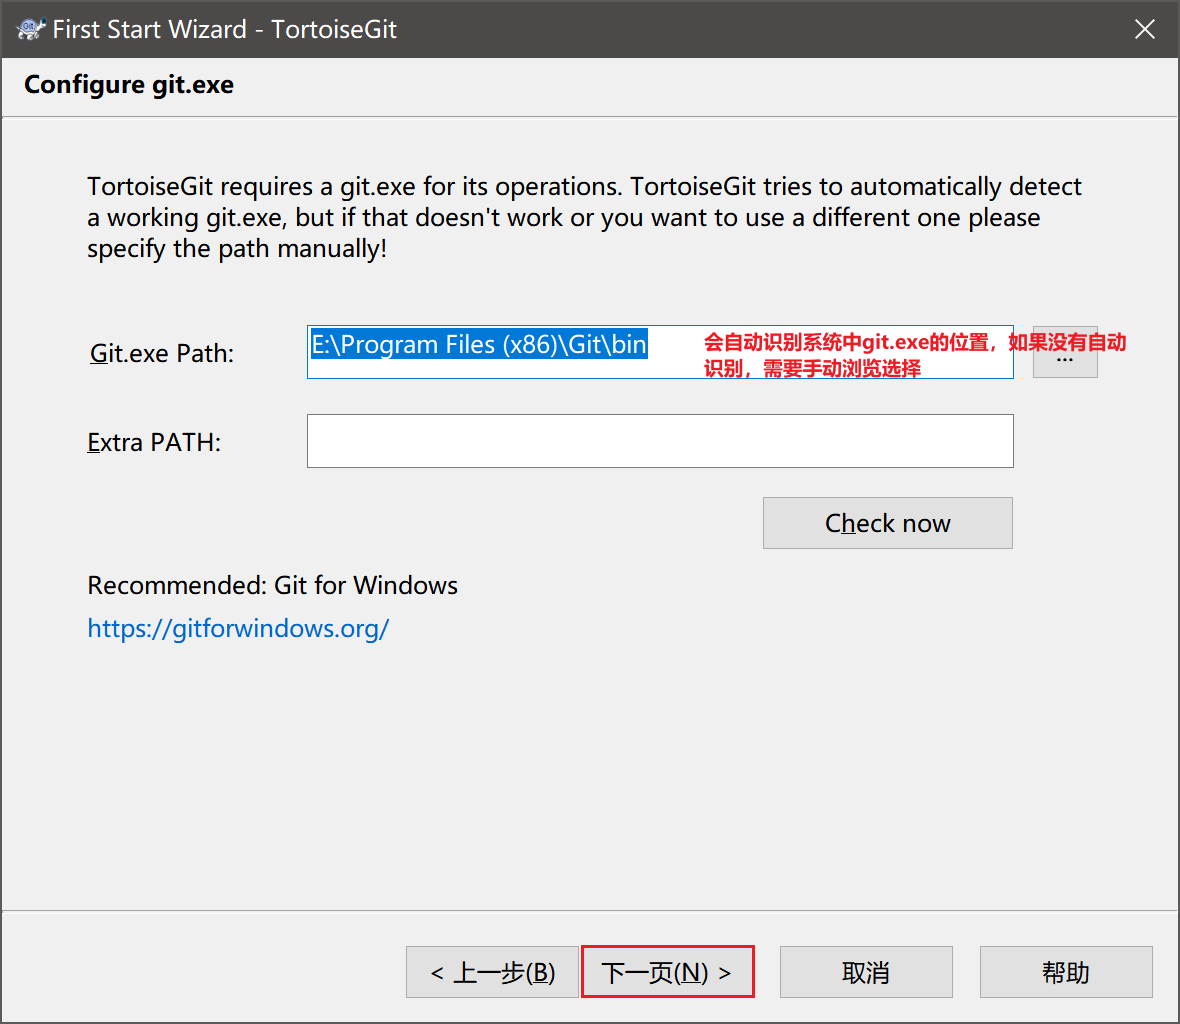
- Configure git.exe and click next
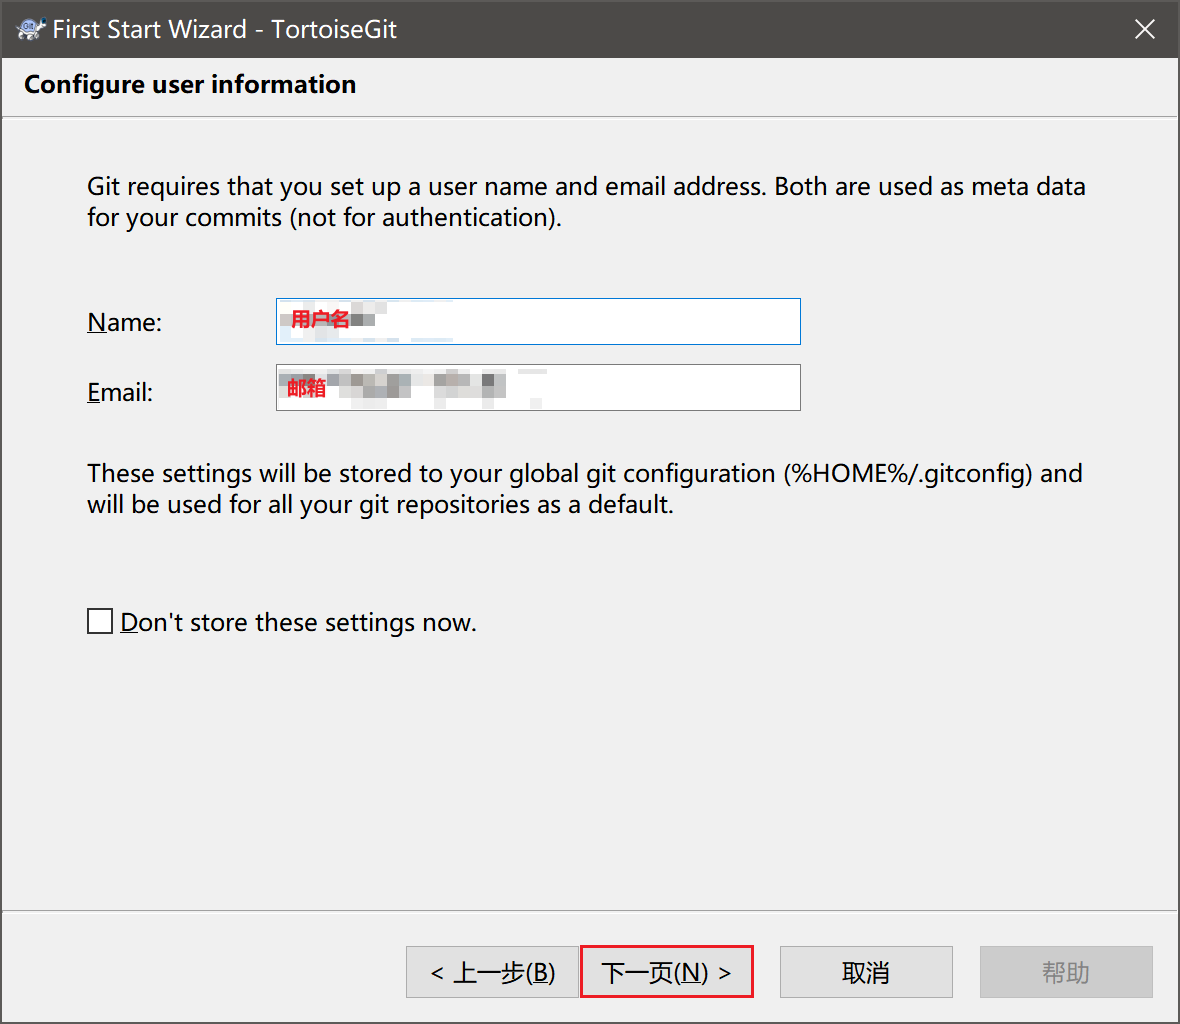
- Fill in your username and email, and click next
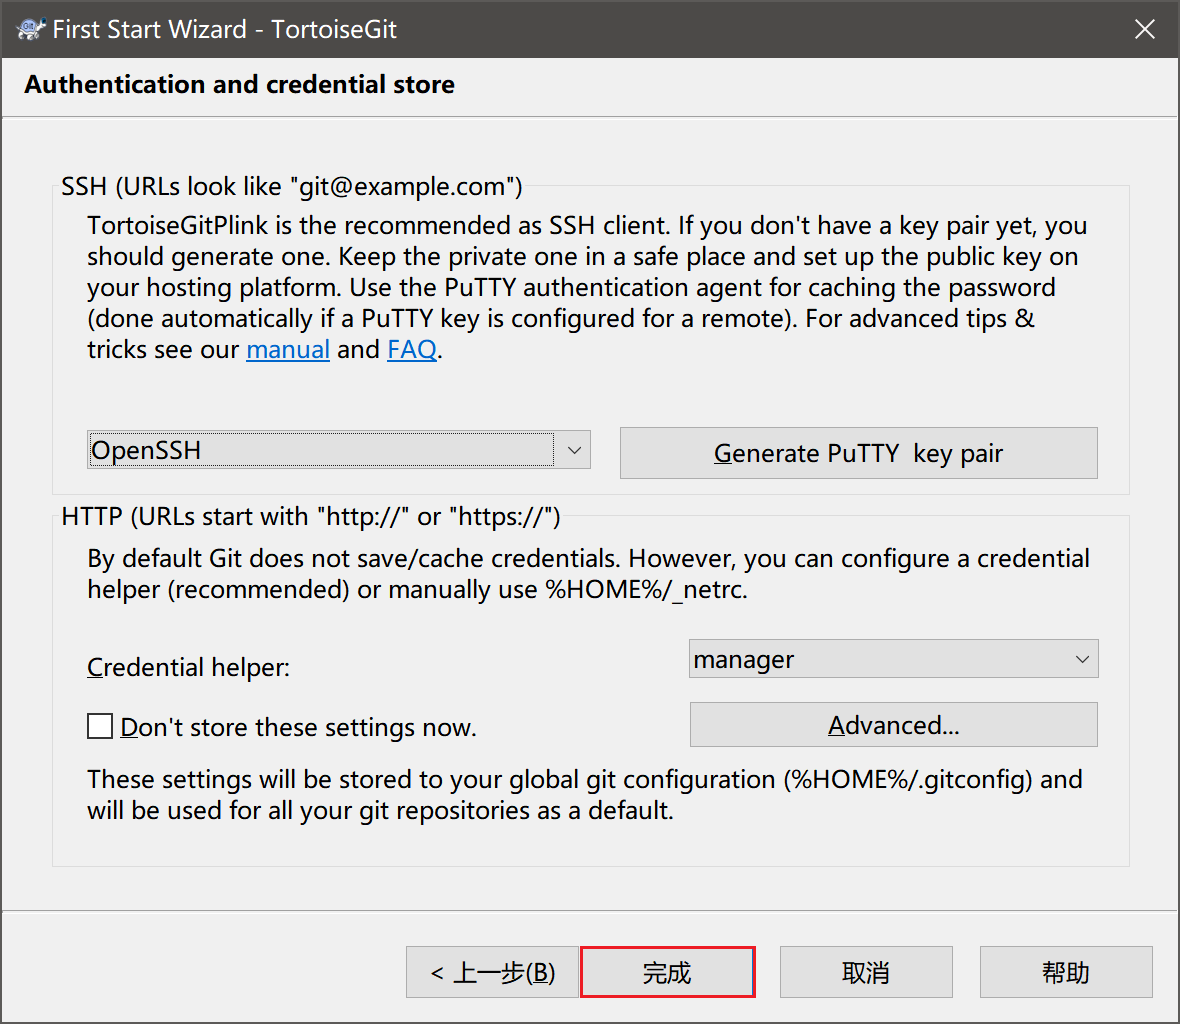
- Complete the tortoisegit installation
- Double-click TortoiseGit-LanguagePack-64bit-zh_CN.msi to configure the Chinese language
9.2.3 Basic Usage
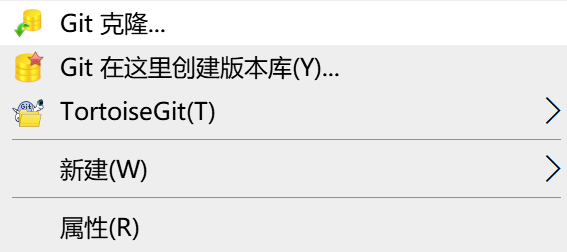
Unlike GitHub Desktop, TortoiseGit interacts with git commands through the right-click menu bar. Right-clicking on a blank area of the desktop is shown as follows.
9.2.3.1 Create Your First Repository
There are two ways to create a local Git repository: one is to directly clone an existing Git repository, and the other is to create a repository locally.
Clone Repository
Right-click in the directory where you want to store the project, select Clone, and configure the URL of the target repository and the local storage path.

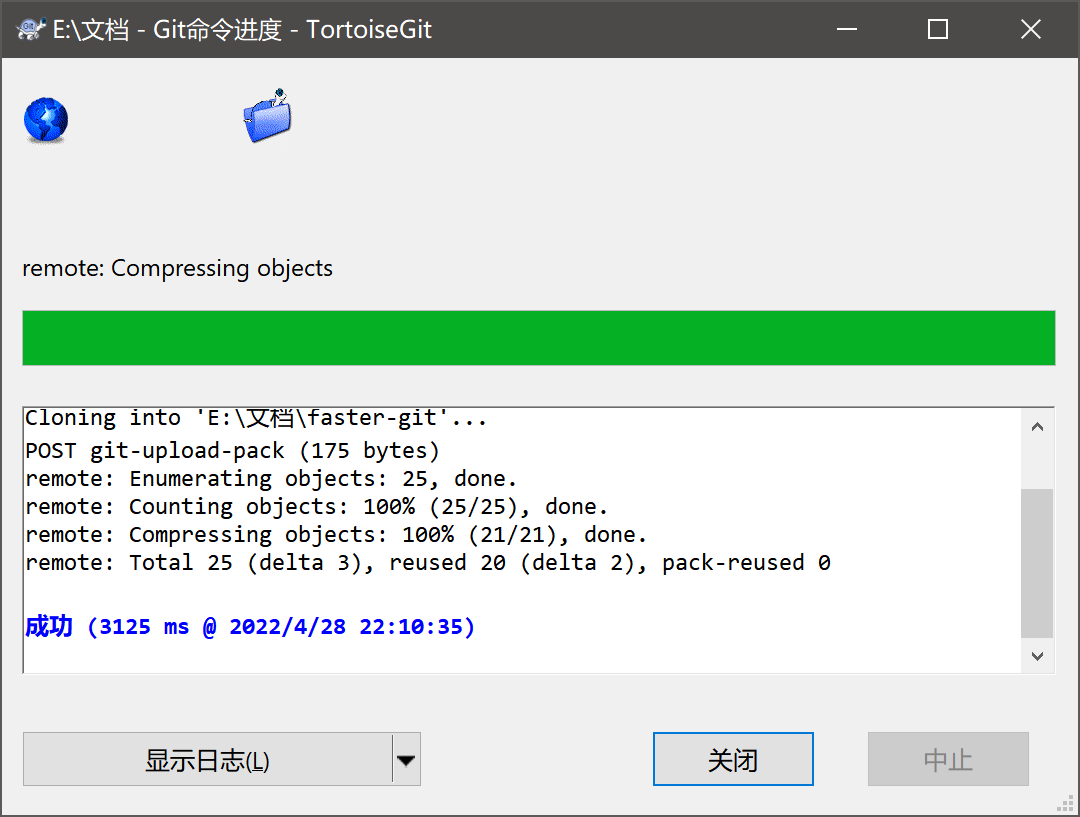
After successful cloning, you can see the icon overlay on the folder. The figure below shows the situation after cloning and modification:
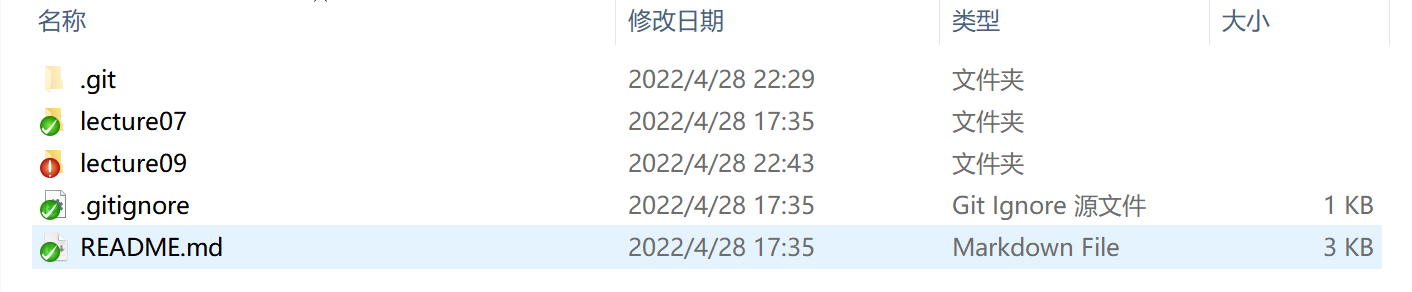
Git file icon overlays are used to reflect the current status of files or folders:
Normal: Green checkmark
Modified: Red exclamation mark
Newly added: Blue plus sign
Uncontrolled (no version control): Blue question mark
Ignored and uncontrolled: Gray minus sign
Deleted: Red cross
Conflicted: Yellow exclamation mark
If you cannot see the icon overlays, you can check this tutorial: Solution for TortoiseGit status icons not displaying properly
Create Local Repository
Create a new project directory myfaster-git, right-click in the code directory and select Create repository here. In the pop-up prompt, do not check "Make it Bare", just confirm directly.
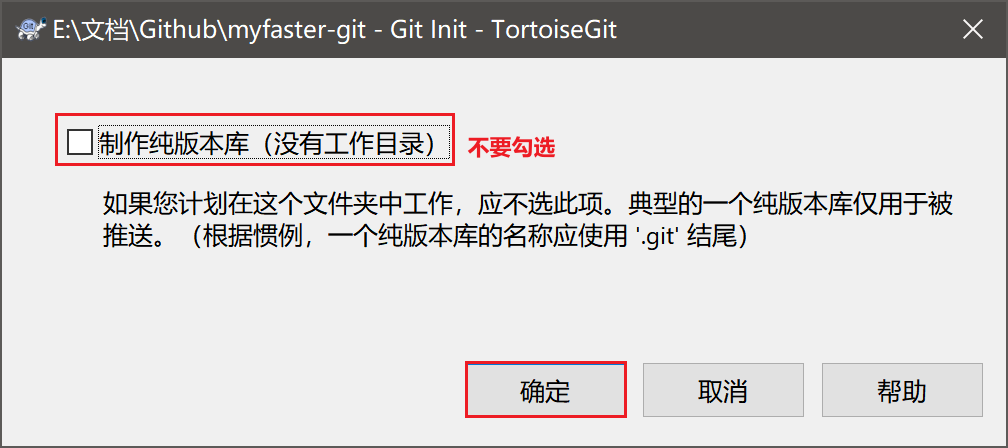
After that, a .git directory will be generated in the project directory, which records git operation-related content.

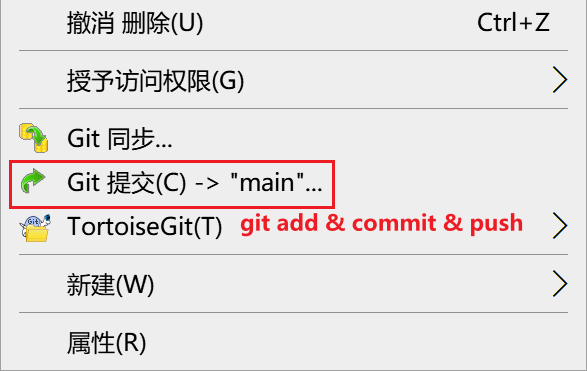
9.2.3.2 Add & Commit & Push
After completing the code update of the project, you can right-click and select Git Commit to perform add, commit, and push operations.
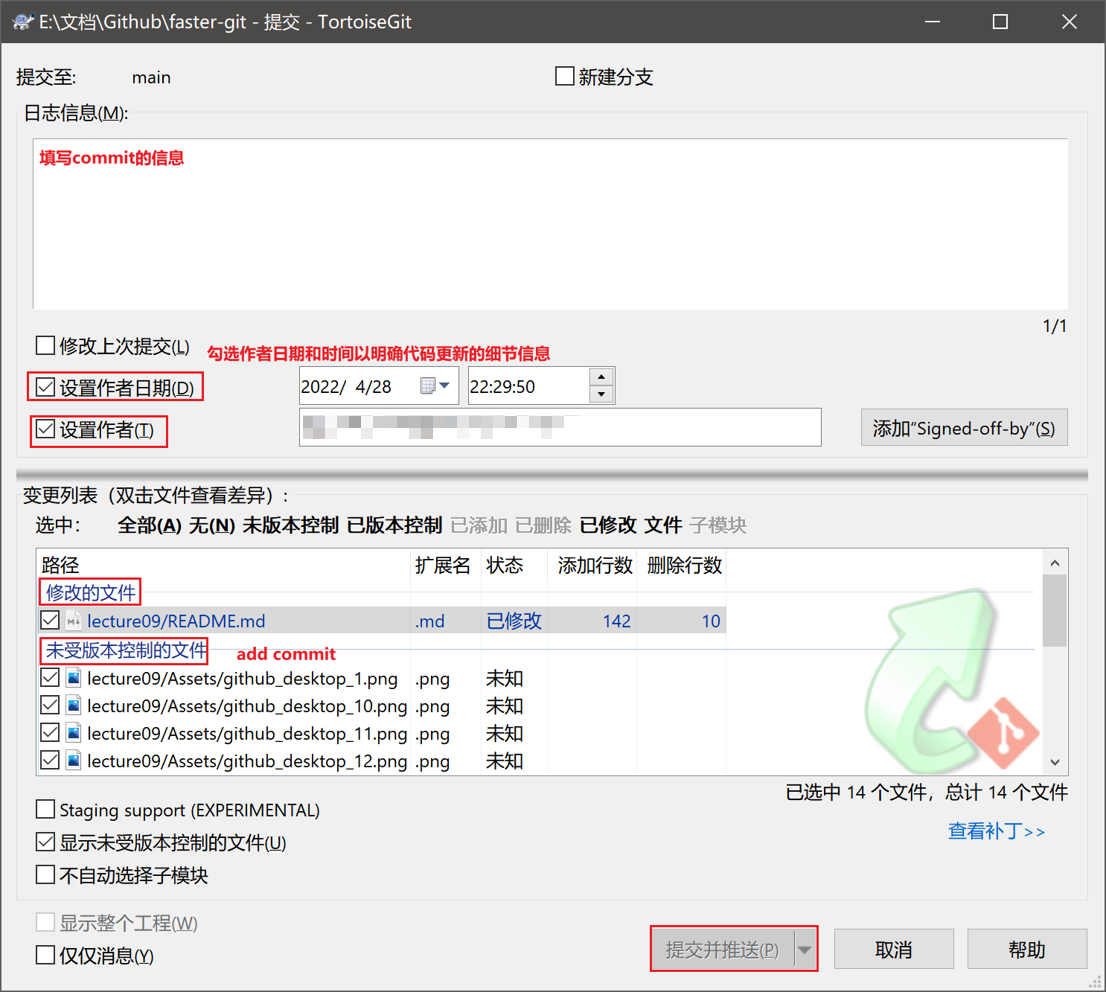
Fill in the log information as the commit message, check "Set author date" and "Author" to clarify the details of the code update. Then select the files to commit in the change list, and finally click "Commit and Push" to complete the push operation.
9.2.3.3 Pull
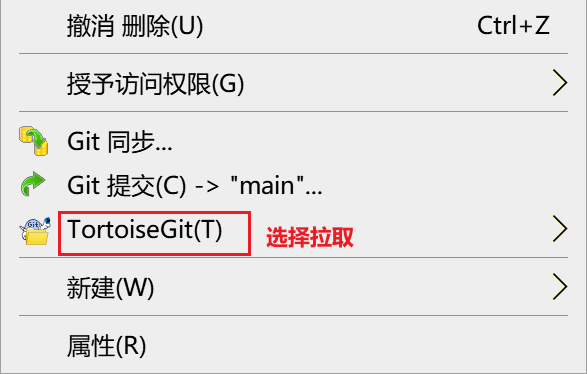
When you need to update the local code, you can right-click and select TortoiseGit, then select Pull to perform fetch.
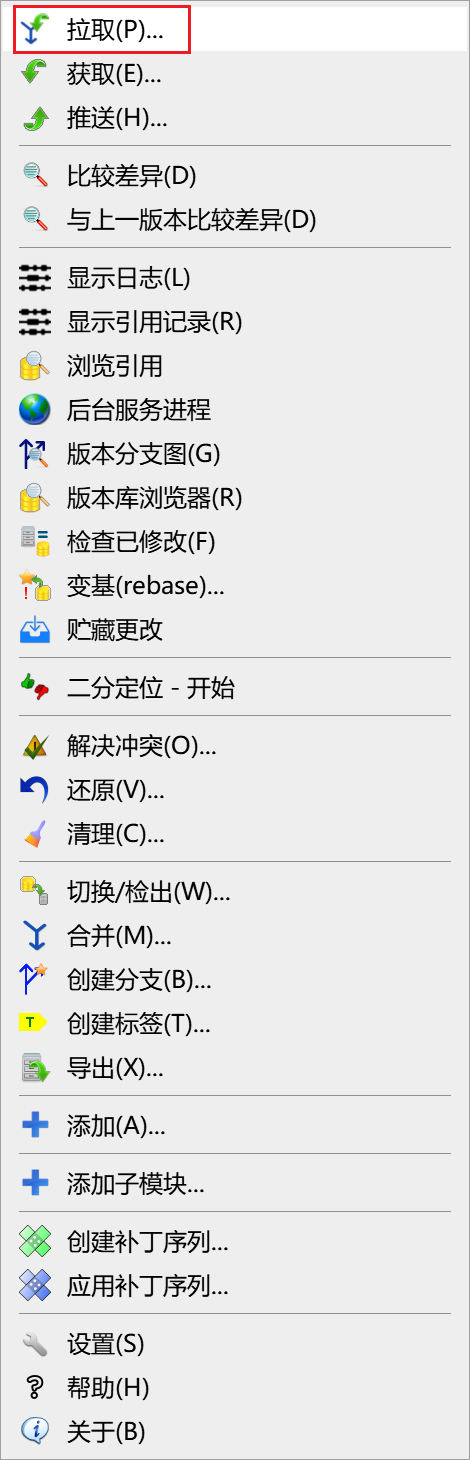
📃Note: Other git operations can be performed in the dropdown menu, as shown in the figure above.
9.2.3.4 Configure Remote
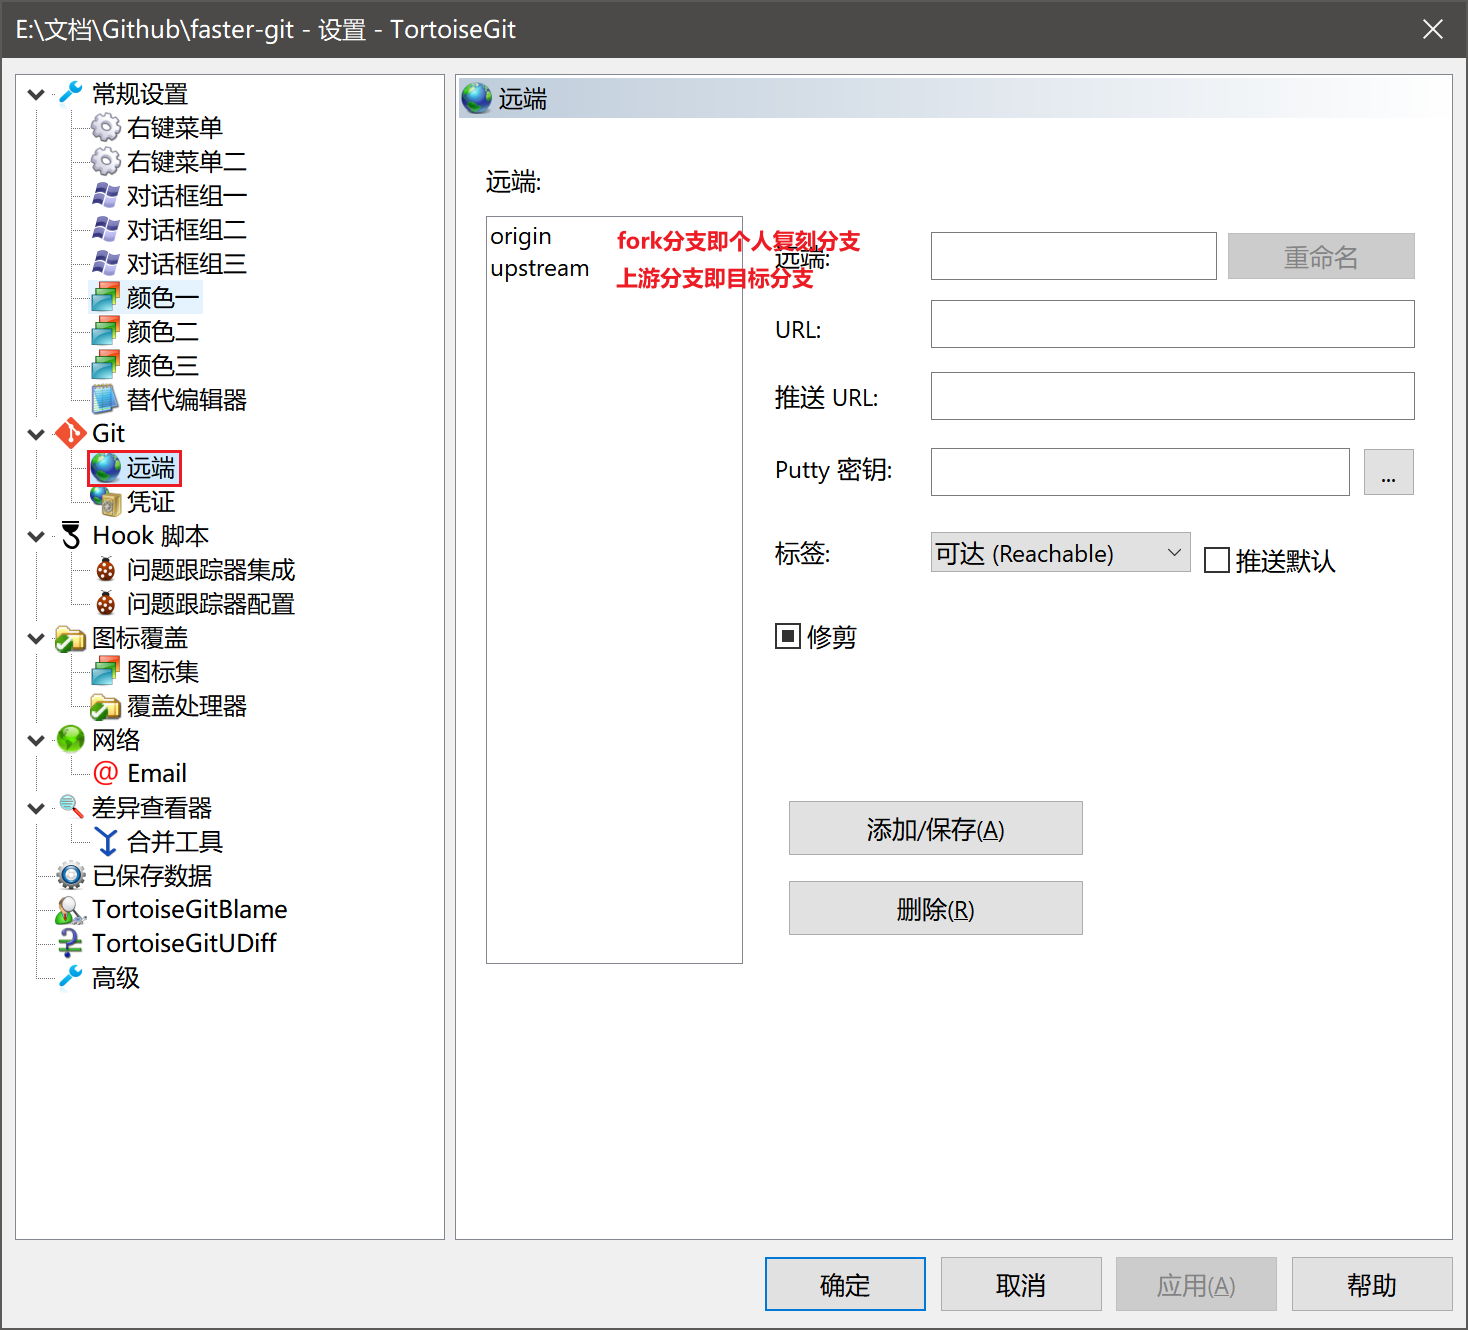
Right-click and select TortoiseGit, then select Settings to enter the following interface. Under Remote in Git, you can configure the remote branch corresponding to the local main branch, such as the origin branch of the personal GitHub repository, or the upstream branch of the fork branch, etc.
9.3 Vscode Git
In the actual project development process, the scenario often encountered is that project developers directly perform Git operations through the code editor. In this chapter, we mainly introduce some basic Git operations in Vscode.
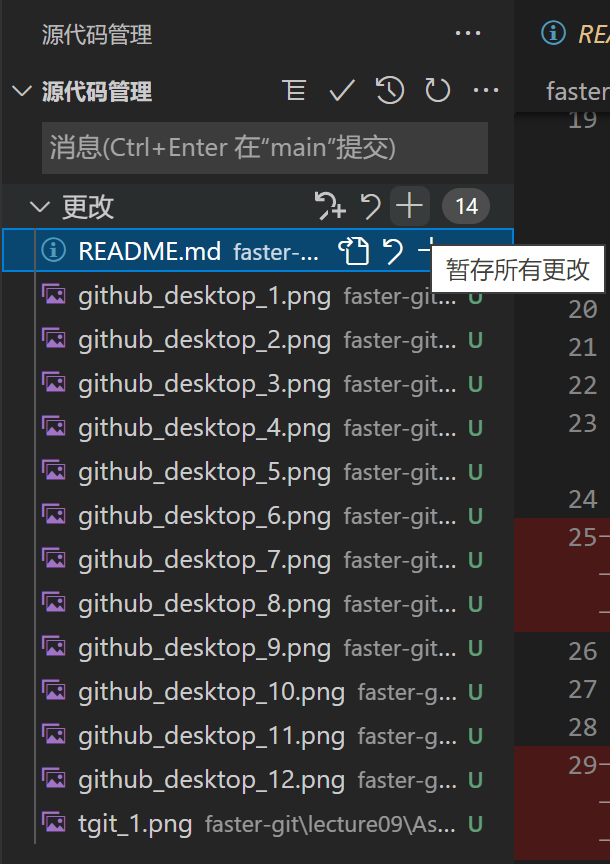
Import the project files, select the third item in the sidebar, and you can see the following content.
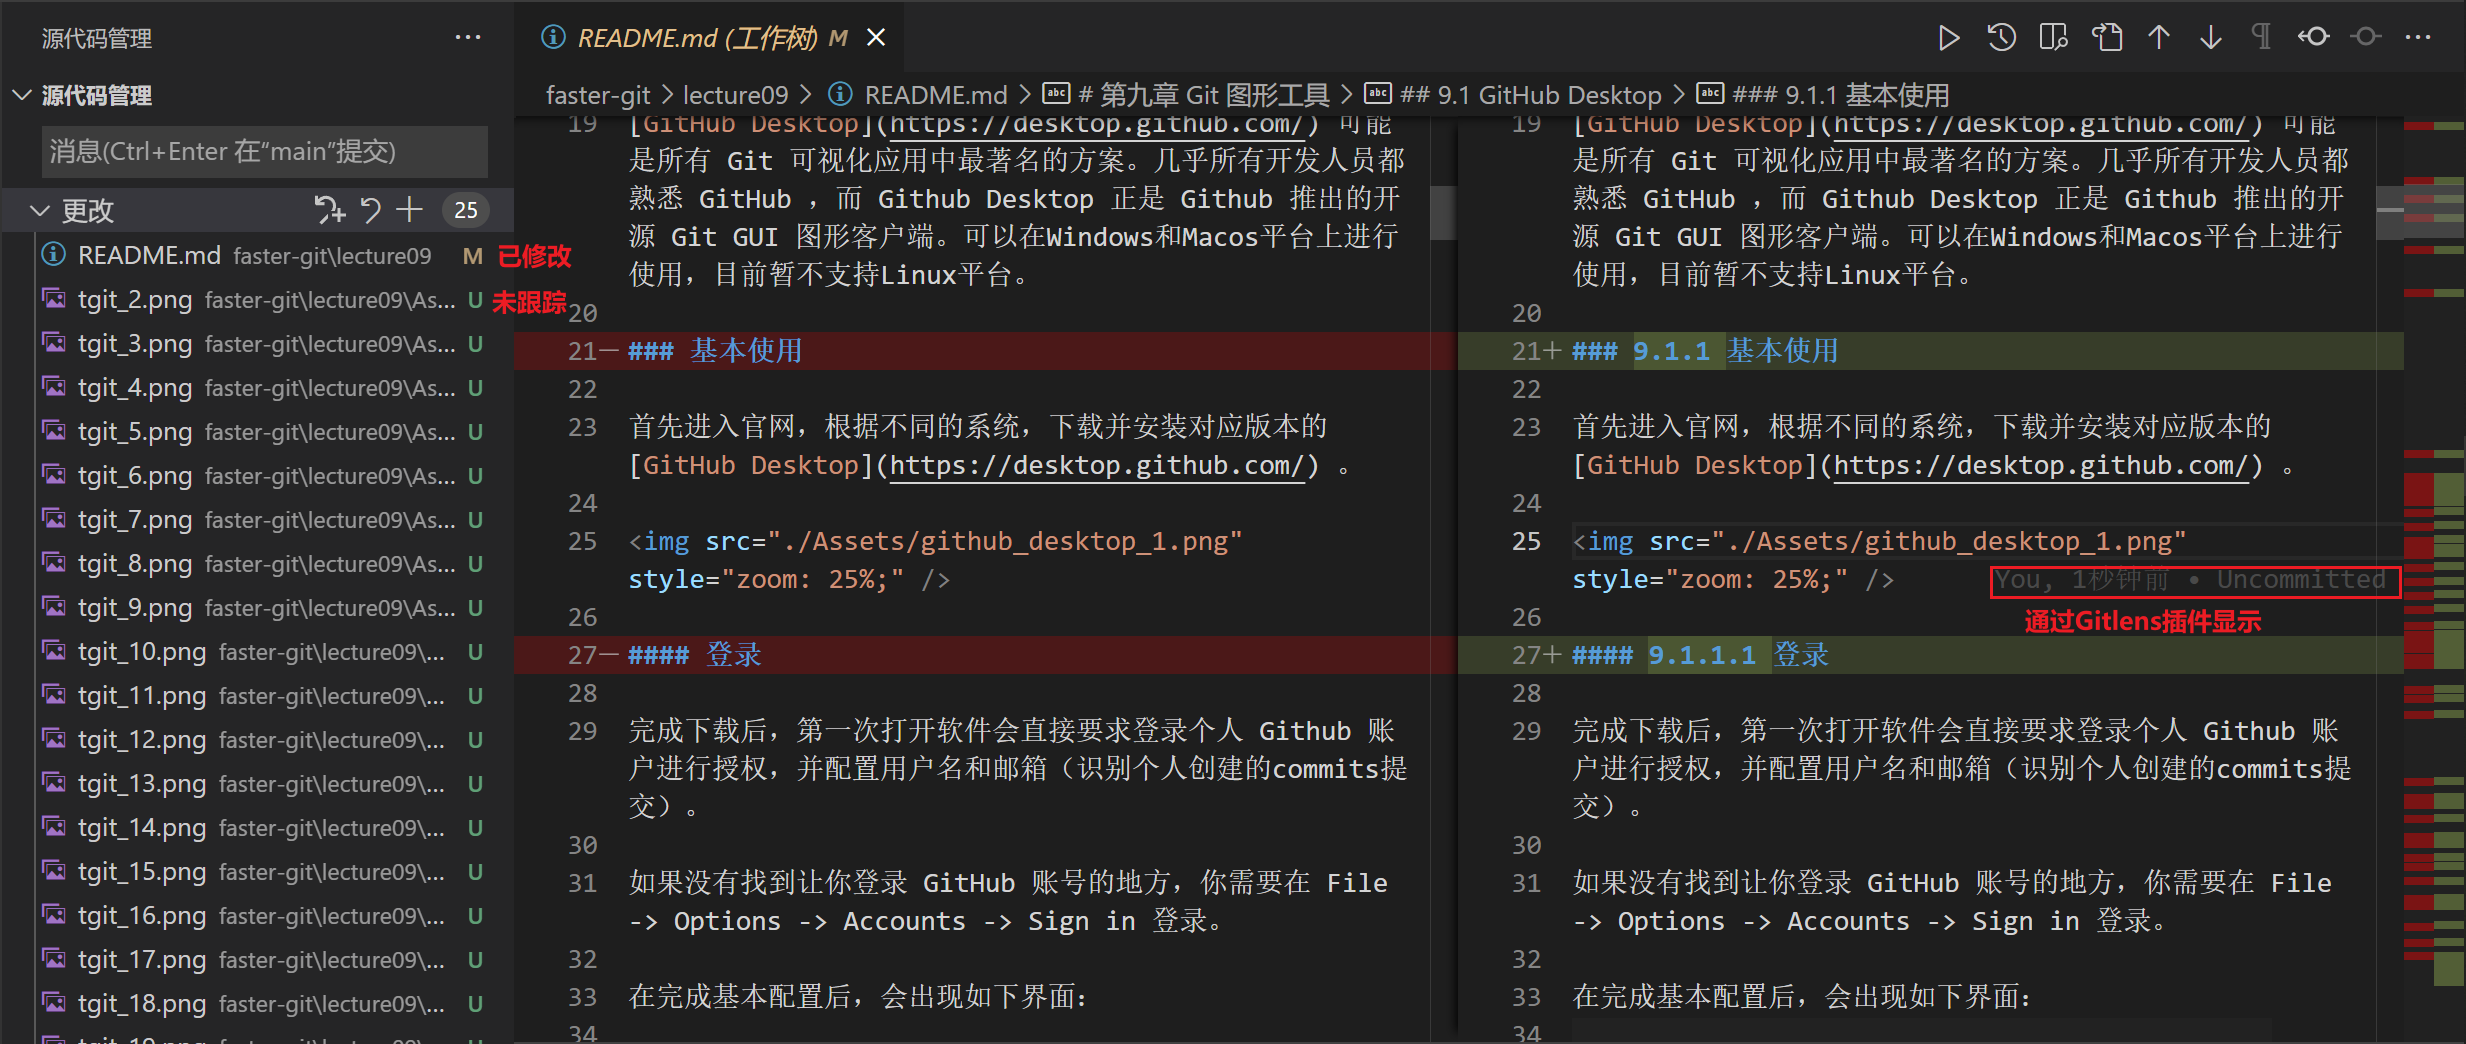
First, stage all changes, then enter the message in the message bar and click the checkmark to commit, or use the shortcut Ctrl+Enter to commit.
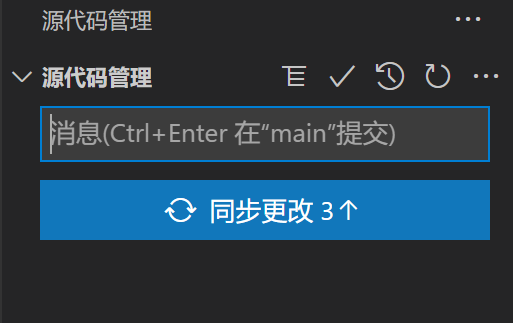
After completing the add and commit operations, click Sync to push to the remote.
9.4 Chapter Summary
In the preface of this chapter, by comparing the advantages and disadvantages of terminal commands and graphical interfaces in daily application scenarios, Git GUI graphical applications were introduced. Then three types of Git GUI graphical applications were introduced in detail: GitHub Desktop, TortoiseGit, and Vscode Git. Unlike traditional command lines, graphical interfaces provide project developers with a more relaxed and efficient way to use Git for project version management. In the next chapter, Git team collaboration and diff tools during merging will be introduced in detail.
🎉Let's go!!!