How to Deploy Web Applications
In this tutorial, we will walk through how to deploy your web application to the internet so other people can access it. We will introduce four common deployment platforms: Tencent Cloud CloudBase, Vercel, Netlify, and Zeabur. The goal is to help you go from "I finished writing the code" to "other people can visit my site online."
What does "deployment" mean?
Before we begin, let's clarify what deployment actually is.
For any website to be visited by external users, it must have a publicly reachable network address. That can be an IP address such as 123.45.67.89, or a domain such as google.com. But the address alone is not enough. Your code, such as HTML, CSS, JavaScript, or React/Vue projects, as well as images and video assets, must live on a server that stays online 24/7 and can answer incoming requests.
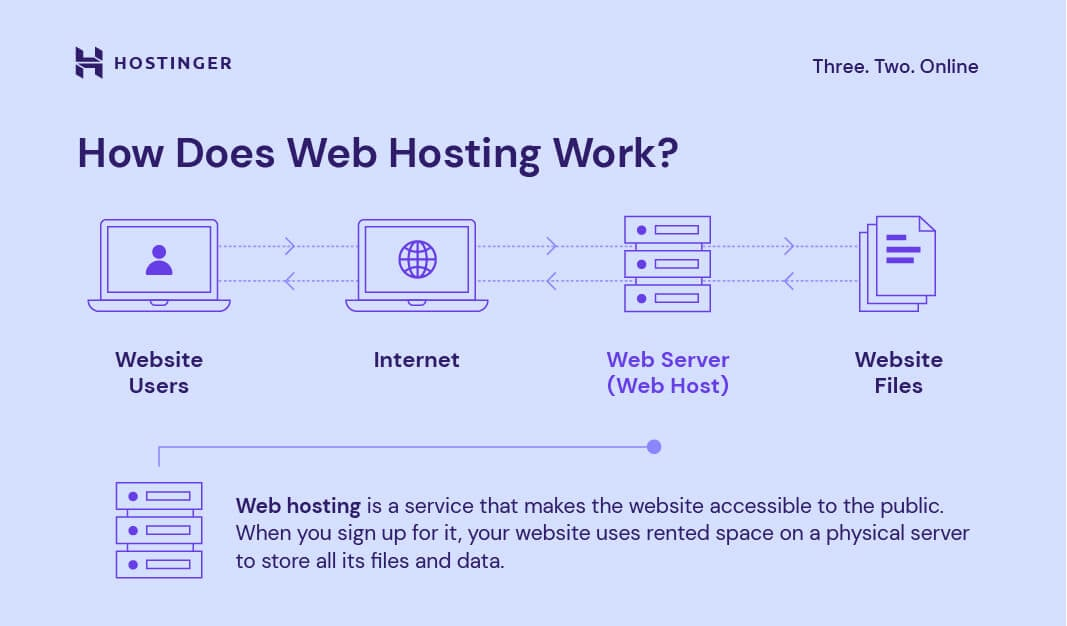
Image source: https://www.hostinger.com/tutorials/what-is-cloud-hosting
The full process of uploading resources, configuring the runtime environment, and making the service run is called deployment.
In simple terms: if your website runs only on your own computer, then only you can visit it locally because the files only exist on your hard drive. Deployment means moving your code and assets to a public-facing server, configuring that server properly, and making sure it knows how to respond when someone visits your domain.
If you deploy everything manually, a project usually involves many steps:
Prepare a server You first need to buy or rent a cloud server from a provider such as Alibaba Cloud, Tencent Cloud, or AWS EC2. Then you choose its region, CPU, memory, and storage, and learn how to connect to it remotely, often through SSH.
Configure the runtime environment Web apps only run under the correct environment. A Node.js project needs Node installed. A Python project needs Python and its dependencies. If the versions do not match, the app may fail to start.
Upload your files You need to move your local code and assets to the server, often via Git or file-transfer tools. Large projects can make this step frustrating if uploads break halfway through.
Start the service and test it After upload, you need to start the app and check whether the assigned address works. If not, the problem may be a firewall-blocked port, or it may be an application bug. In that case, you need to inspect logs.
Maintain and update Every code update usually means another upload and restart. If the server crashes, you may need to restart services manually or configure a process manager to keep them alive.
Platforms such as CloudBase, Vercel, Netlify, and Zeabur exist to eliminate much of that complexity. They automate the boring parts:
- buying and provisioning servers
- configuring runtimes
- pulling code
- starting services
- monitoring uptime
In many cases, you just connect a GitHub repository or upload your code, and the platform does the rest.
Deployment platform comparison
| Platform | Main strengths | Best for | Free tier |
|---|---|---|---|
| Tencent Cloud CloudBase | Fast access within mainland China, strong WeChat ecosystem integration | China-focused users, WeChat Mini Program support | Yes |
| Vercel | Excellent support for frontend frameworks, tight GitHub integration | Modern React/Vue/Next.js frontend projects | Yes |
| Netlify | Broad feature set, great Git workflow, form handling, auth support | Static sites that also need forms or auth | Yes |
| Zeabur | Flexible service combinations and many templates | More complex projects, including tools like Dify and n8n | About $5/month in free quota |
1. Tencent Cloud CloudBase
Tencent Cloud CloudBase is Tencent's integrated cloud backend platform and is especially friendly for developers targeting domestic Chinese users.
Its advantages include:
- Fast domestic access
- WeChat ecosystem integration
- An all-in-one backend solution including static hosting, cloud functions, databases, and storage
- A practical free tier
Deploy a web app with CloudBase
Step 1: Register and log in
Visit the Tencent Cloud CloudBase Console and log in with WeChat or QQ.
Step 2: Create an environment
Click Create Environment and choose an environment name such as my-web-app.
⚠️ Note: the free trial version of CloudBase often requires a redemption code. You usually need to follow the CloudBase official account and obtain a code there.
Step 3: Enable static website hosting
Inside the environment management screen, enable the Static Website Hosting feature. Once enabled, you will receive a default public domain.
CloudBase supports several deployment methods:
- upload a local build output
- deploy from a template
- deploy from a Git repository
Step 4: Deploy your code
CloudBase offers three main workflows:
Option 1: upload a local project
- choose
Local Project Deployment - upload your built static files such as HTML, CSS, and JS
- typically upload a
distorbuilddirectory
Option 2: use a template
- start from a preset project template
- common options include React and Vue starter templates
Option 3: deploy from Git
- connect a GitHub repository
- set the build command, such as
npm run build - every push can trigger an automatic redeploy
💡 Tip: you can also deploy from the command line:
bash# Install CloudBase CLI npm install -g @cloudbase/cli # Log in tcb login # Deploy tcb hosting deploy ./dist -e your-env-id
Step 5: Add a custom domain (optional)
CloudBase also supports binding your own domain and applying a free HTTPS certificate.
2. Vercel
Vercel is one of the most popular frontend deployment platforms in the world and is especially good for React, Vue, and Next.js projects.
Its main strengths:
- Deep GitHub integration
- Automatic preview deployments for pull requests
- Global CDN distribution
- Support for serverless functions
⚠️ Note: in some mainland-China network environments, Vercel may be less stable than domestic options such as CloudBase.
Deploy a web app with Vercel
Step 1: Register
Visit Vercel and sign in with GitHub.
Step 2: Import a project
- Click
Add New Project - Select the GitHub repository you want to deploy
- If needed, adjust GitHub app permissions
Step 3: Configure build settings
Vercel often detects the framework automatically:
| Framework | Build command | Output directory |
|---|---|---|
| React | npm run build | build |
| Vue | npm run build | dist |
| Next.js | next build | - |
| Plain HTML | - | project root |
If detection fails, configure it manually:
- Build Command
- Output Directory
- Install Command
Step 4: Deploy
Click Deploy and wait for the build to complete. A successful project receives a xxx.vercel.app domain.
Step 5: Add a custom domain (optional)
Use the Domains section in project settings to bind your own domain. HTTPS is handled automatically.
3. Netlify
Netlify is another strong frontend deployment platform, especially for static sites and single-page applications.
Its strengths:
- Feature-rich hosting, including form handling, auth, and edge/serverless functions
- Strong Git integration
- Preview links for branches
- Global CDN
- Built-in form handling
- Built-in user authentication tools
⚠️ Note: Netlify may not be as fast as CloudBase for domestic Chinese users.
Deploy a web app with Netlify
Step 1: Register
Visit Netlify and sign up with GitHub, GitLab, Bitbucket, or email.
Step 2: Import a project
- Click
Add new site→Import an existing project - Choose your Git provider
- Authorize Netlify
- Select the repository
Step 3: Configure build settings
| Framework | Build command | Publish directory |
|---|---|---|
| React | npm run build | build |
| Vue | npm run build | dist |
| Angular | ng build | dist/<project-name> |
| Next.js | next build | out |
| Plain HTML | - | . |
Step 4: Deploy
Click Deploy site. Once it succeeds, you will receive a xxx.netlify.app domain.
Step 5: Add a custom domain (optional)
- Open the site settings
- Go to
Domain management - Add your custom domain
- Follow the DNS instructions
Useful Netlify features
1. Form handling
Netlify can capture form submissions without requiring a dedicated backend.
<form name="contact" netlify>
  <p>
    <label>Name: <input type="text" name="name" /></label>
  </p>
  <p>
    <label>Email: <input type="email" name="email" /></label>
  </p>
  <p>
    <label>Message: <textarea name="message"></textarea></label>
  </p>
  <p>
    <button type="submit">Send</button>
  </p>
</form>
After deployment, Netlify automatically stores submission data and can forward it to email or other services.
2. Netlify Functions
Netlify also supports serverless functions, which are useful for small APIs without maintaining a full backend.
For example:
exports.handler = async (event, context) => {
  return {
    statusCode: 200,
    body: JSON.stringify({ message: "Hello from Netlify!" })
  };
};
After deployment, the function is accessible at:
https://your-domain/.netlify/functions/hello
3. Local development support
Netlify provides a CLI:
# Install Netlify CLI
npm install -g netlify-cli

# Log in
netlify login

# Start local development
netlify dev

# Test functions locally
netlify functions:serve
This lets you simulate Netlify forms and function behavior locally before deploying.
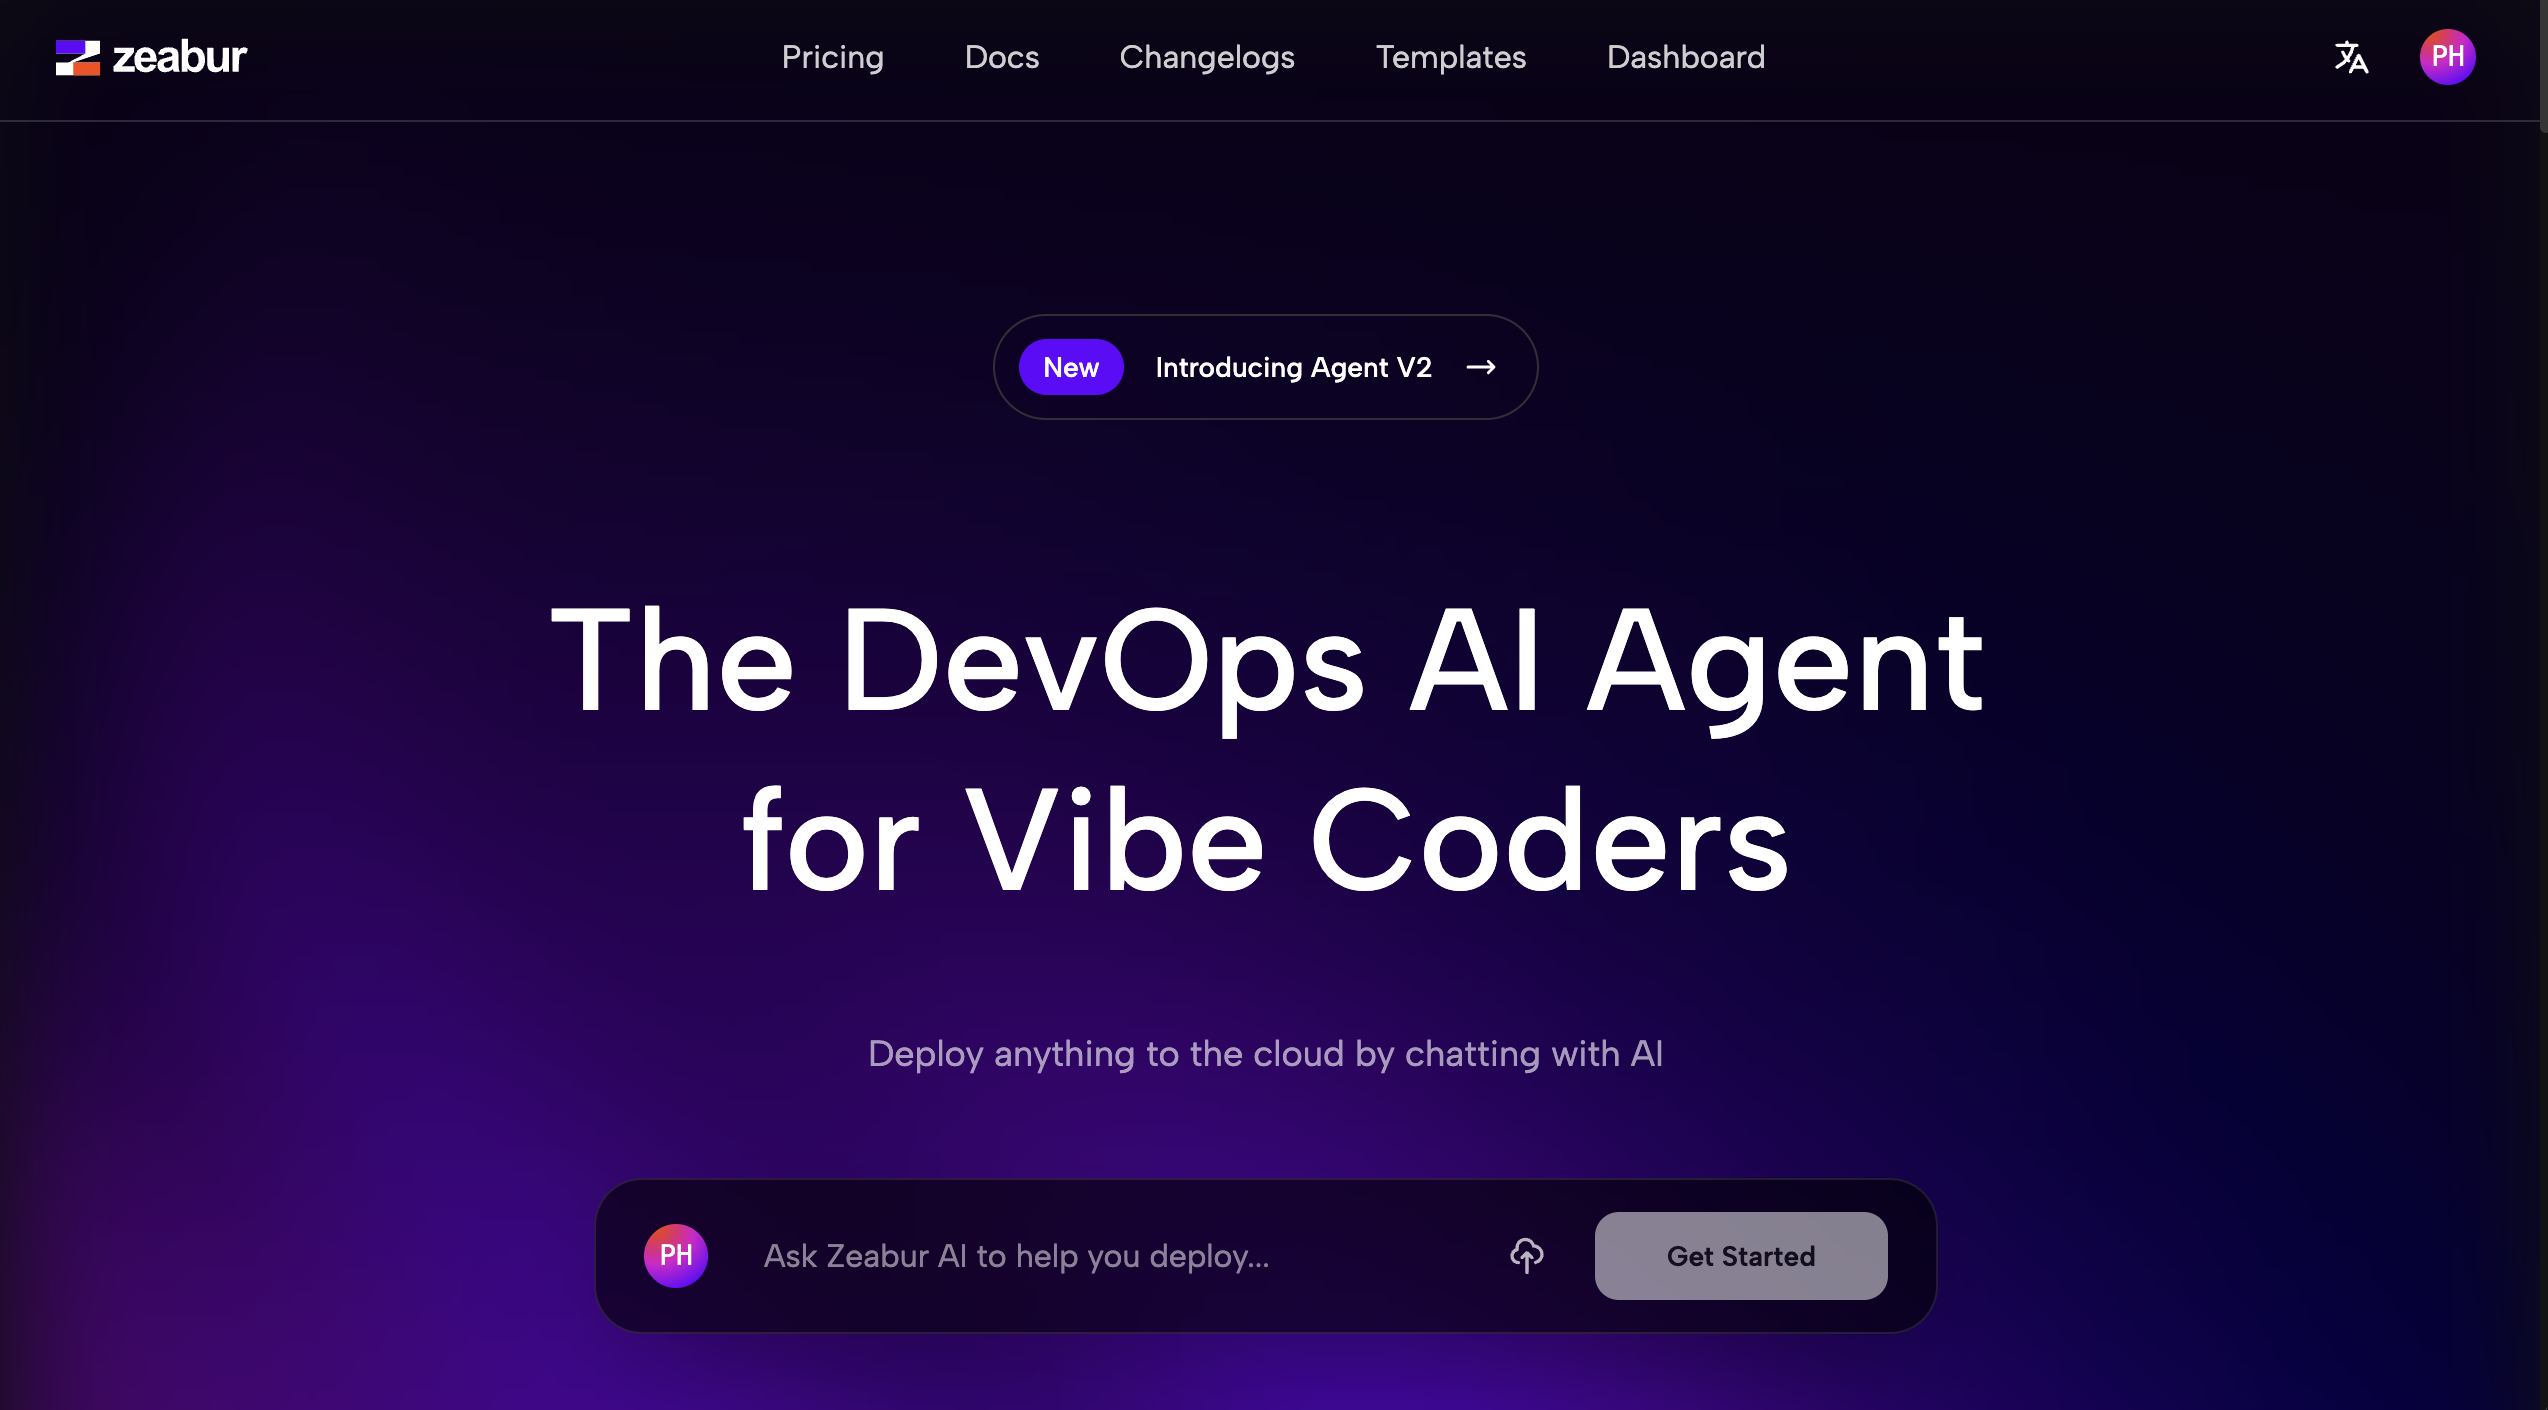
4. Zeabur
Zeabur is a newer deployment platform that is especially useful for more complex projects involving multiple services.
Its main strengths:
- Many built-in service templates
- Support for multiple deployment methods
- Flexible multi-service composition
- Usage-based billing
Deploy Dify with Zeabur
In earlier chapters, we already touched on Dify briefly. Now we can launch a full Dify service through Zeabur very easily.
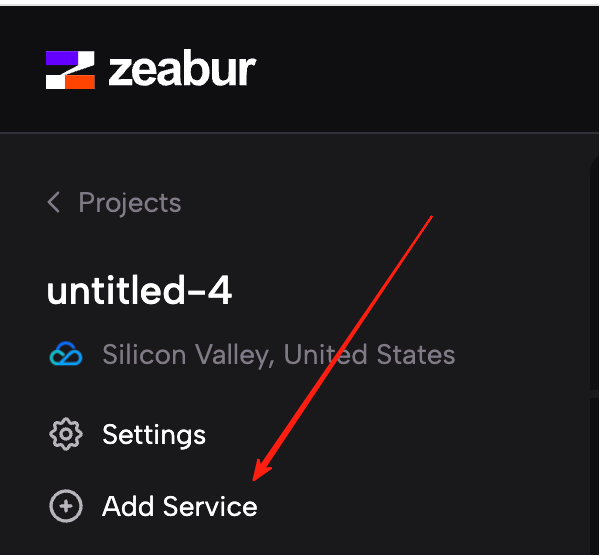
First, open the console page:
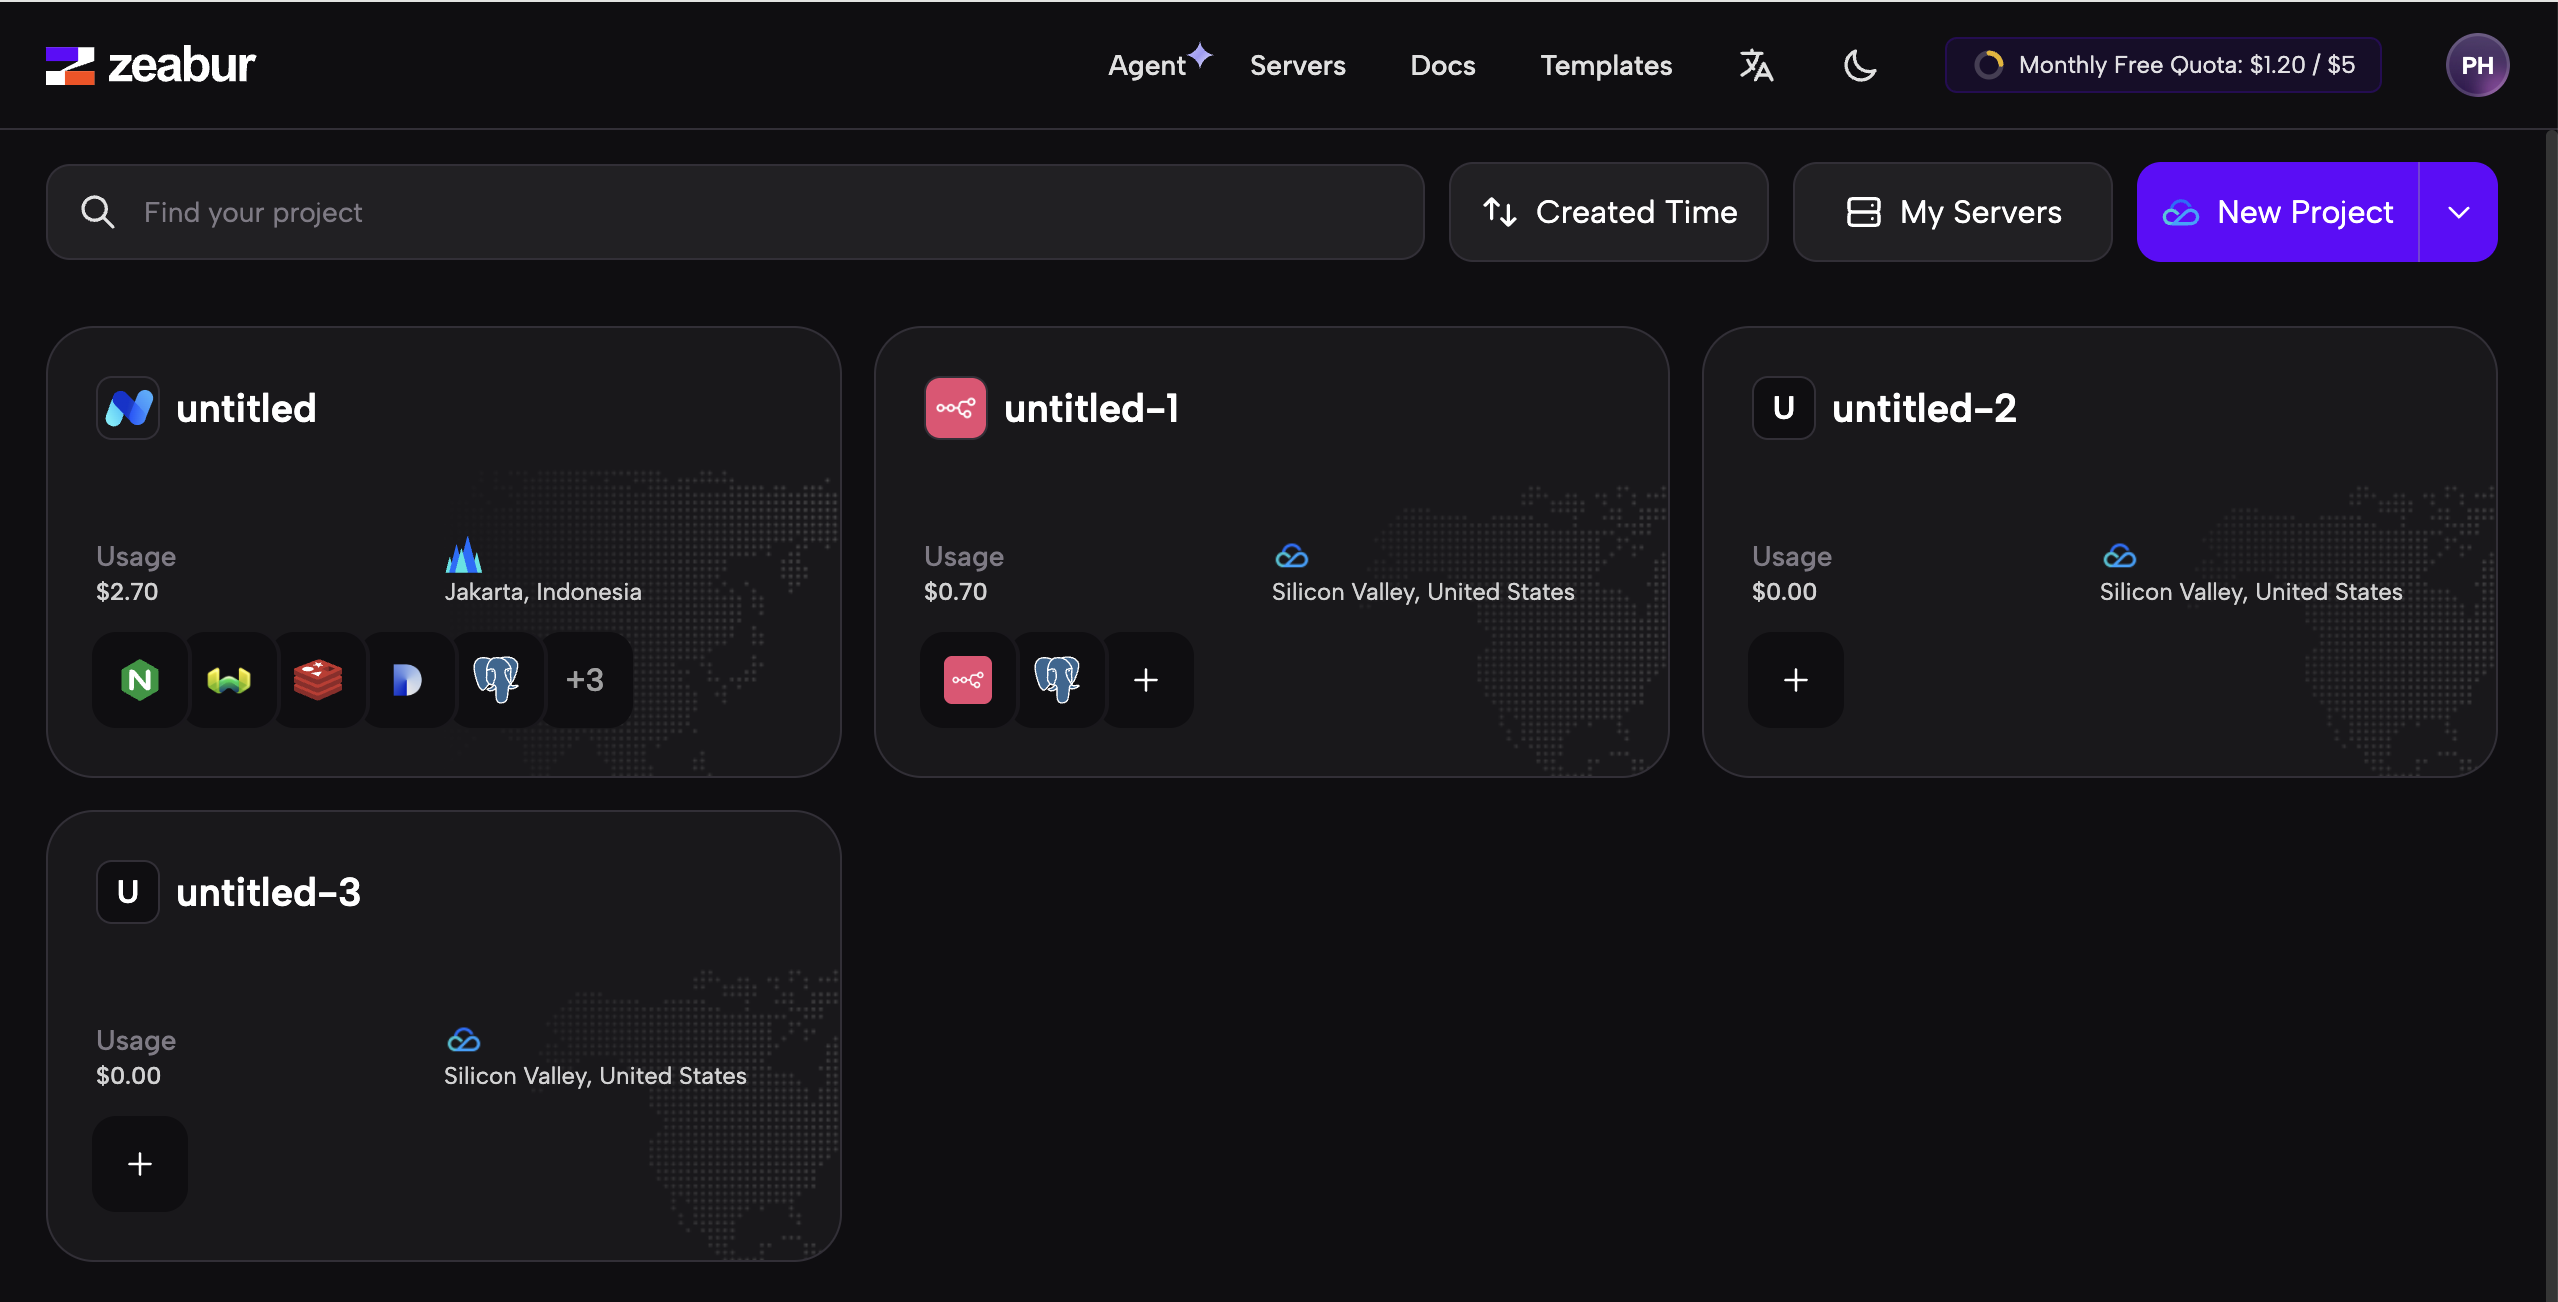
In that interface, you will see a set of service blocks. At the top are options such as Agent, Servers, Docs, and Templates:
- Agent: Zeabur's built-in assistant for operational questions
- Servers: add or buy cloud servers
- Docs: official documentation
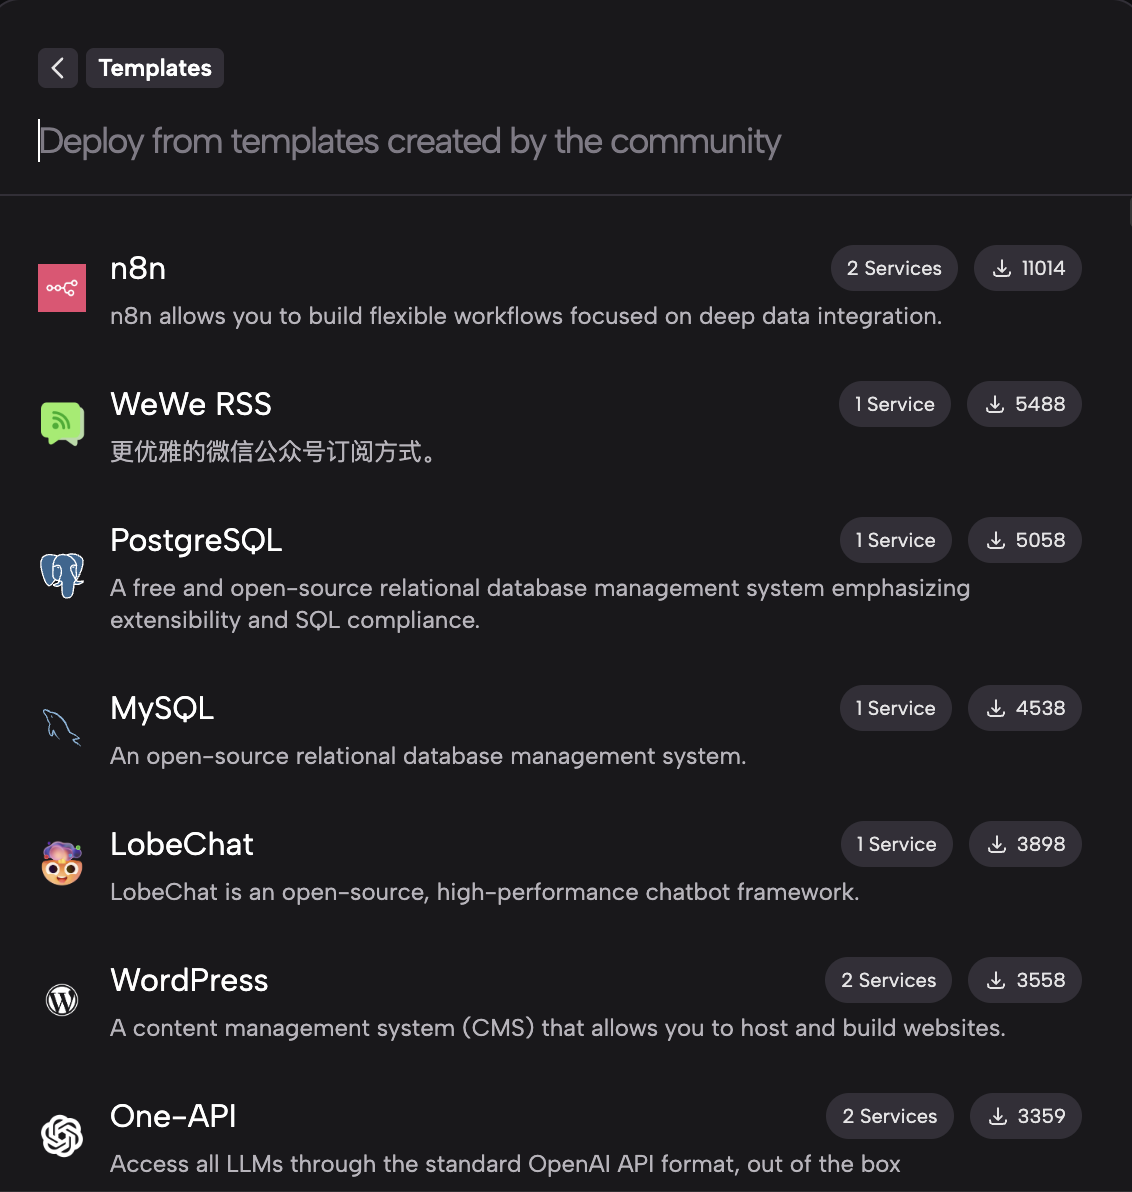
- Templates: built-in application templates
An image can be understood as a packaged runtime environment + application state. If a service has already been configured successfully on one machine, it can be packed into an image and reused elsewhere.
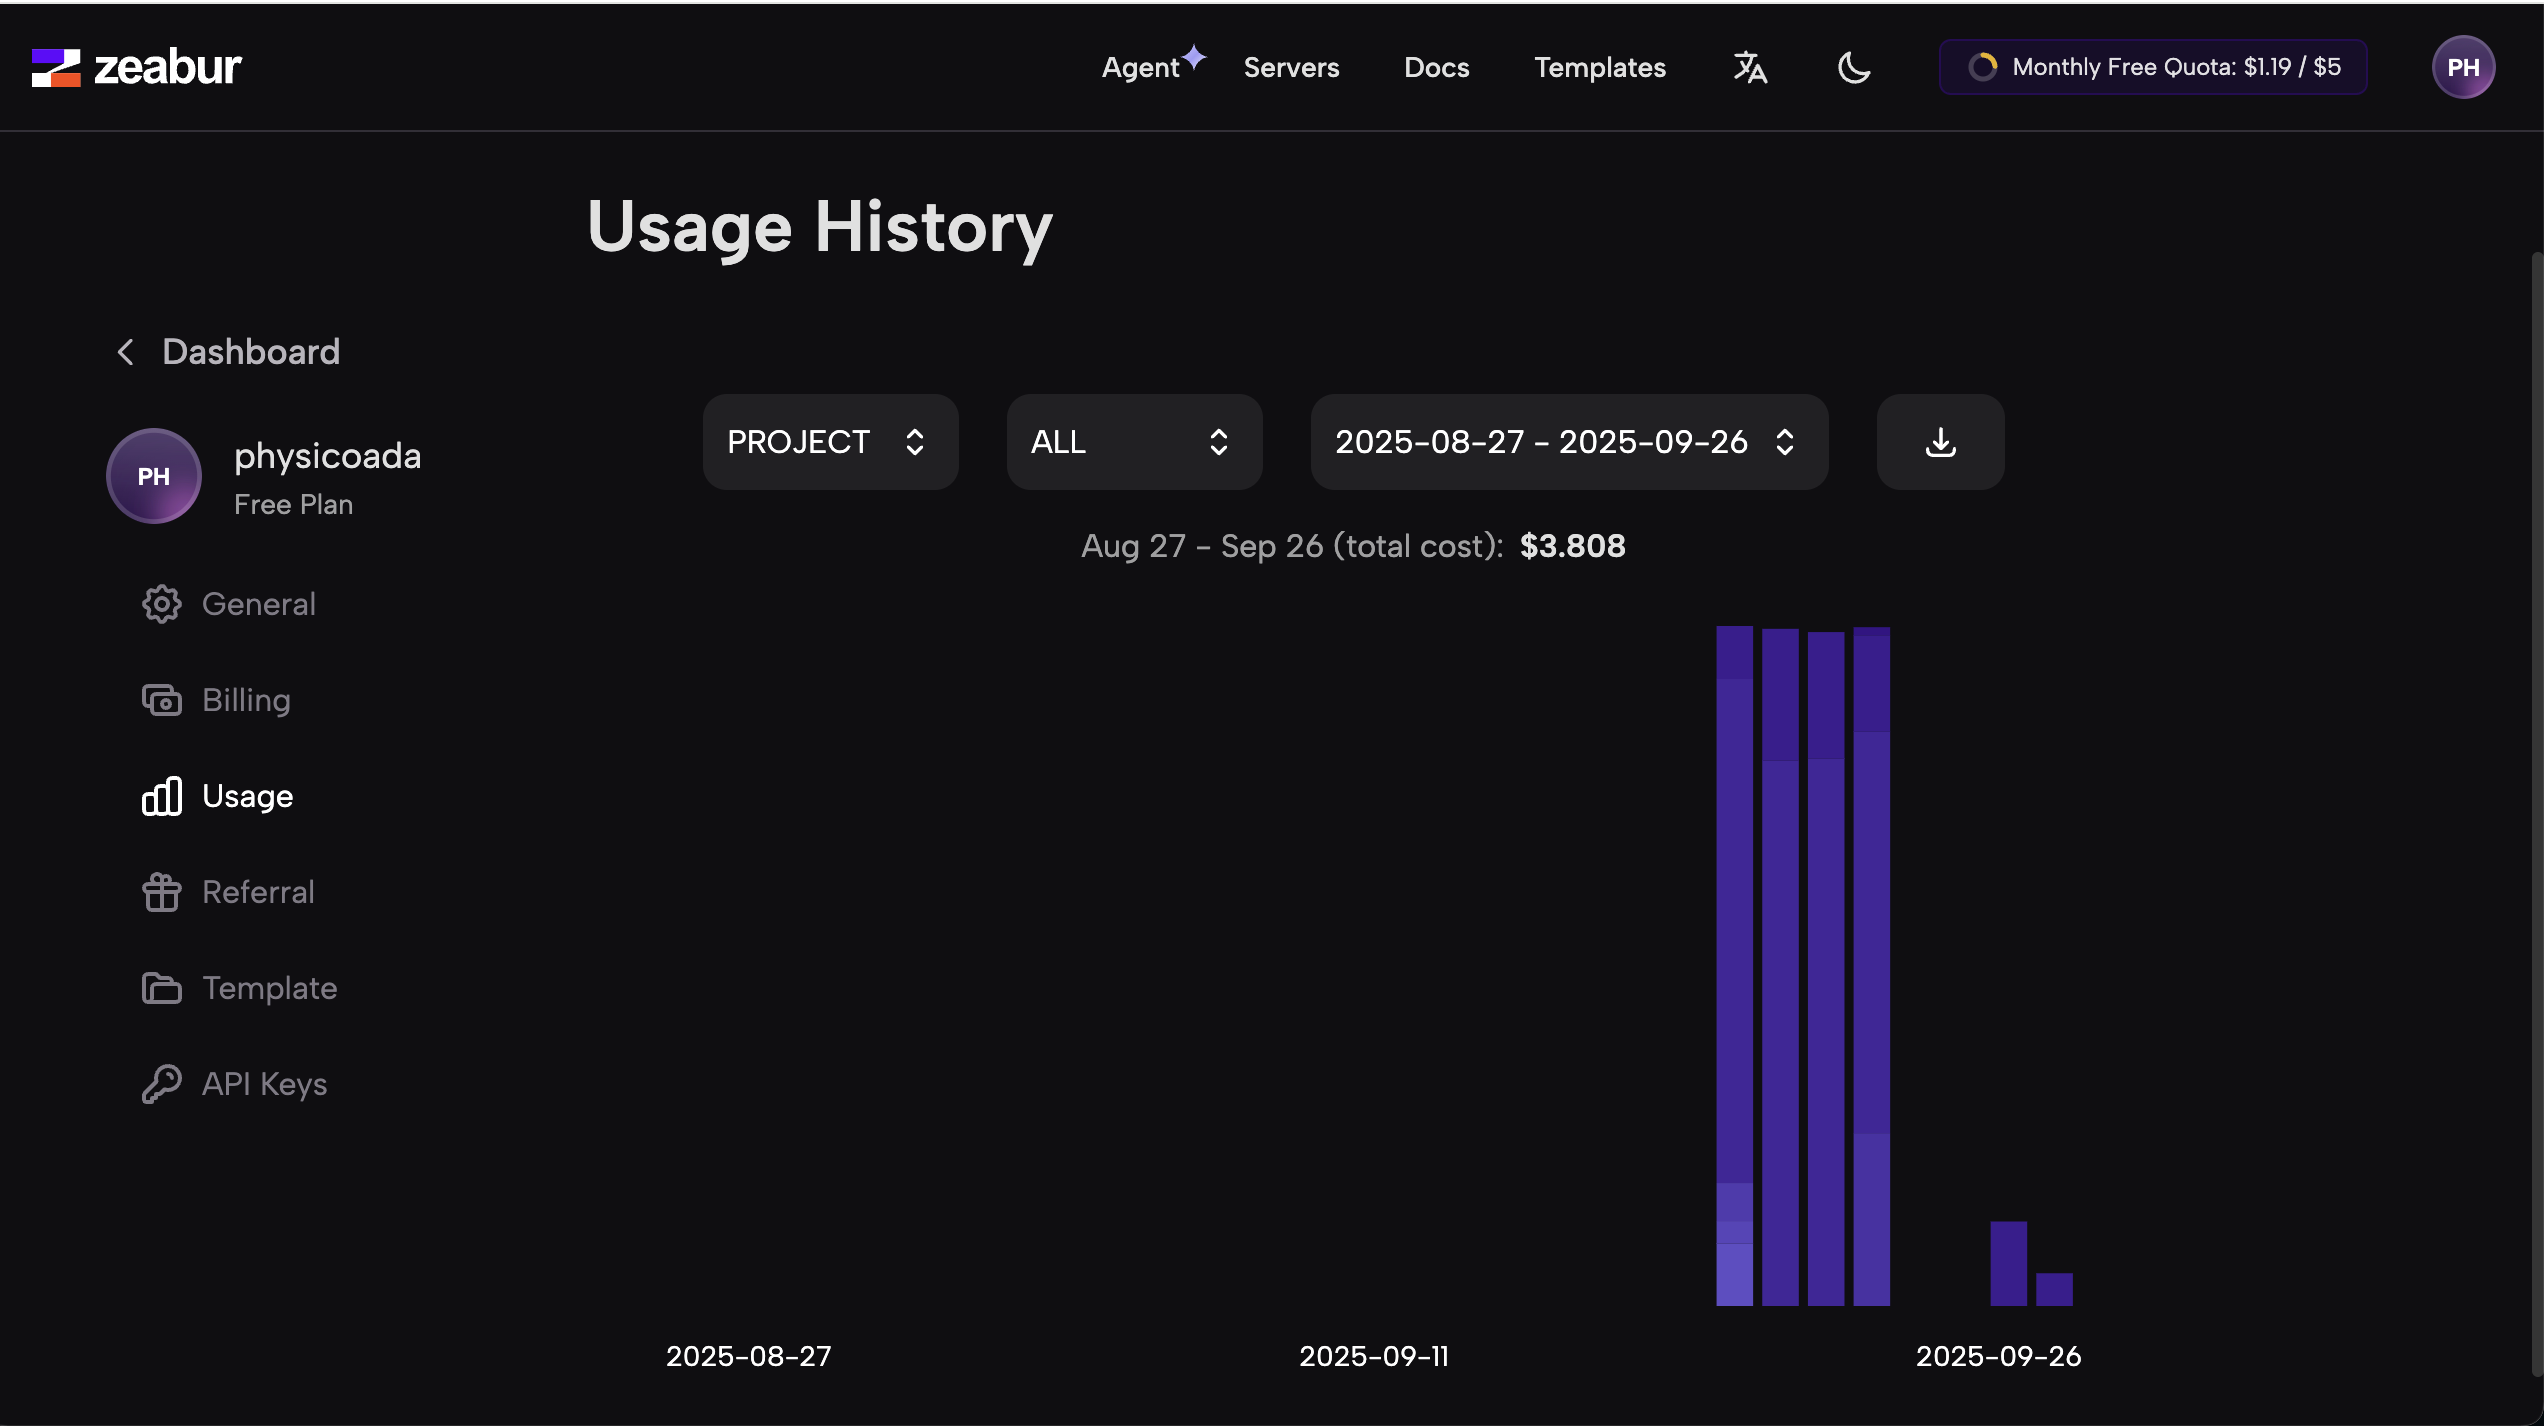
In the upper-right corner, you can also see your balance. By default, Zeabur usually gives you a small monthly free quota, roughly around 5 USD worth of usage.

You can click the balance to inspect daily usage:
Now let's create a Dify service.
Start by clicking New Project on the console homepage:

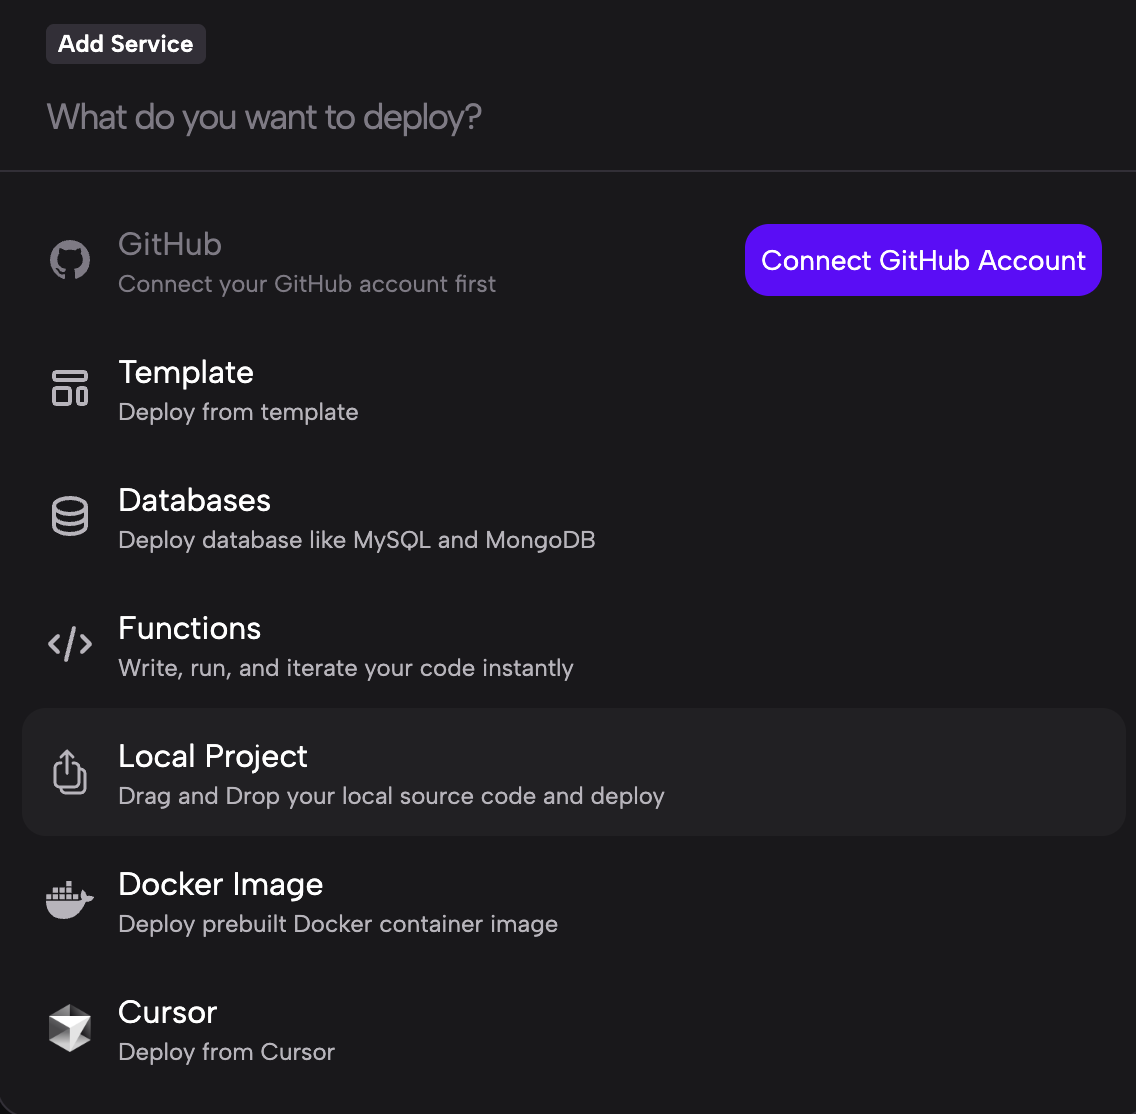
Zeabur supports several ways to create a service:
- GitHub Connect your GitHub account and deploy directly from a repository.
- Template Start from a built-in app template such as Dify or n8n.
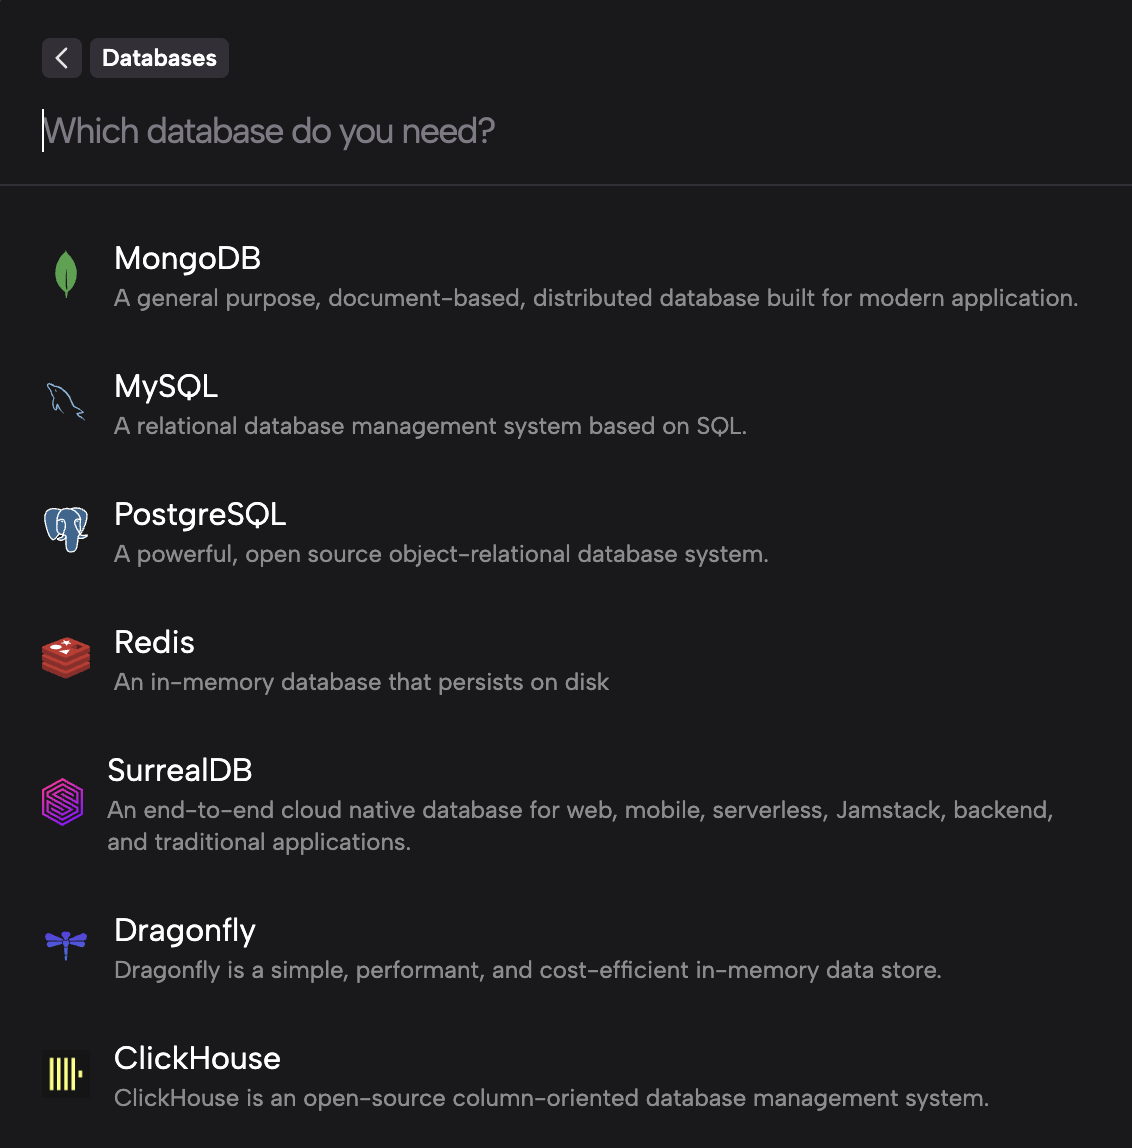
- Databases Deploy databases such as MySQL or MongoDB.
- Functions Deploy JavaScript or Python functions.
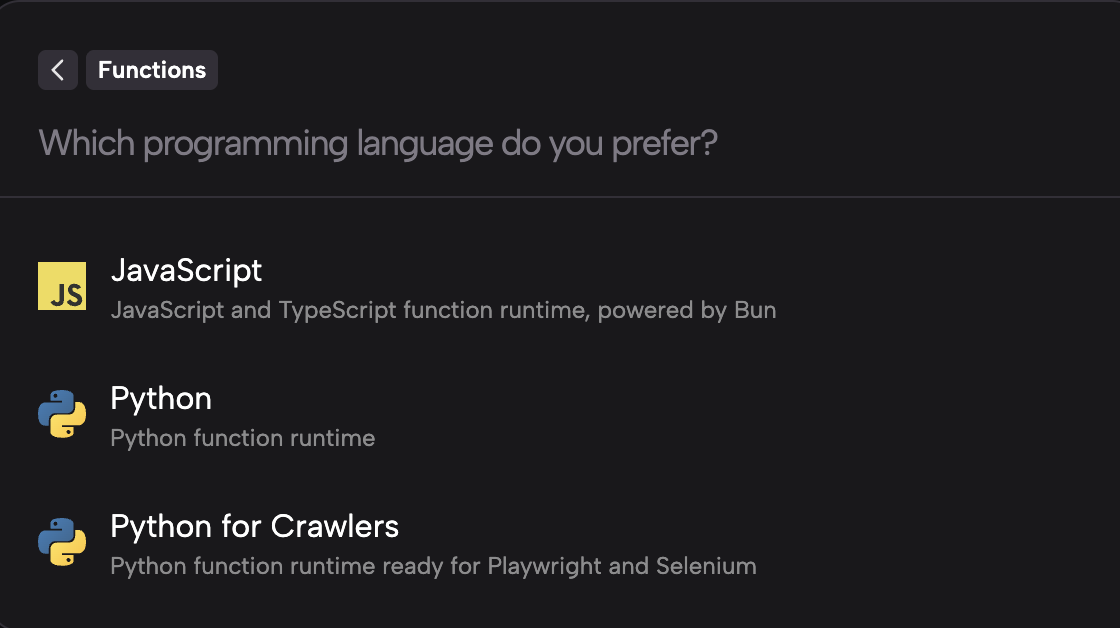
- Local Project Upload a local folder and let Zeabur detect how to run it.
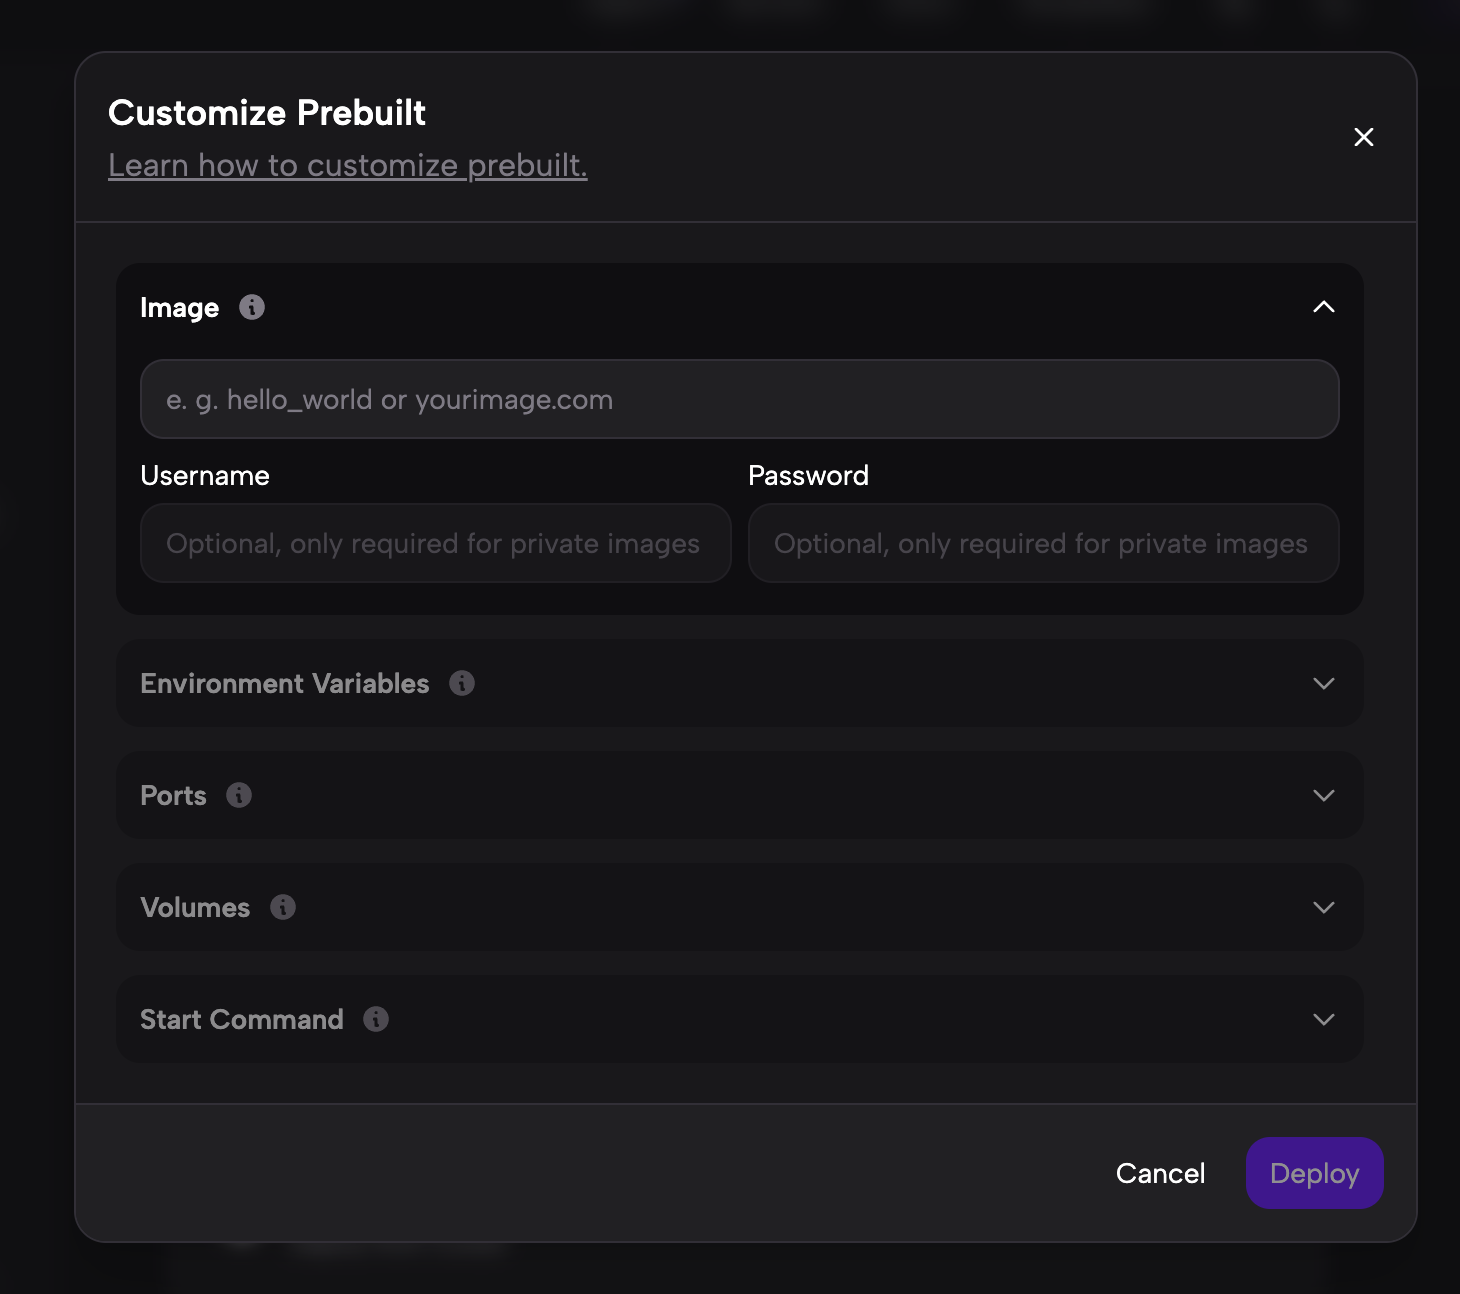
- Docker Image Deploy from an already built Docker image.
- Cursor Deploy directly from a project you are editing in Cursor.
If you want to deploy Dify, the easiest path is Template. Search for dify, choose a version you like, and continue.
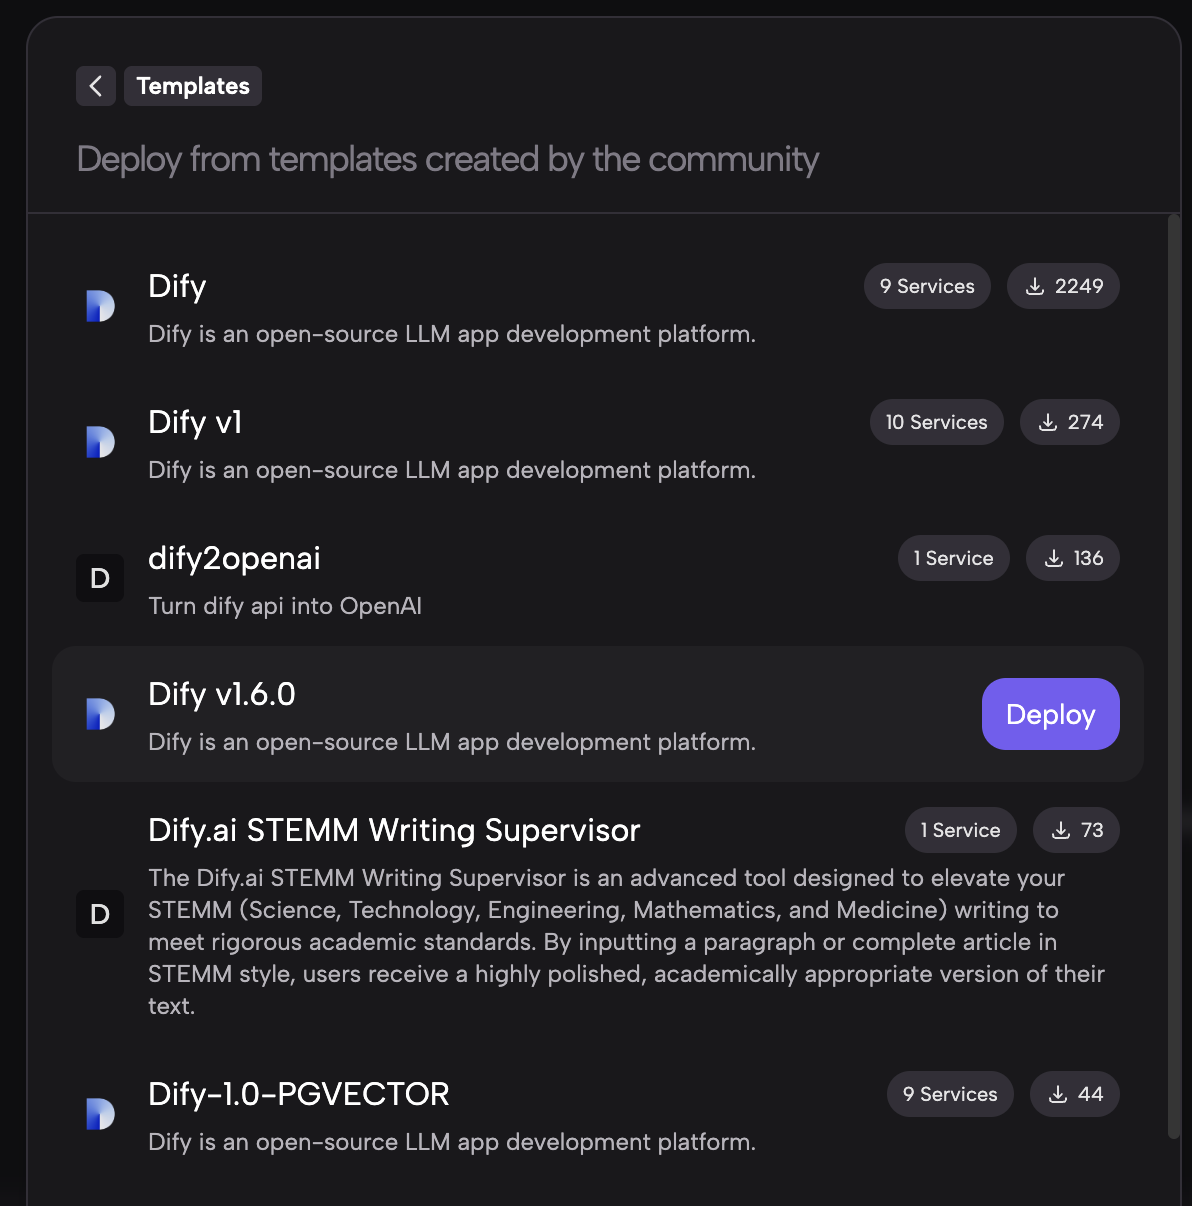
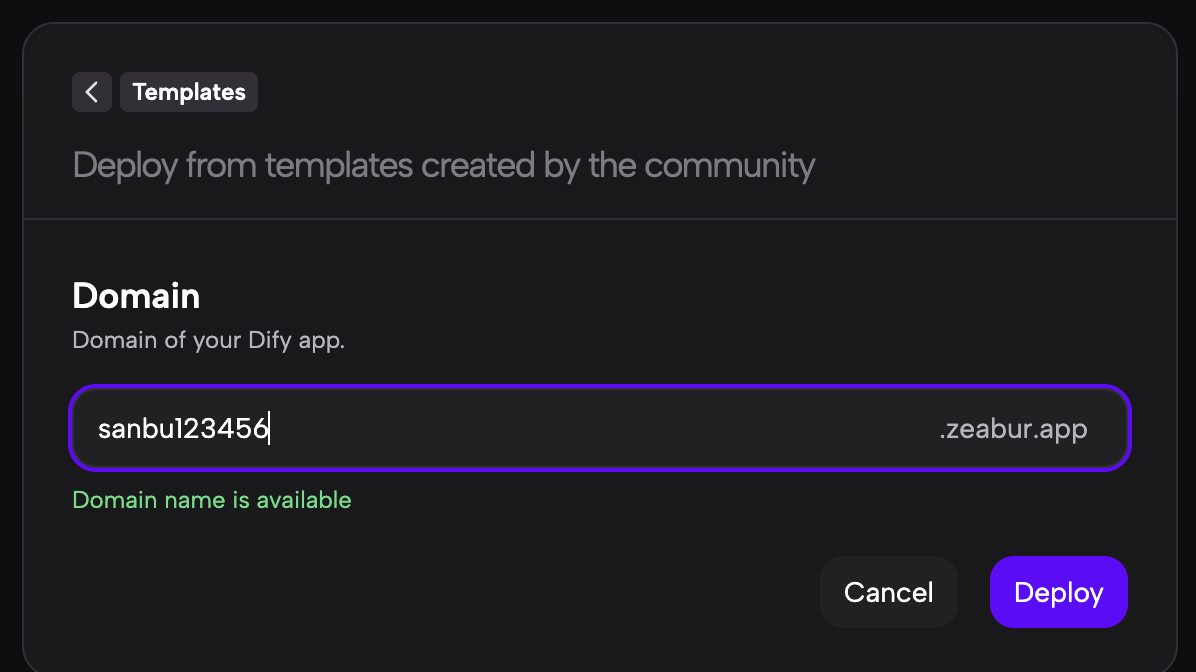
Then choose any project name. Zeabur will generate a temporary domain based on that name.
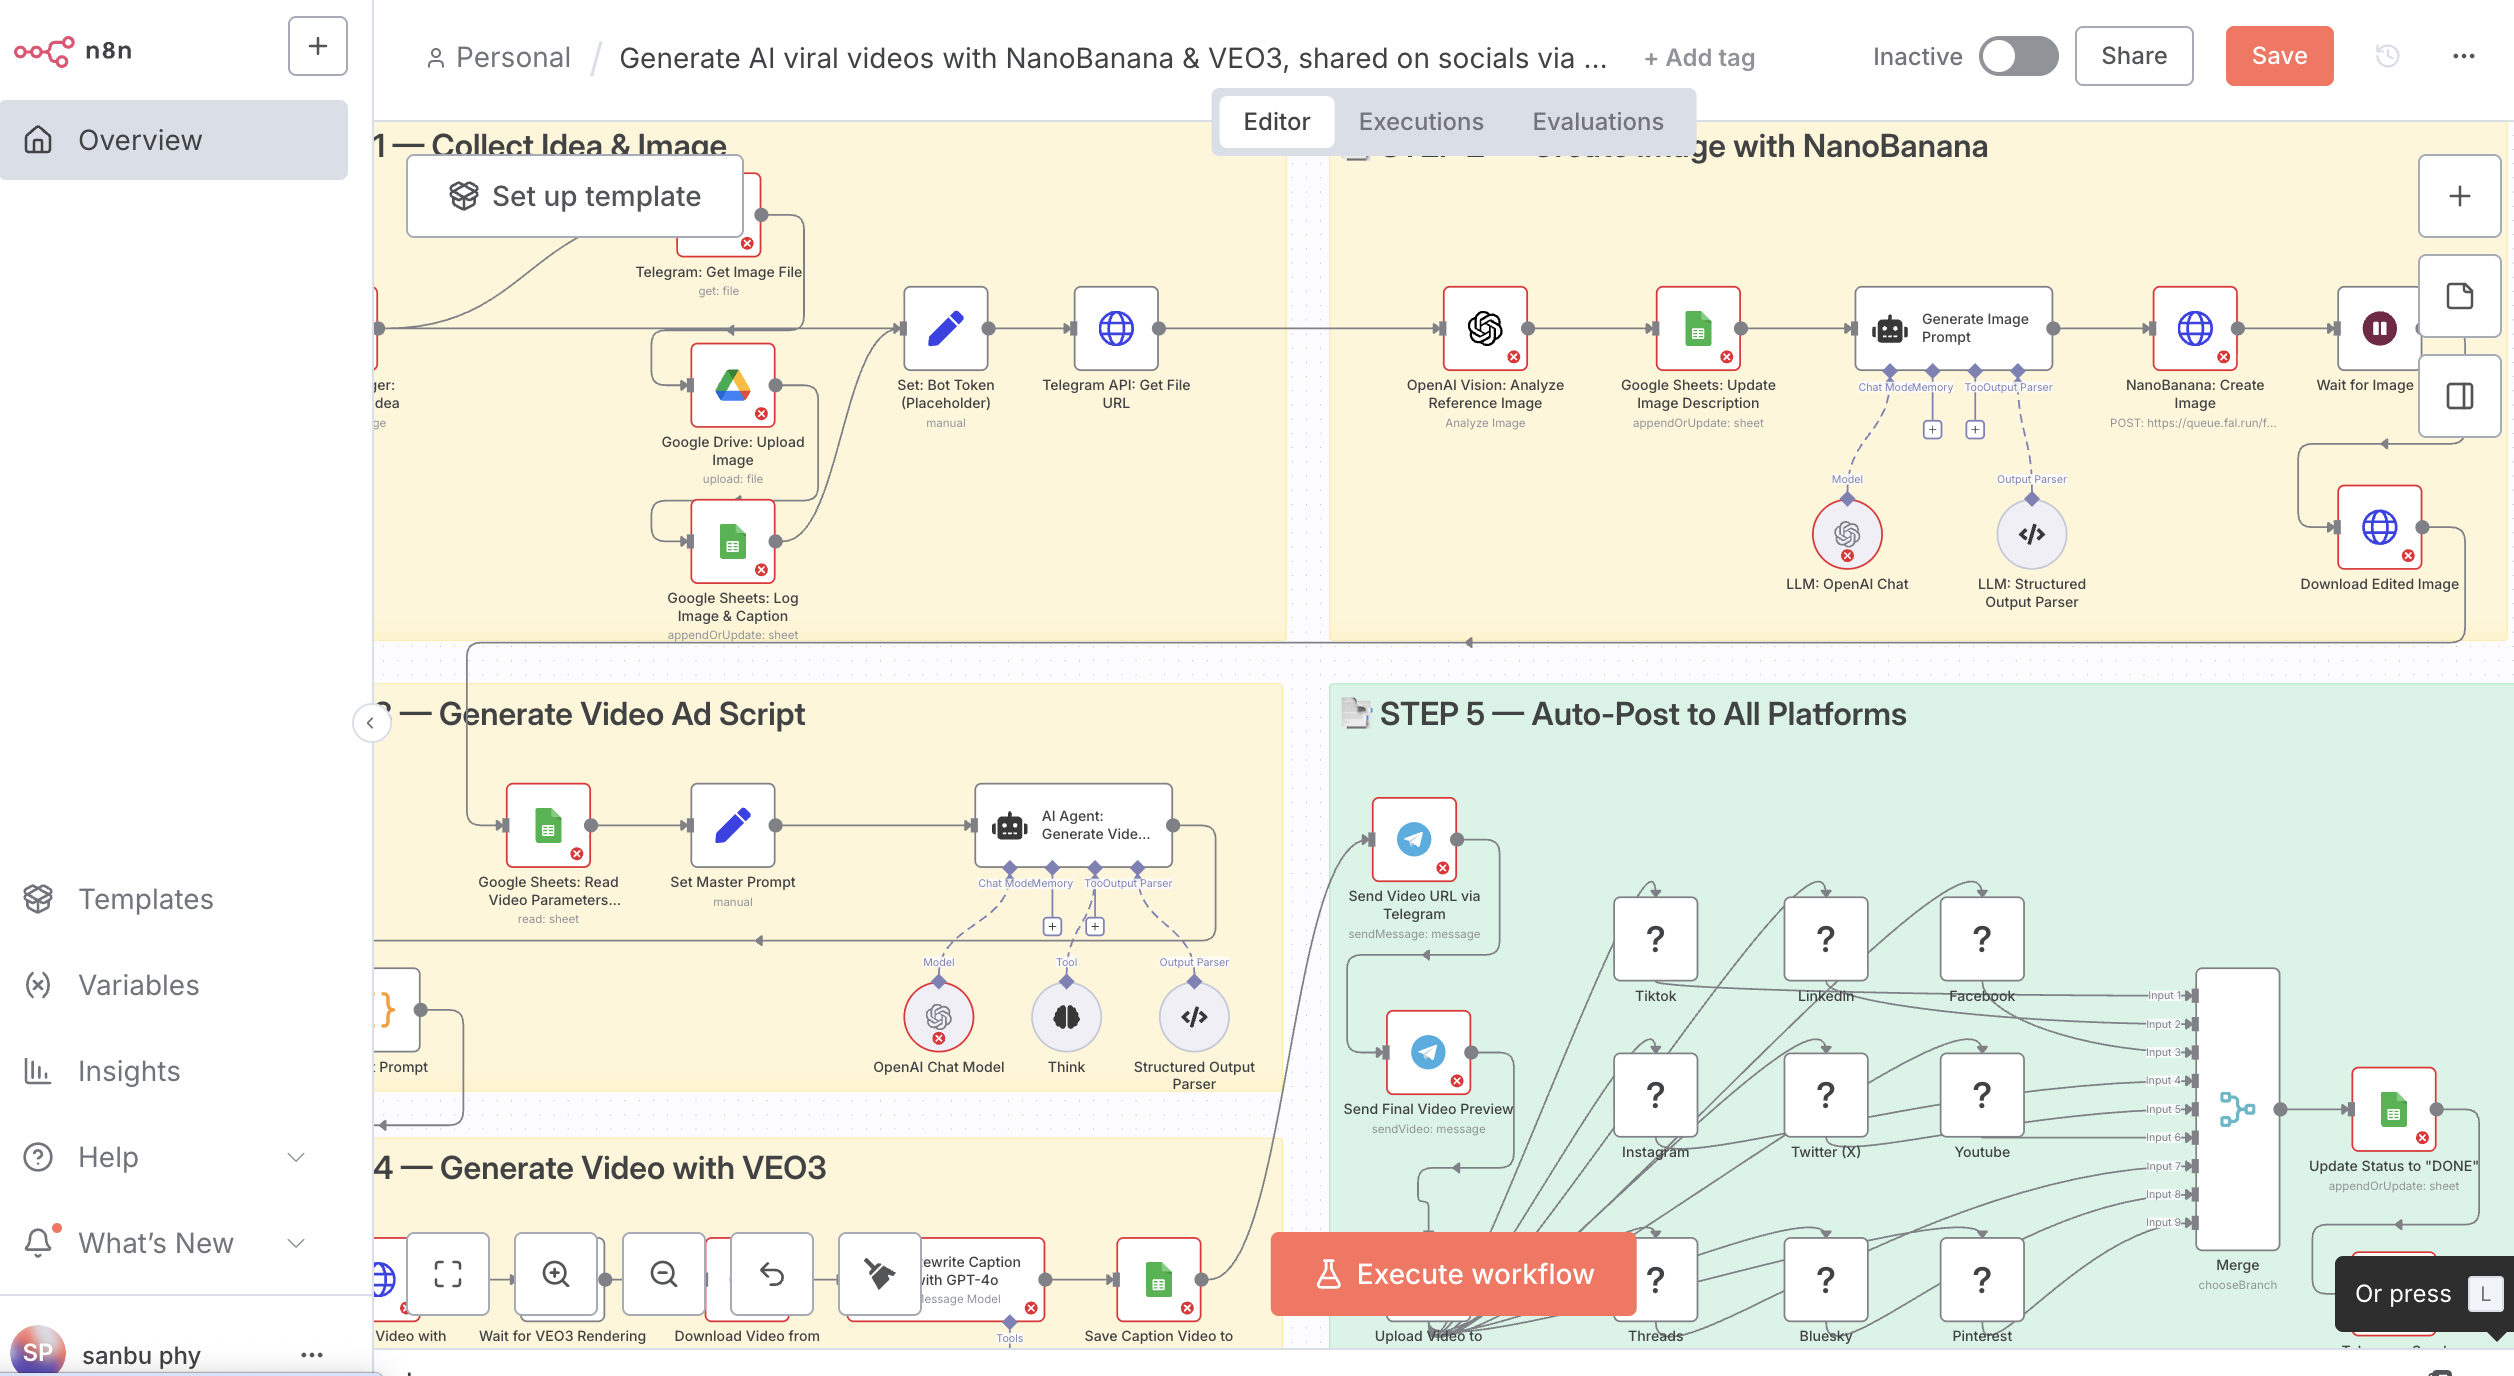
After creation, you will see multiple services starting one after another. Dify is not a single program, but rather a group of coordinated services, so you need to wait until they are all running.
In many setups, you can click the main Dify app to get the access address. In this example, however, the final entry point is exposed through nginx, so you need to open the nginx service and find the public service address there.
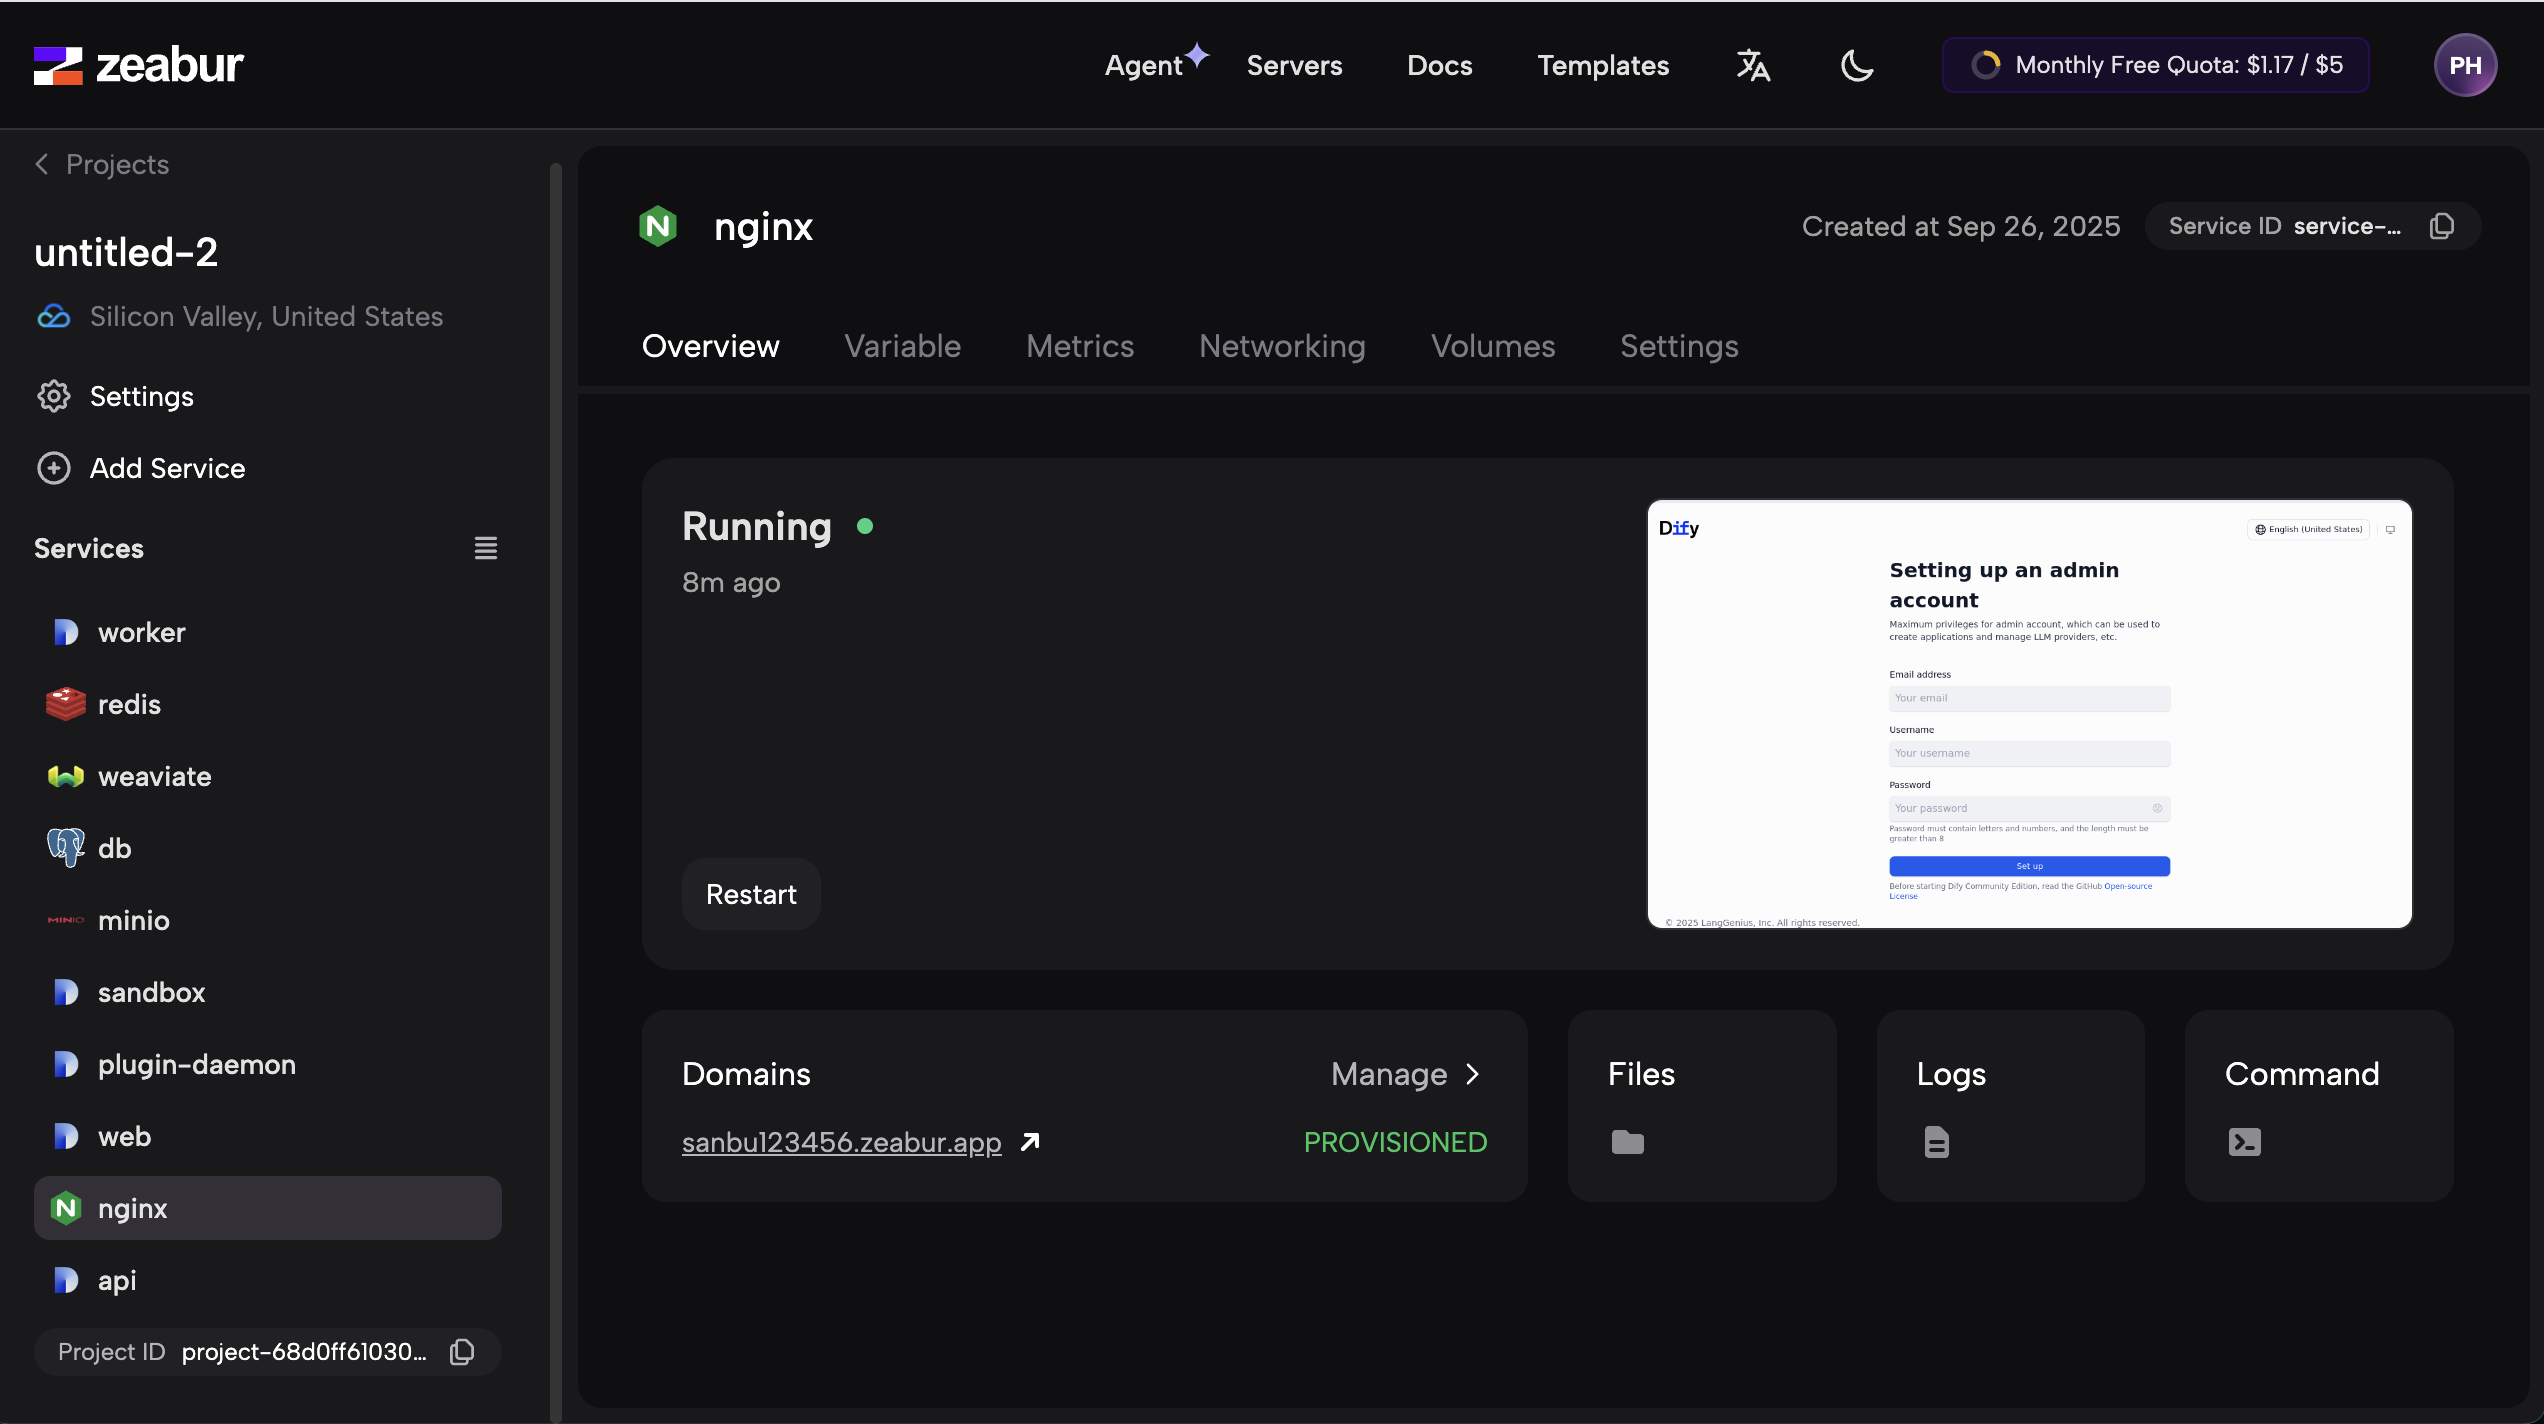
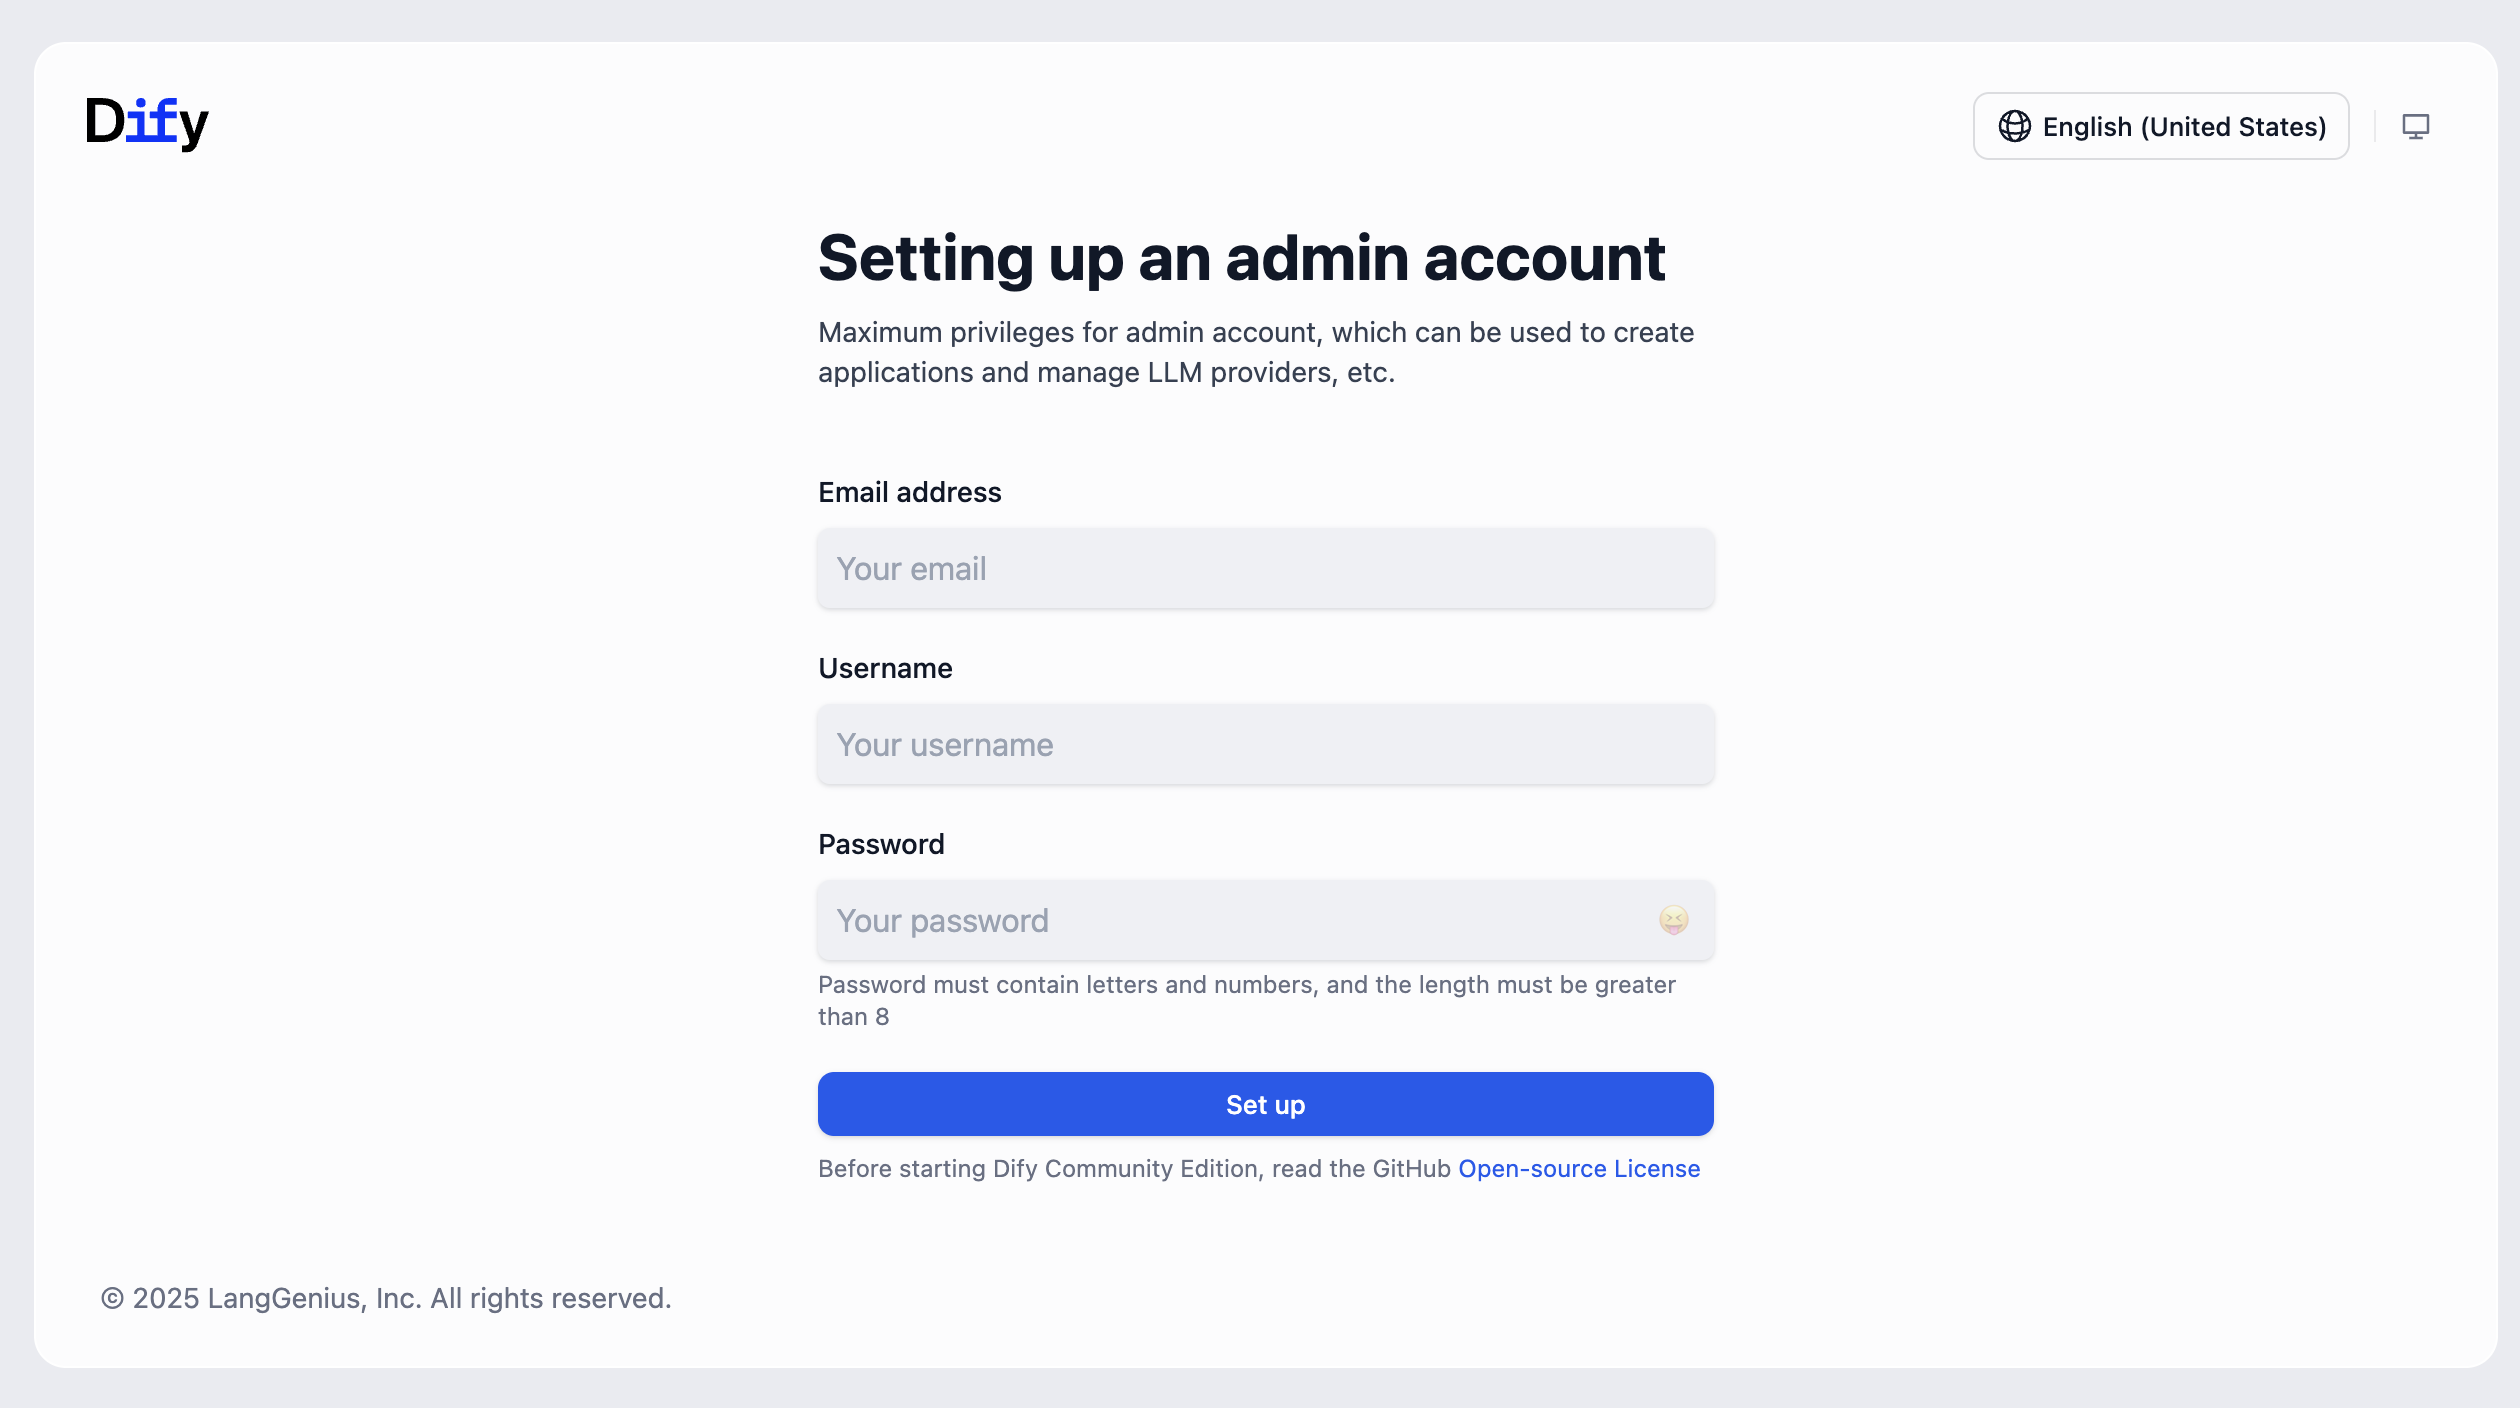
After waiting a bit, you should see the Dify login screen. Register an account with your email and password, and your own Dify service is ready.
You can also launch n8n in a similar way if you want another AI workflow tool:
Deploy a Snake game with Zeabur and Trae
To explore Zeabur's more advanced usage, let's deploy something simpler first: a Snake game generated with Trae.
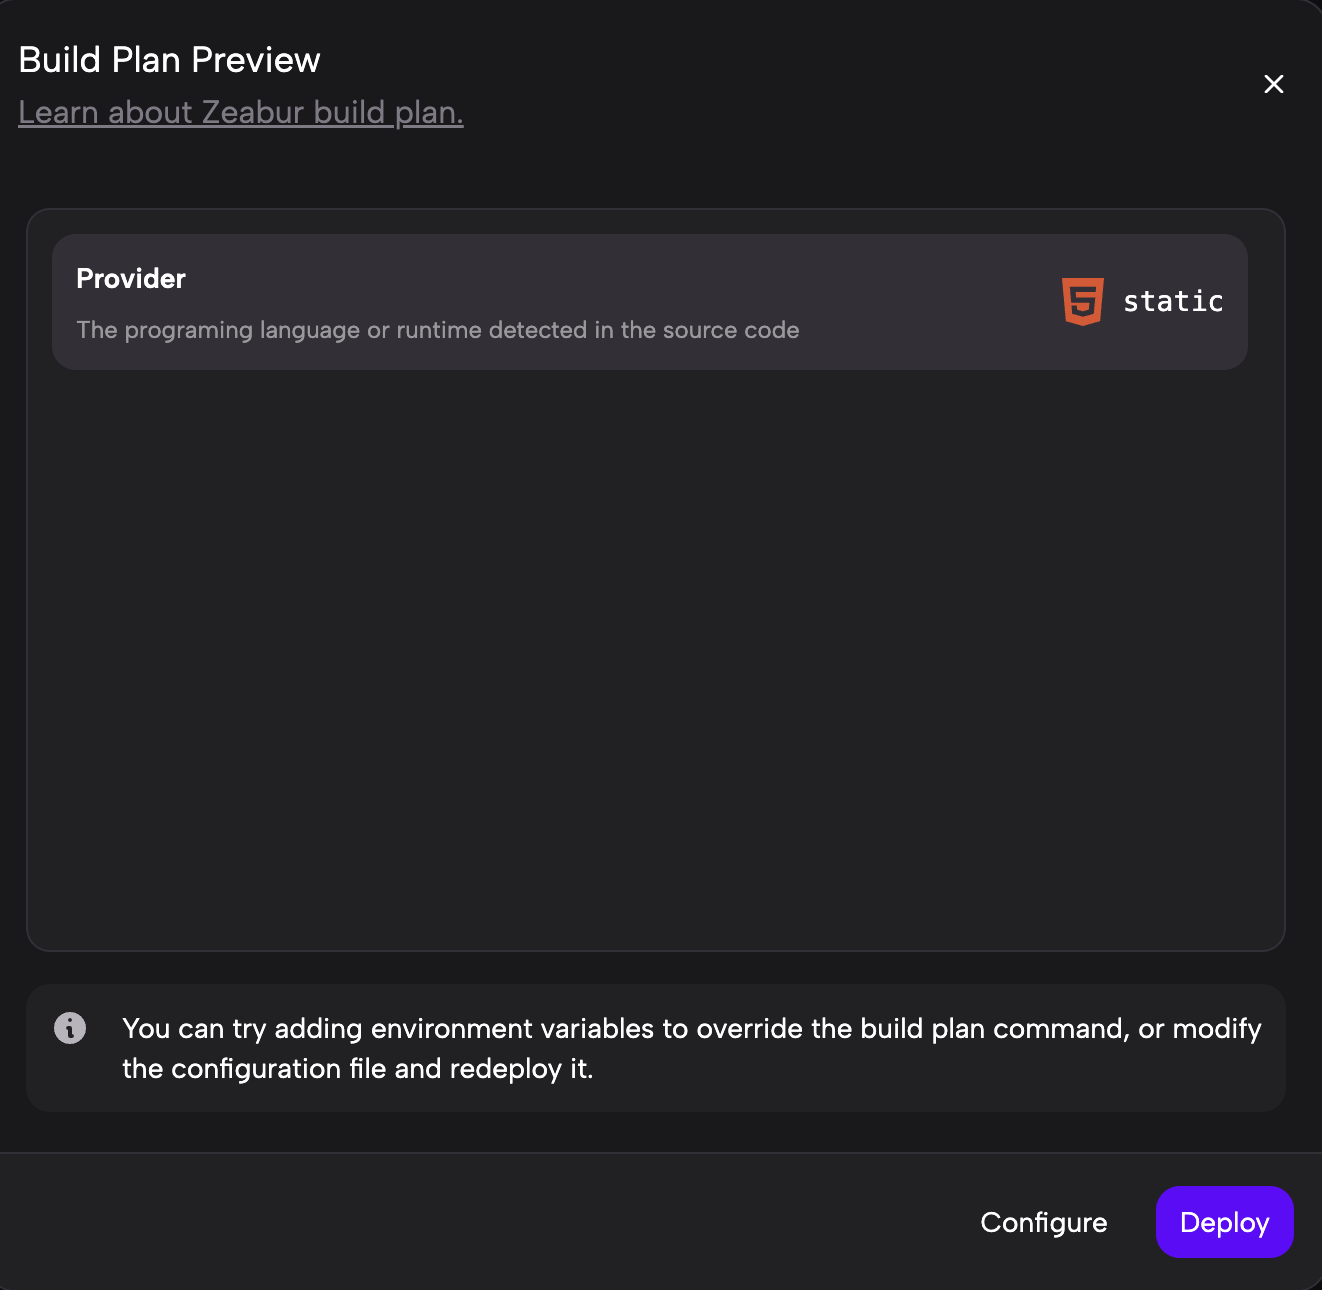
Deploy an HTML-based version
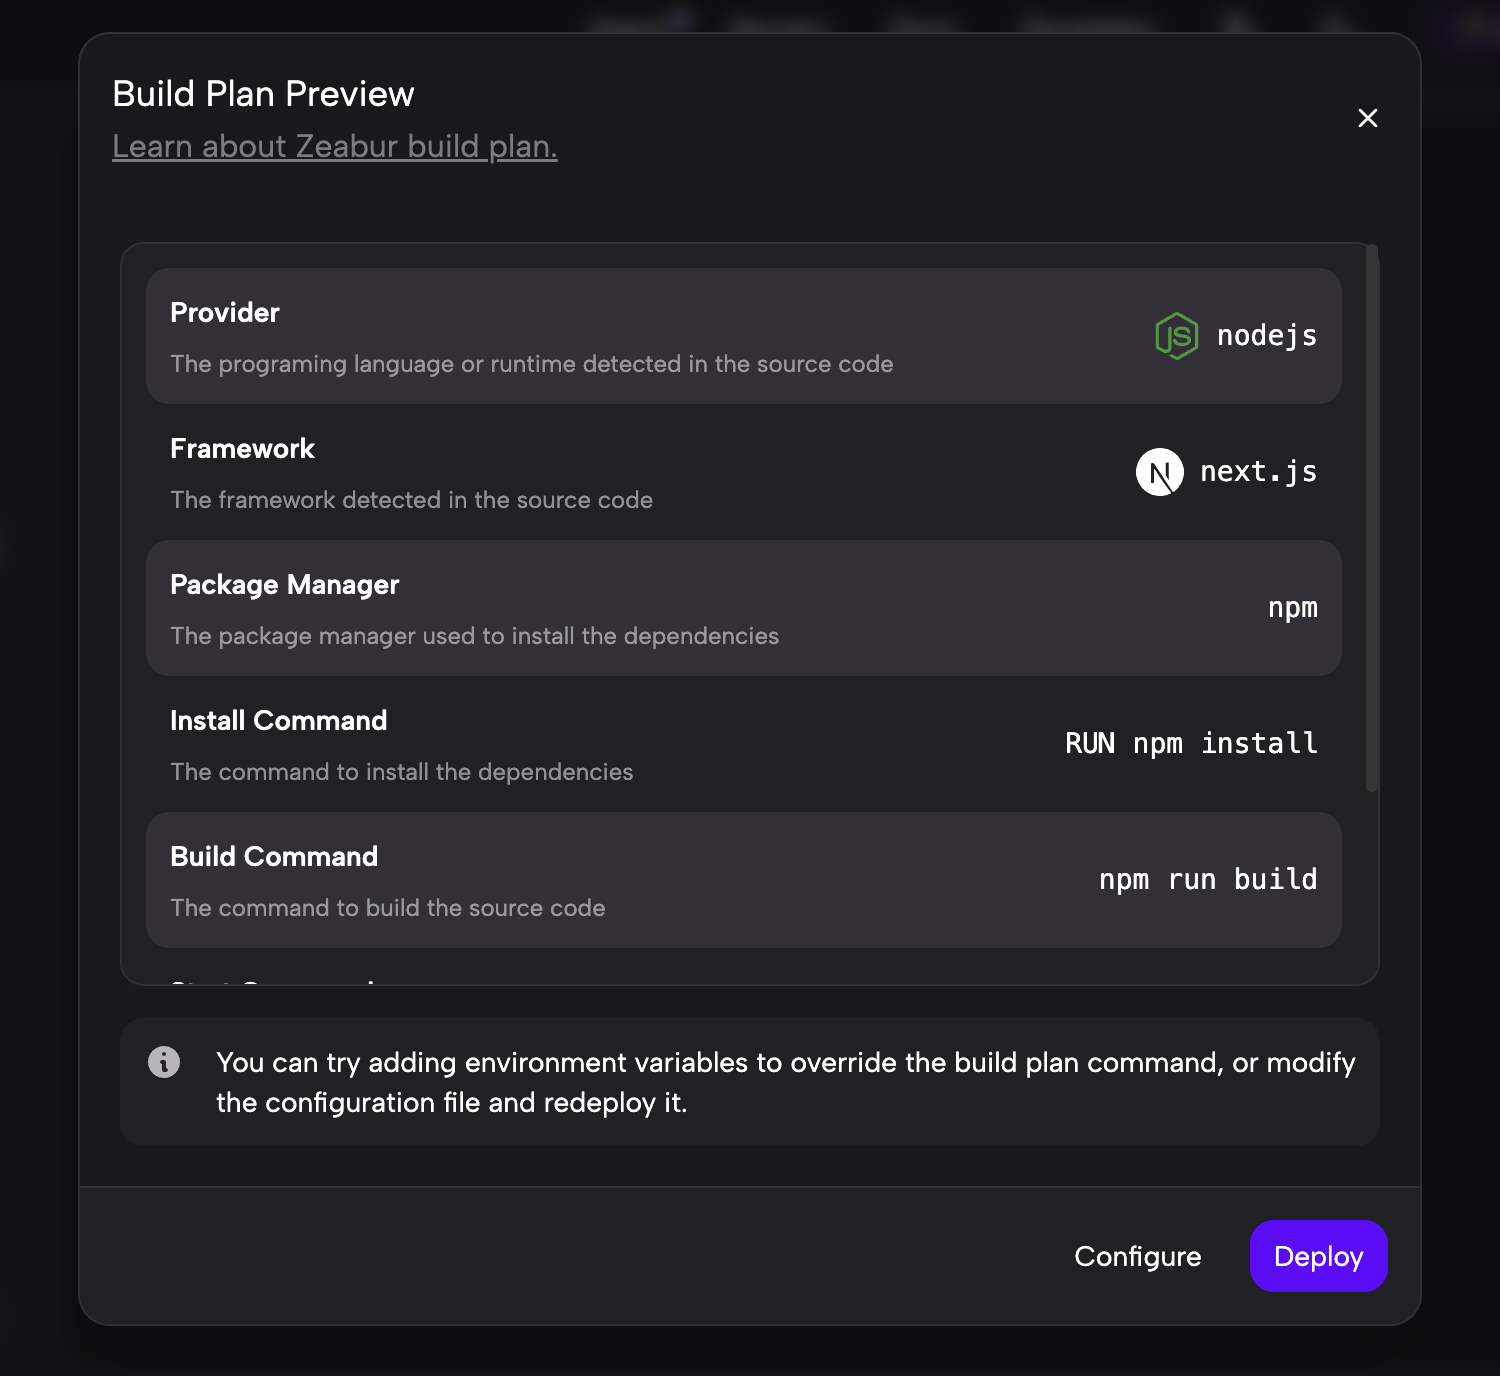
Trae can generate a browser-based Snake game from plain HTML very easily. Once the project is created locally, you can upload the whole folder to Zeabur using the local-project deployment method described above.
After deployment, you will enter the service details page:
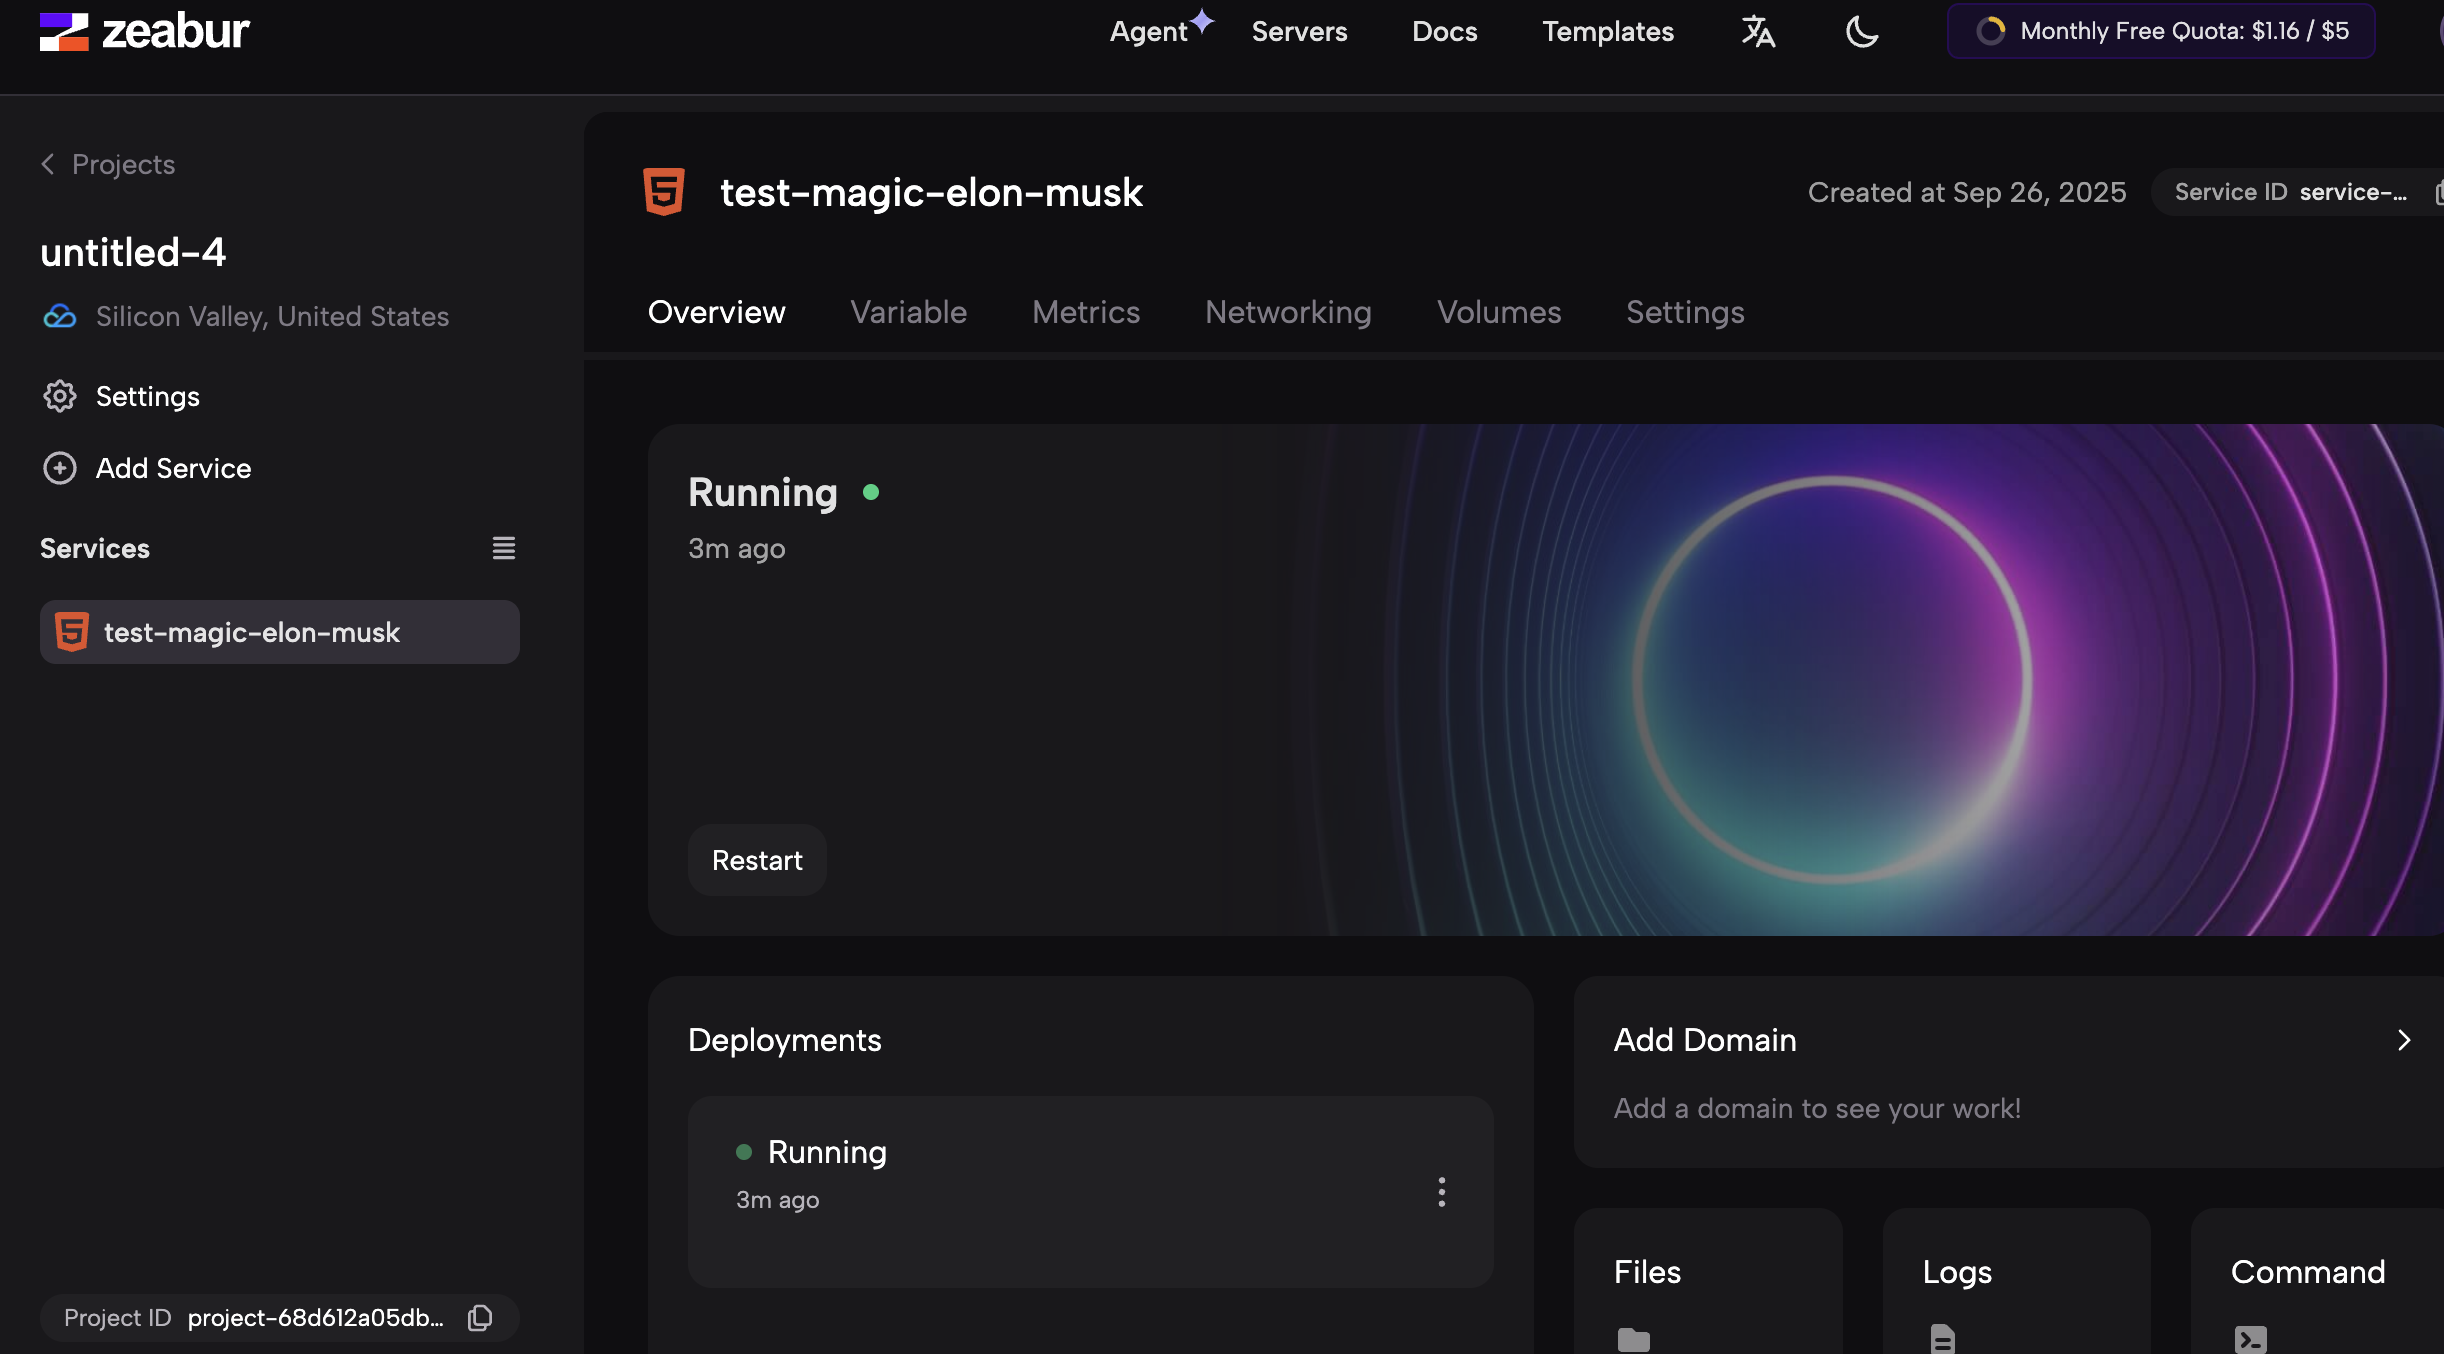
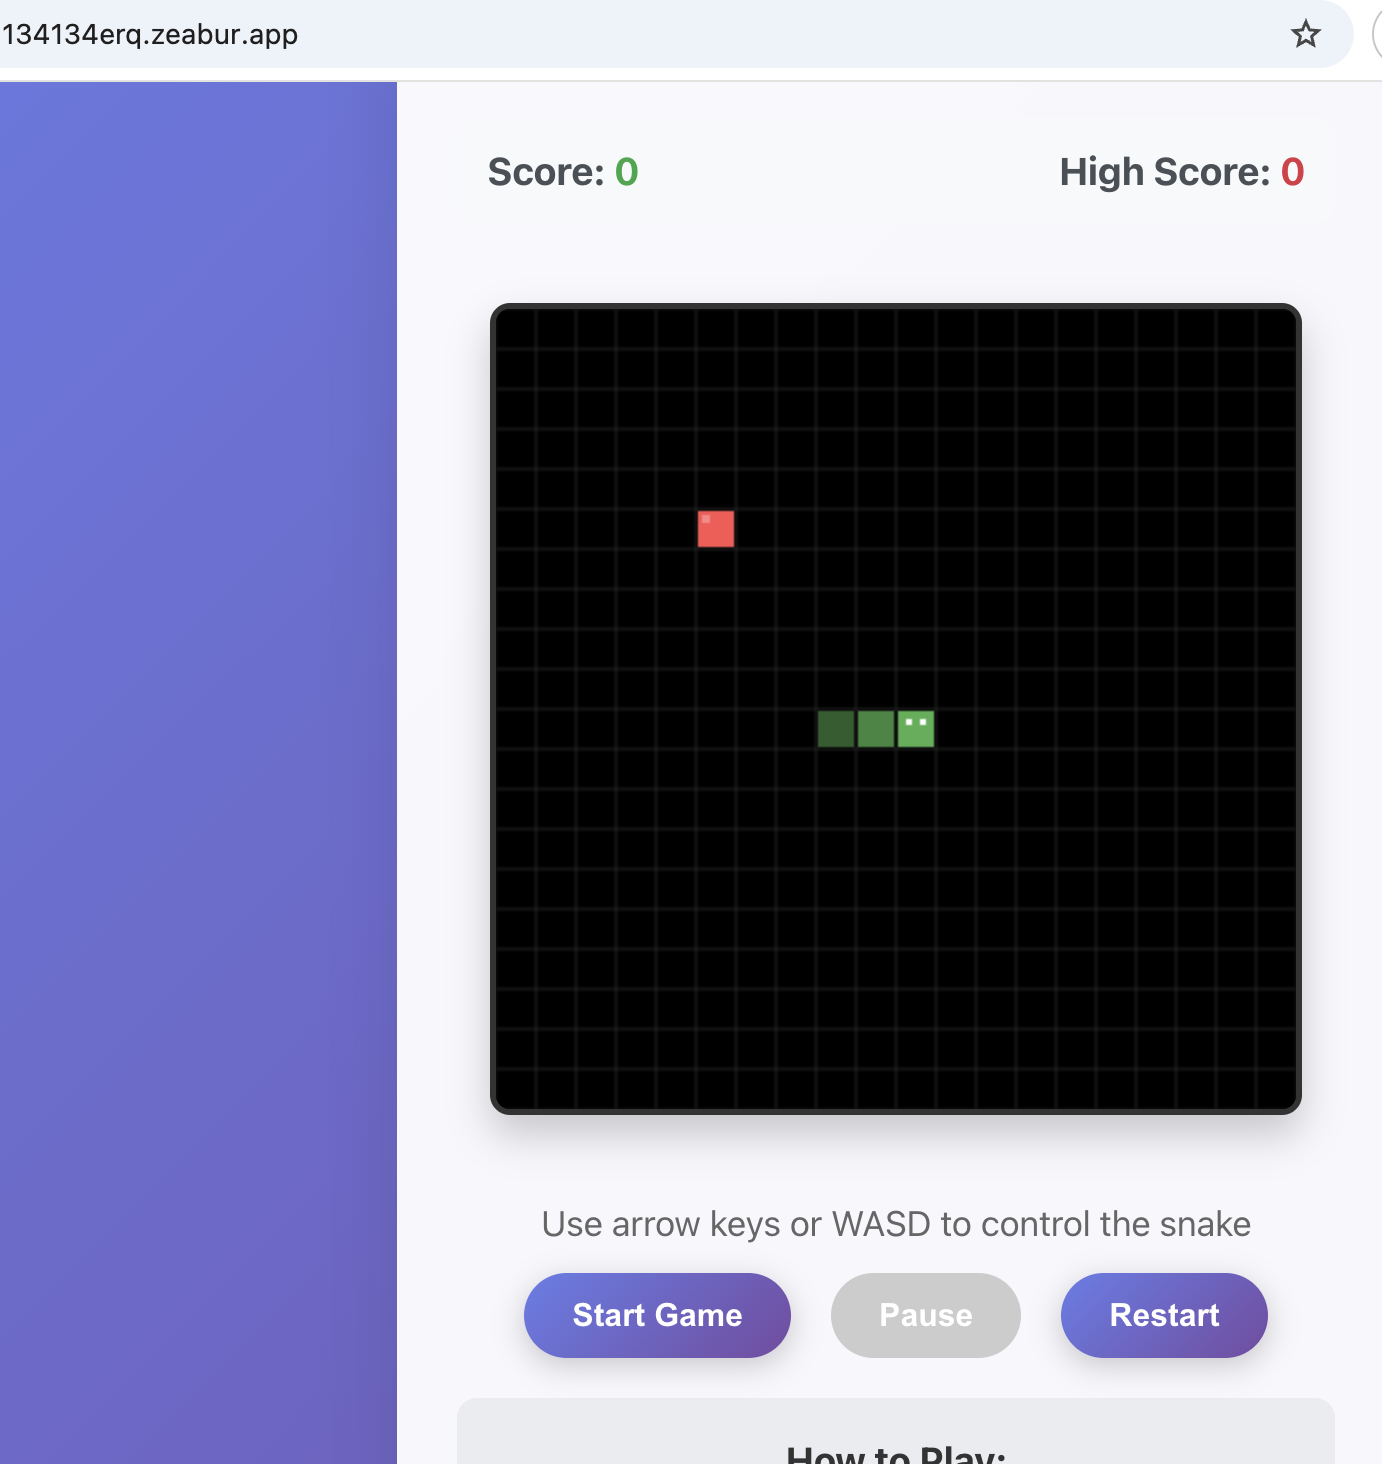
Click Network on the left, find Public Address, and click Generate Domain to create a public URL.
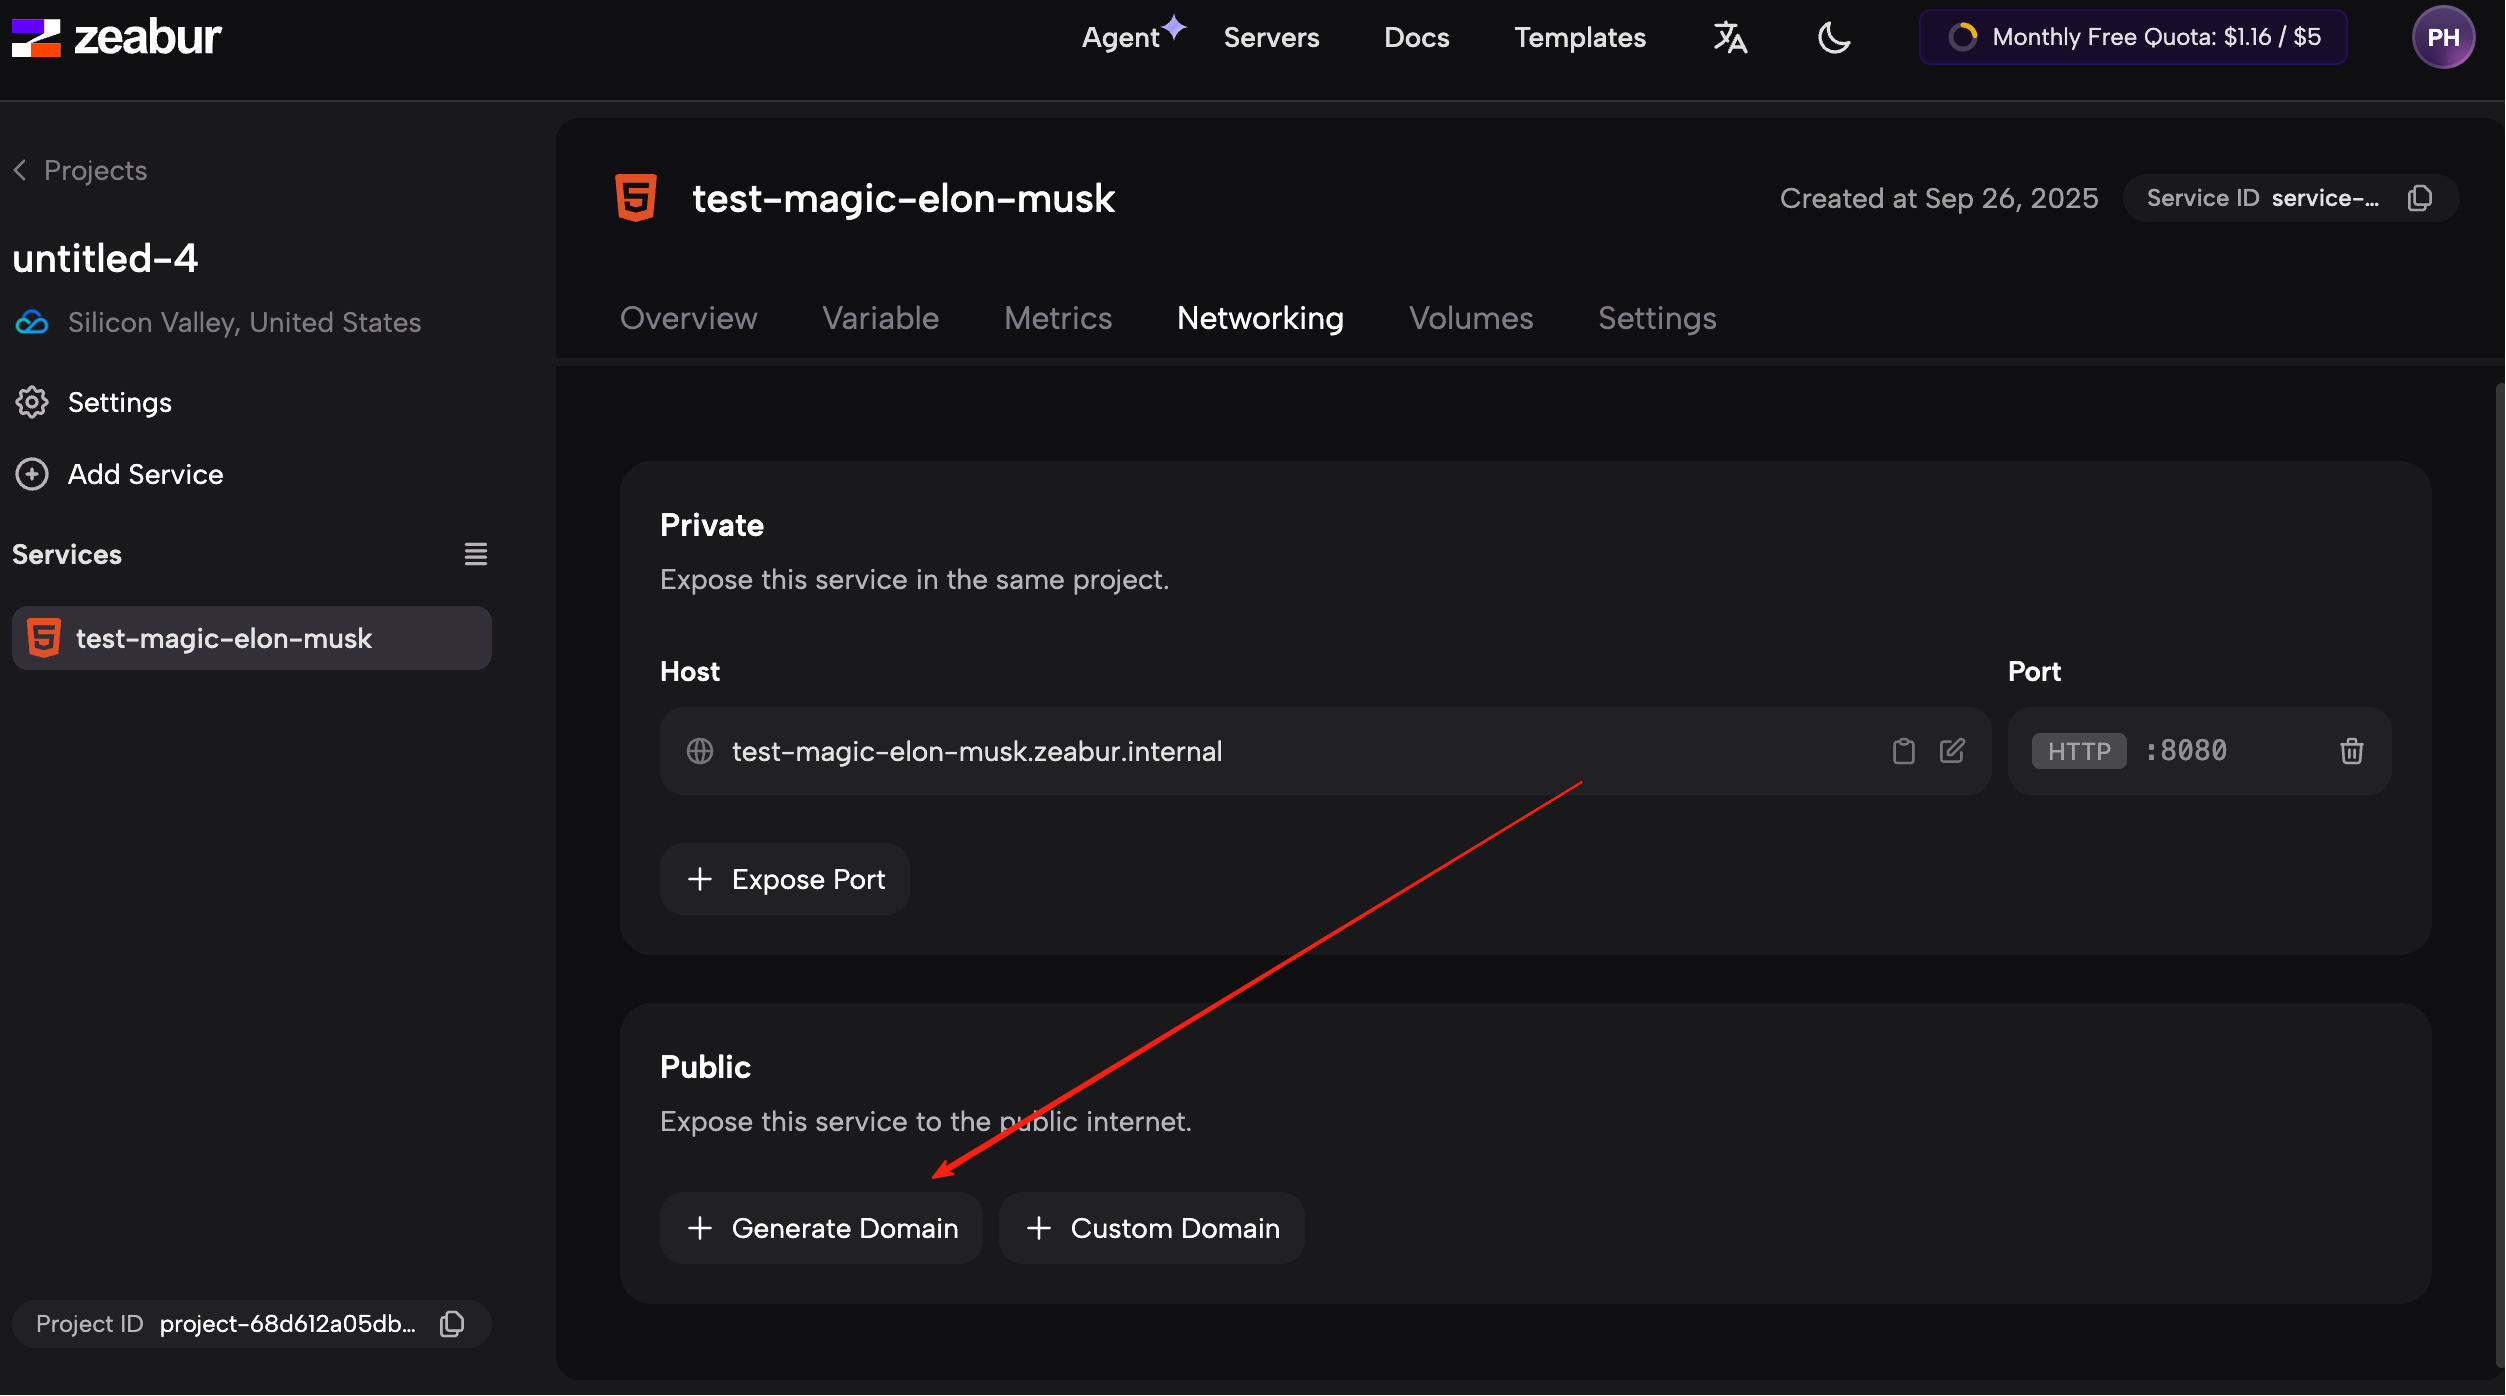
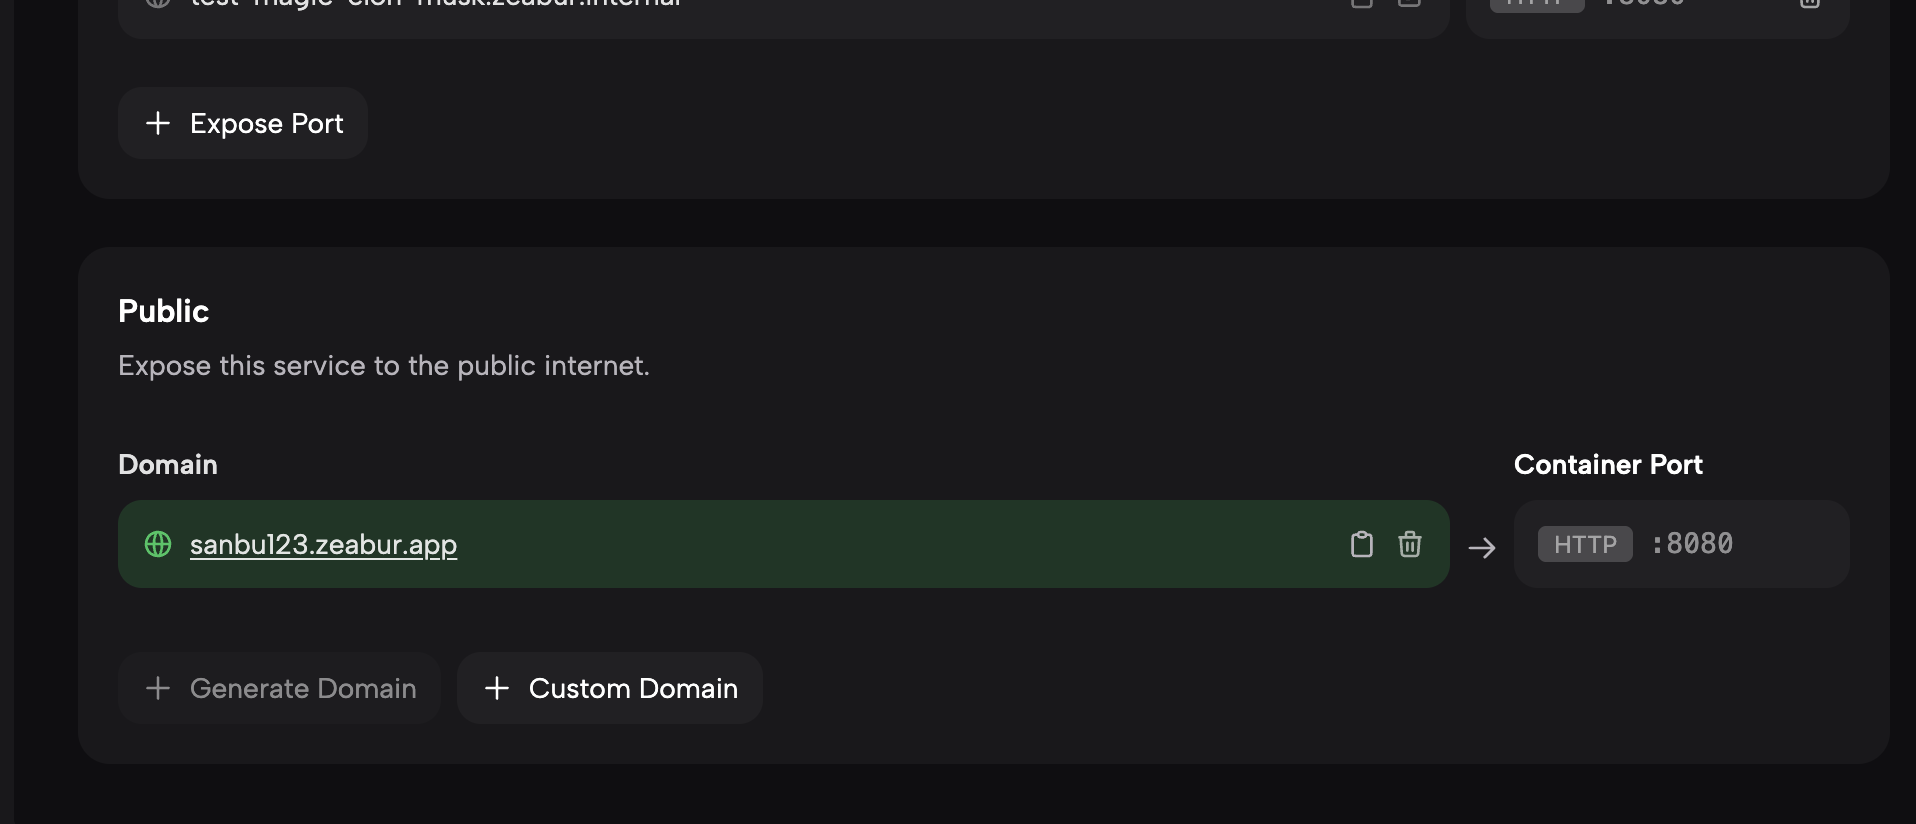
Once that address is generated, opening it in the browser will let you play your Snake game publicly:
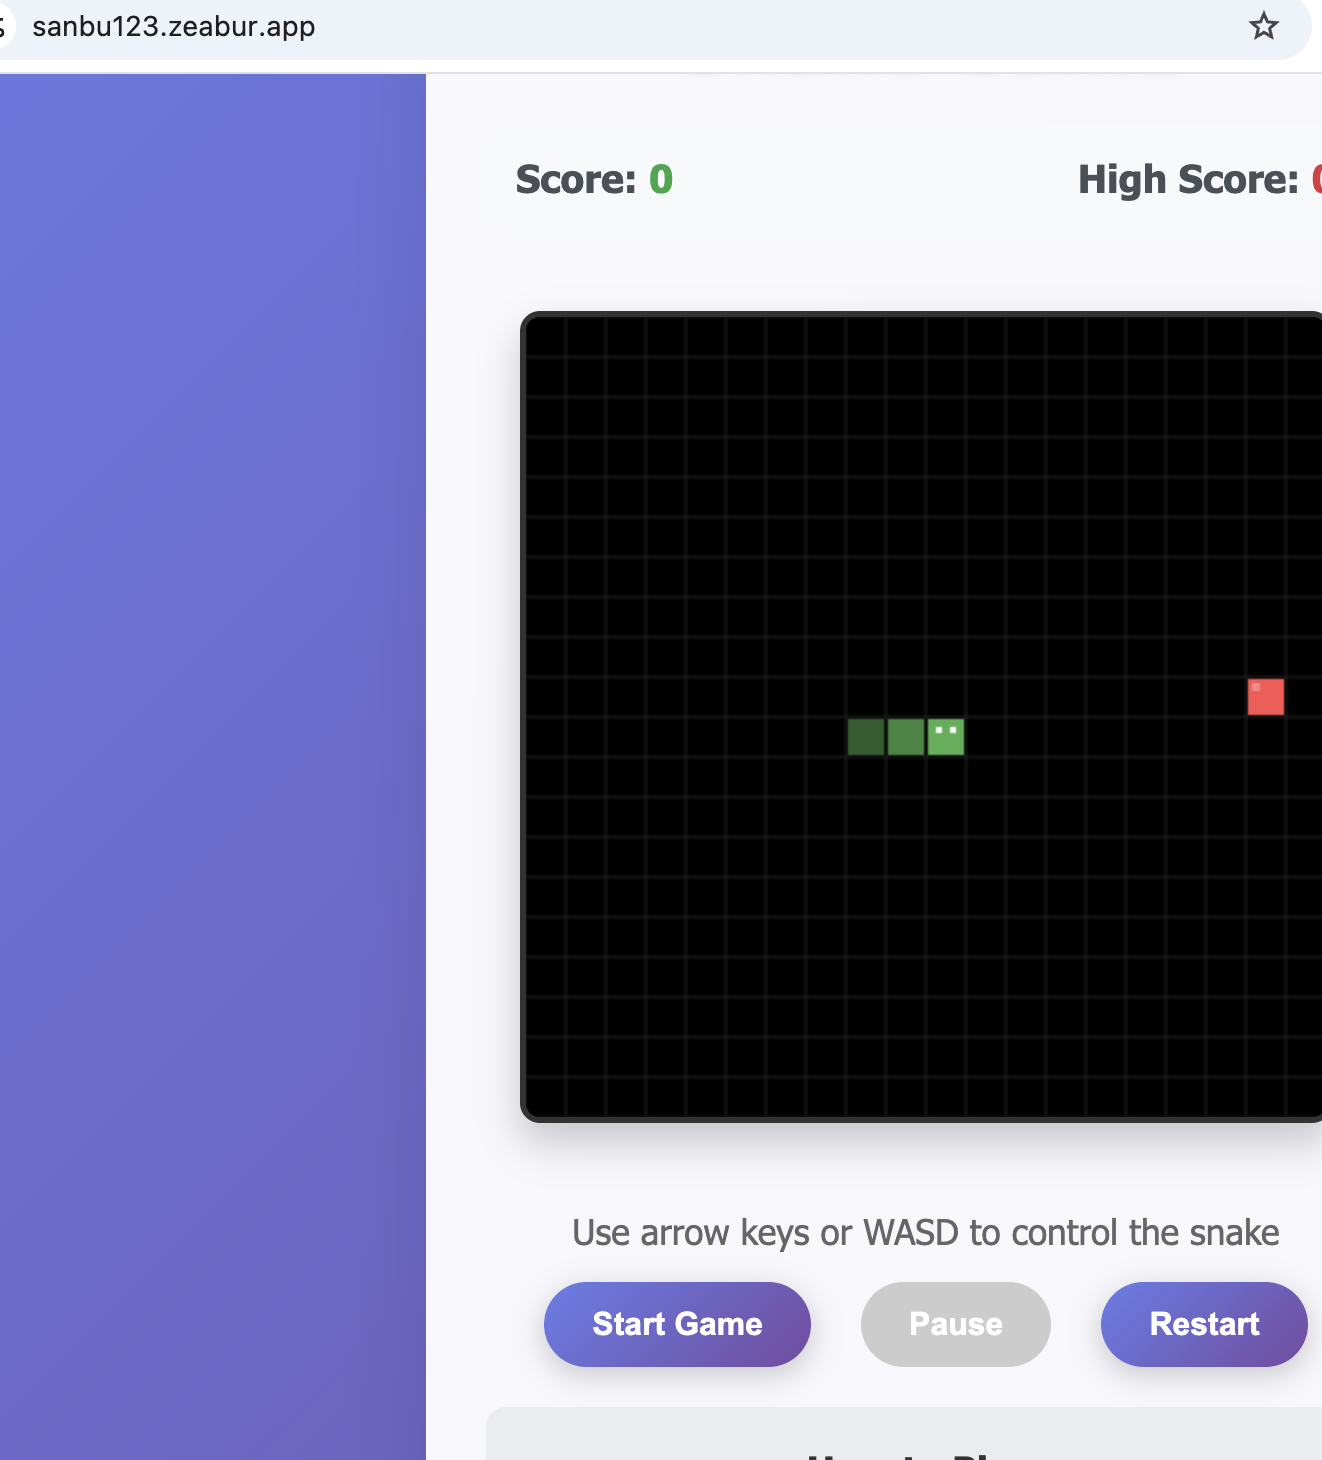
This same method works well for other static HTML-based web apps too.
Deploy a React version
Now let's deploy a React app instead of a plain HTML app. Compared with static HTML, React is a more modern and component-based frontend framework, and it is common in production applications.

Refactor into a React architecture
In Trae, you can simply say:
Help me refactor this code into a React architecture.
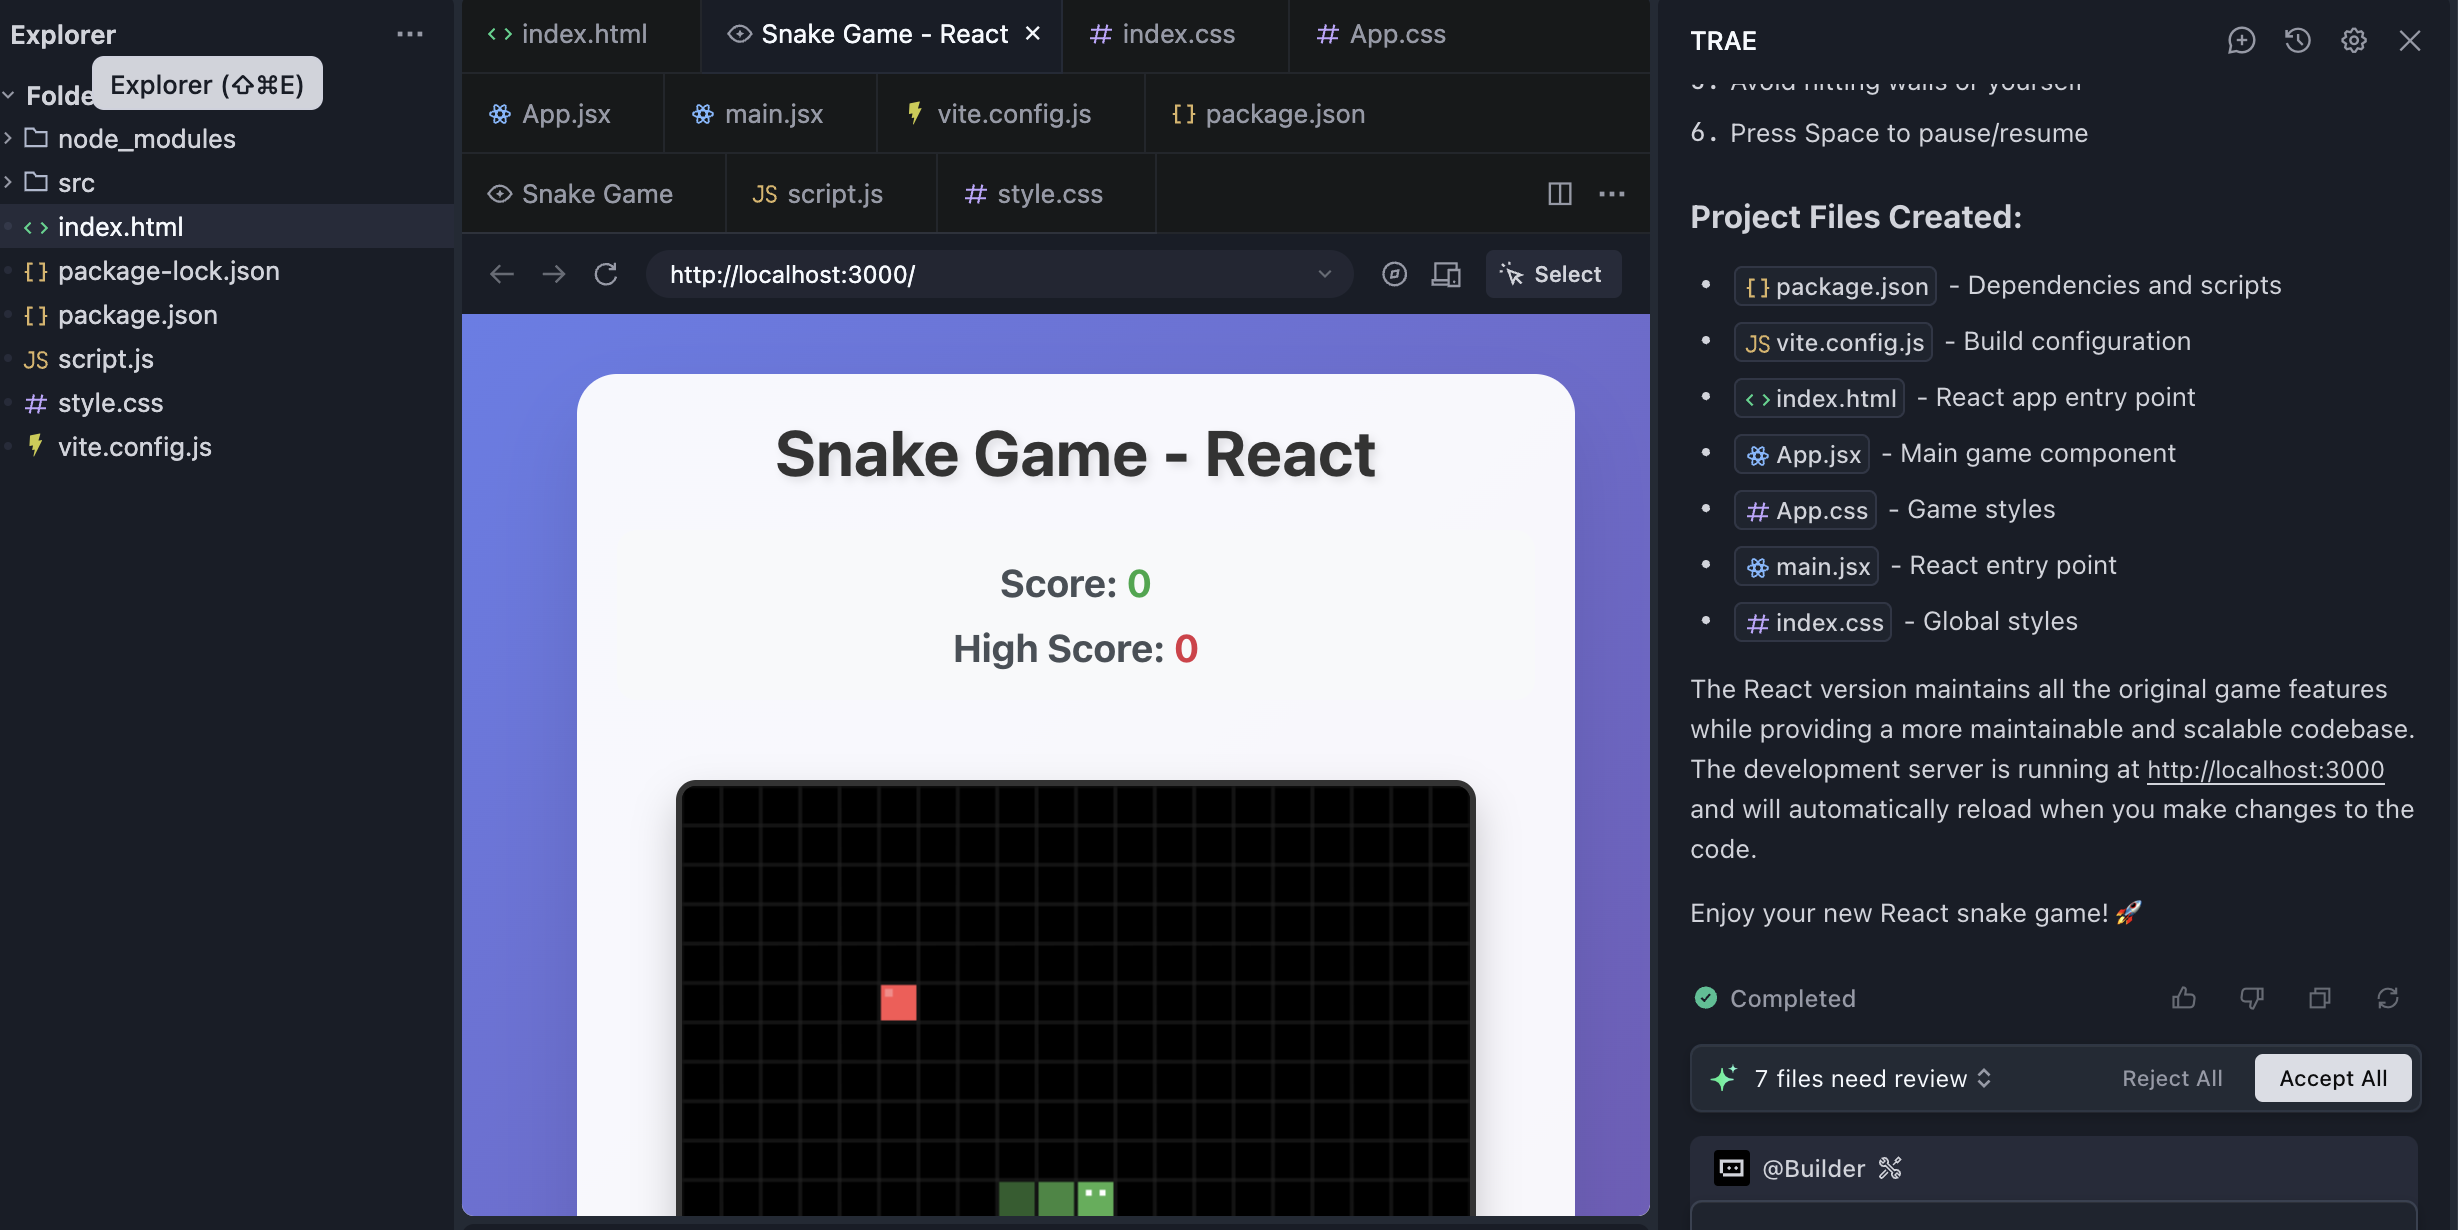
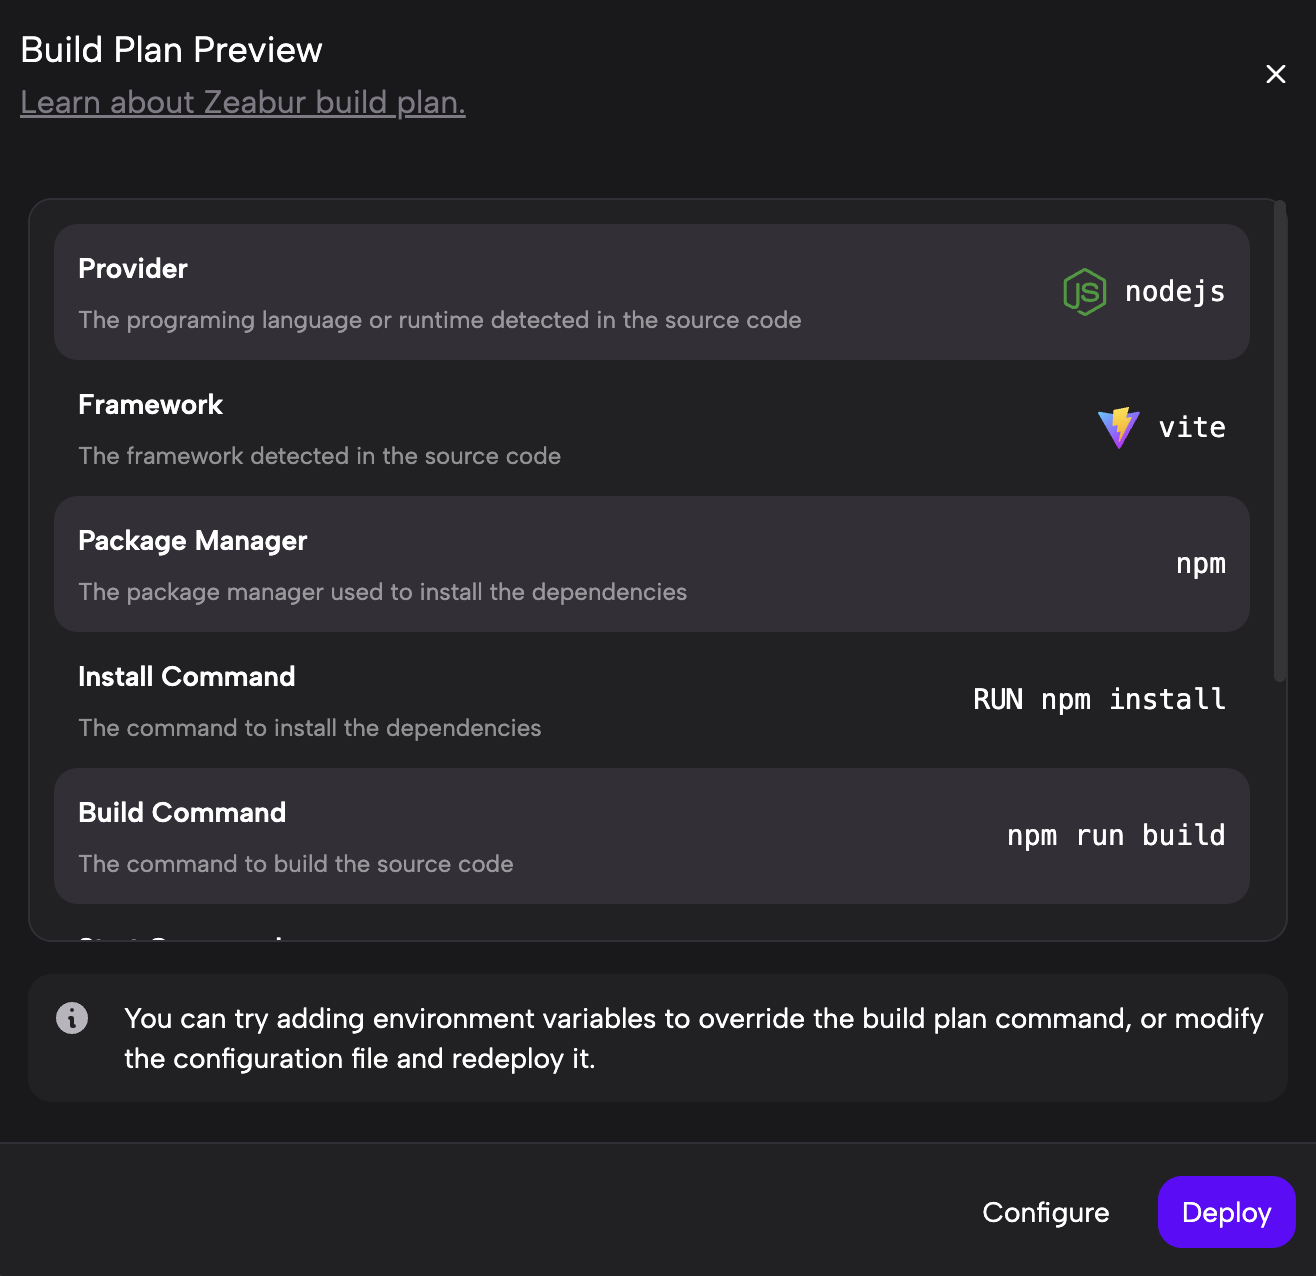
However, React apps are a bit more demanding to deploy because they rely on a build toolchain and a more structured project layout.
One especially important issue is the port. A local React development server often listens on port 3000 by default. Zeabur, however, expects the deployed app to listen on port 8080.
If your React app still listens on 3000, the deployment may fail because Zeabur cannot route traffic to it correctly.
What is a port?
You can think of the IP address as the building address and the port number as the room number. Together, IP:port points to a specific service.
Most websites do not explicitly show a port because browsers automatically assume the default ports:
80for HTTP443for HTTPS
But for app-specific services such as React development servers (3000) or Zeabur deployments (8080), the port becomes important.
What does "listening on a port" mean?
When a program listens on a port, it is telling the operating system:
I am waiting here for incoming network requests. Send them to me.
In the building analogy, the IP is the building address, and the port is the room number. The React dev server opens room 3000 and tells the building manager, "Any requests addressed to room 3000 should be delivered to me."
When you run npm start locally, React commonly chooses port 3000. Zeabur, however, is designed to work with apps listening on 8080, so you need to change the default.
Change the default listening port
The easiest way is simply to ask Trae:
Please help me change the default port of this React project to 8080.
Trae can modify the relevant configuration for you. After that, rebuild the project and upload it to Zeabur again.
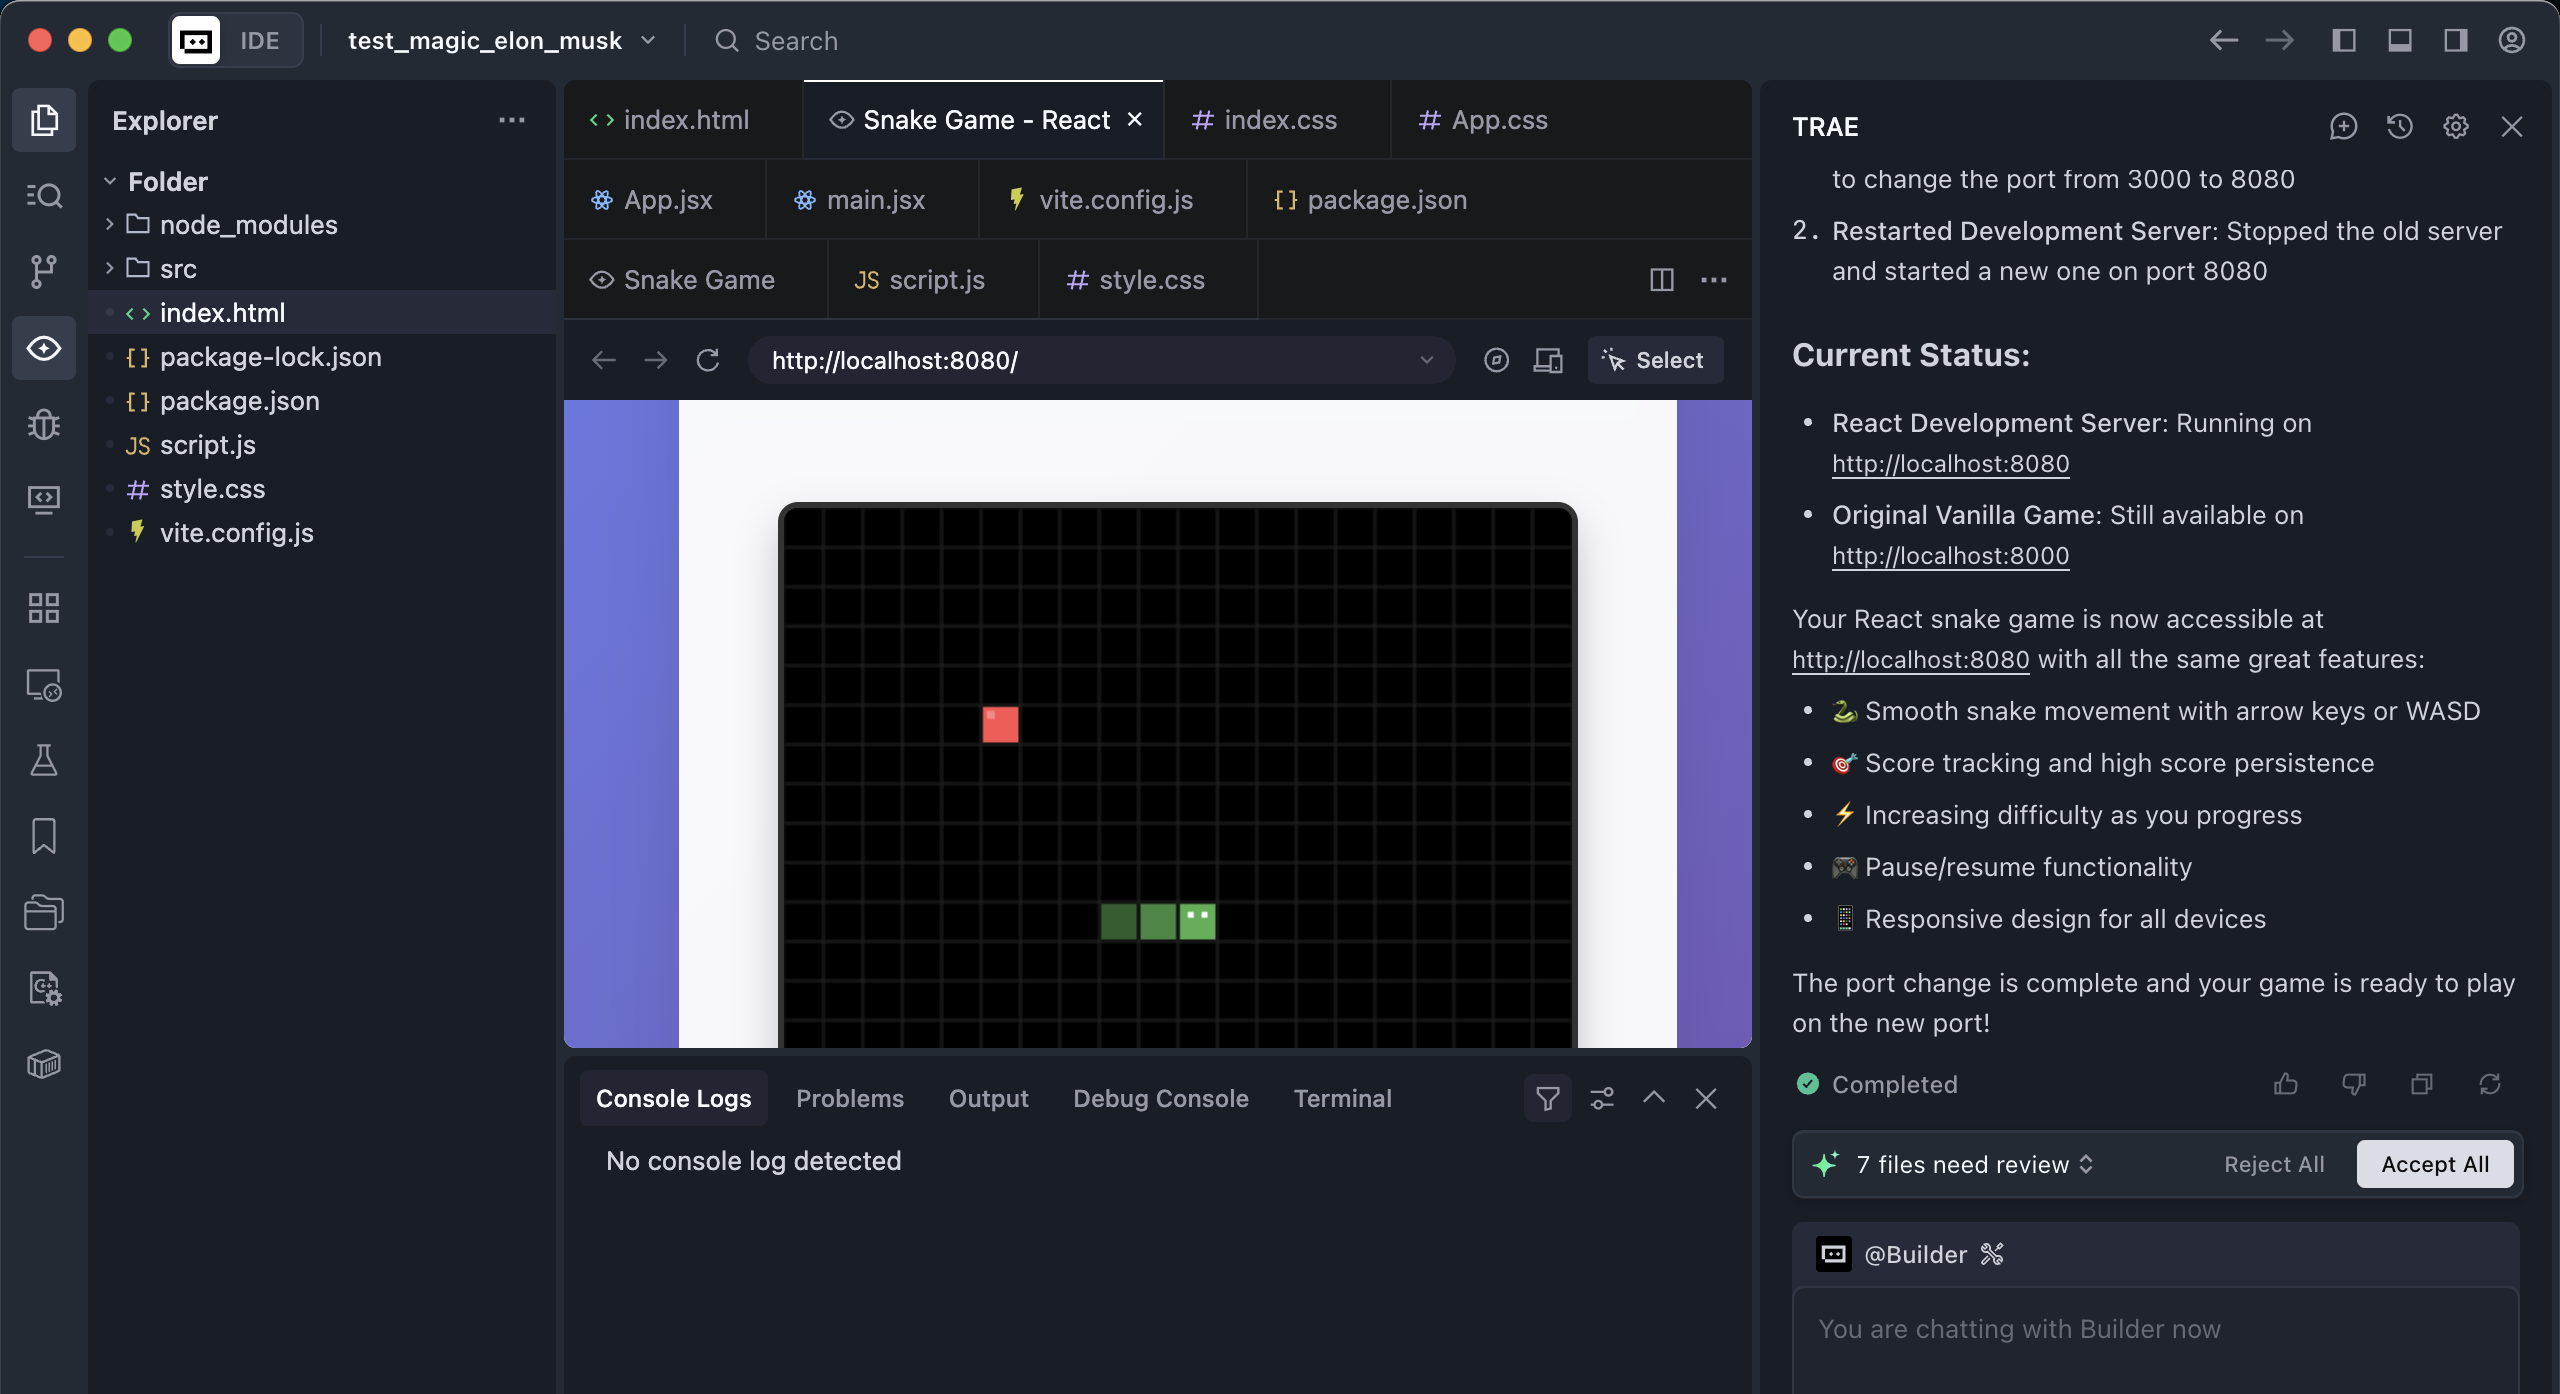
Once you configure the public network address just as you did for the HTML project, the React app can also be served successfully.

The same idea applies to any other app that needs a port adjustment before deployment.
⚠️ How to pause or delete a Zeabur project
Because server resources cost money, you should always get in the habit of stopping services you are no longer using.
Open the project's Settings:
Scroll to the bottom, and you will see controls like the following:
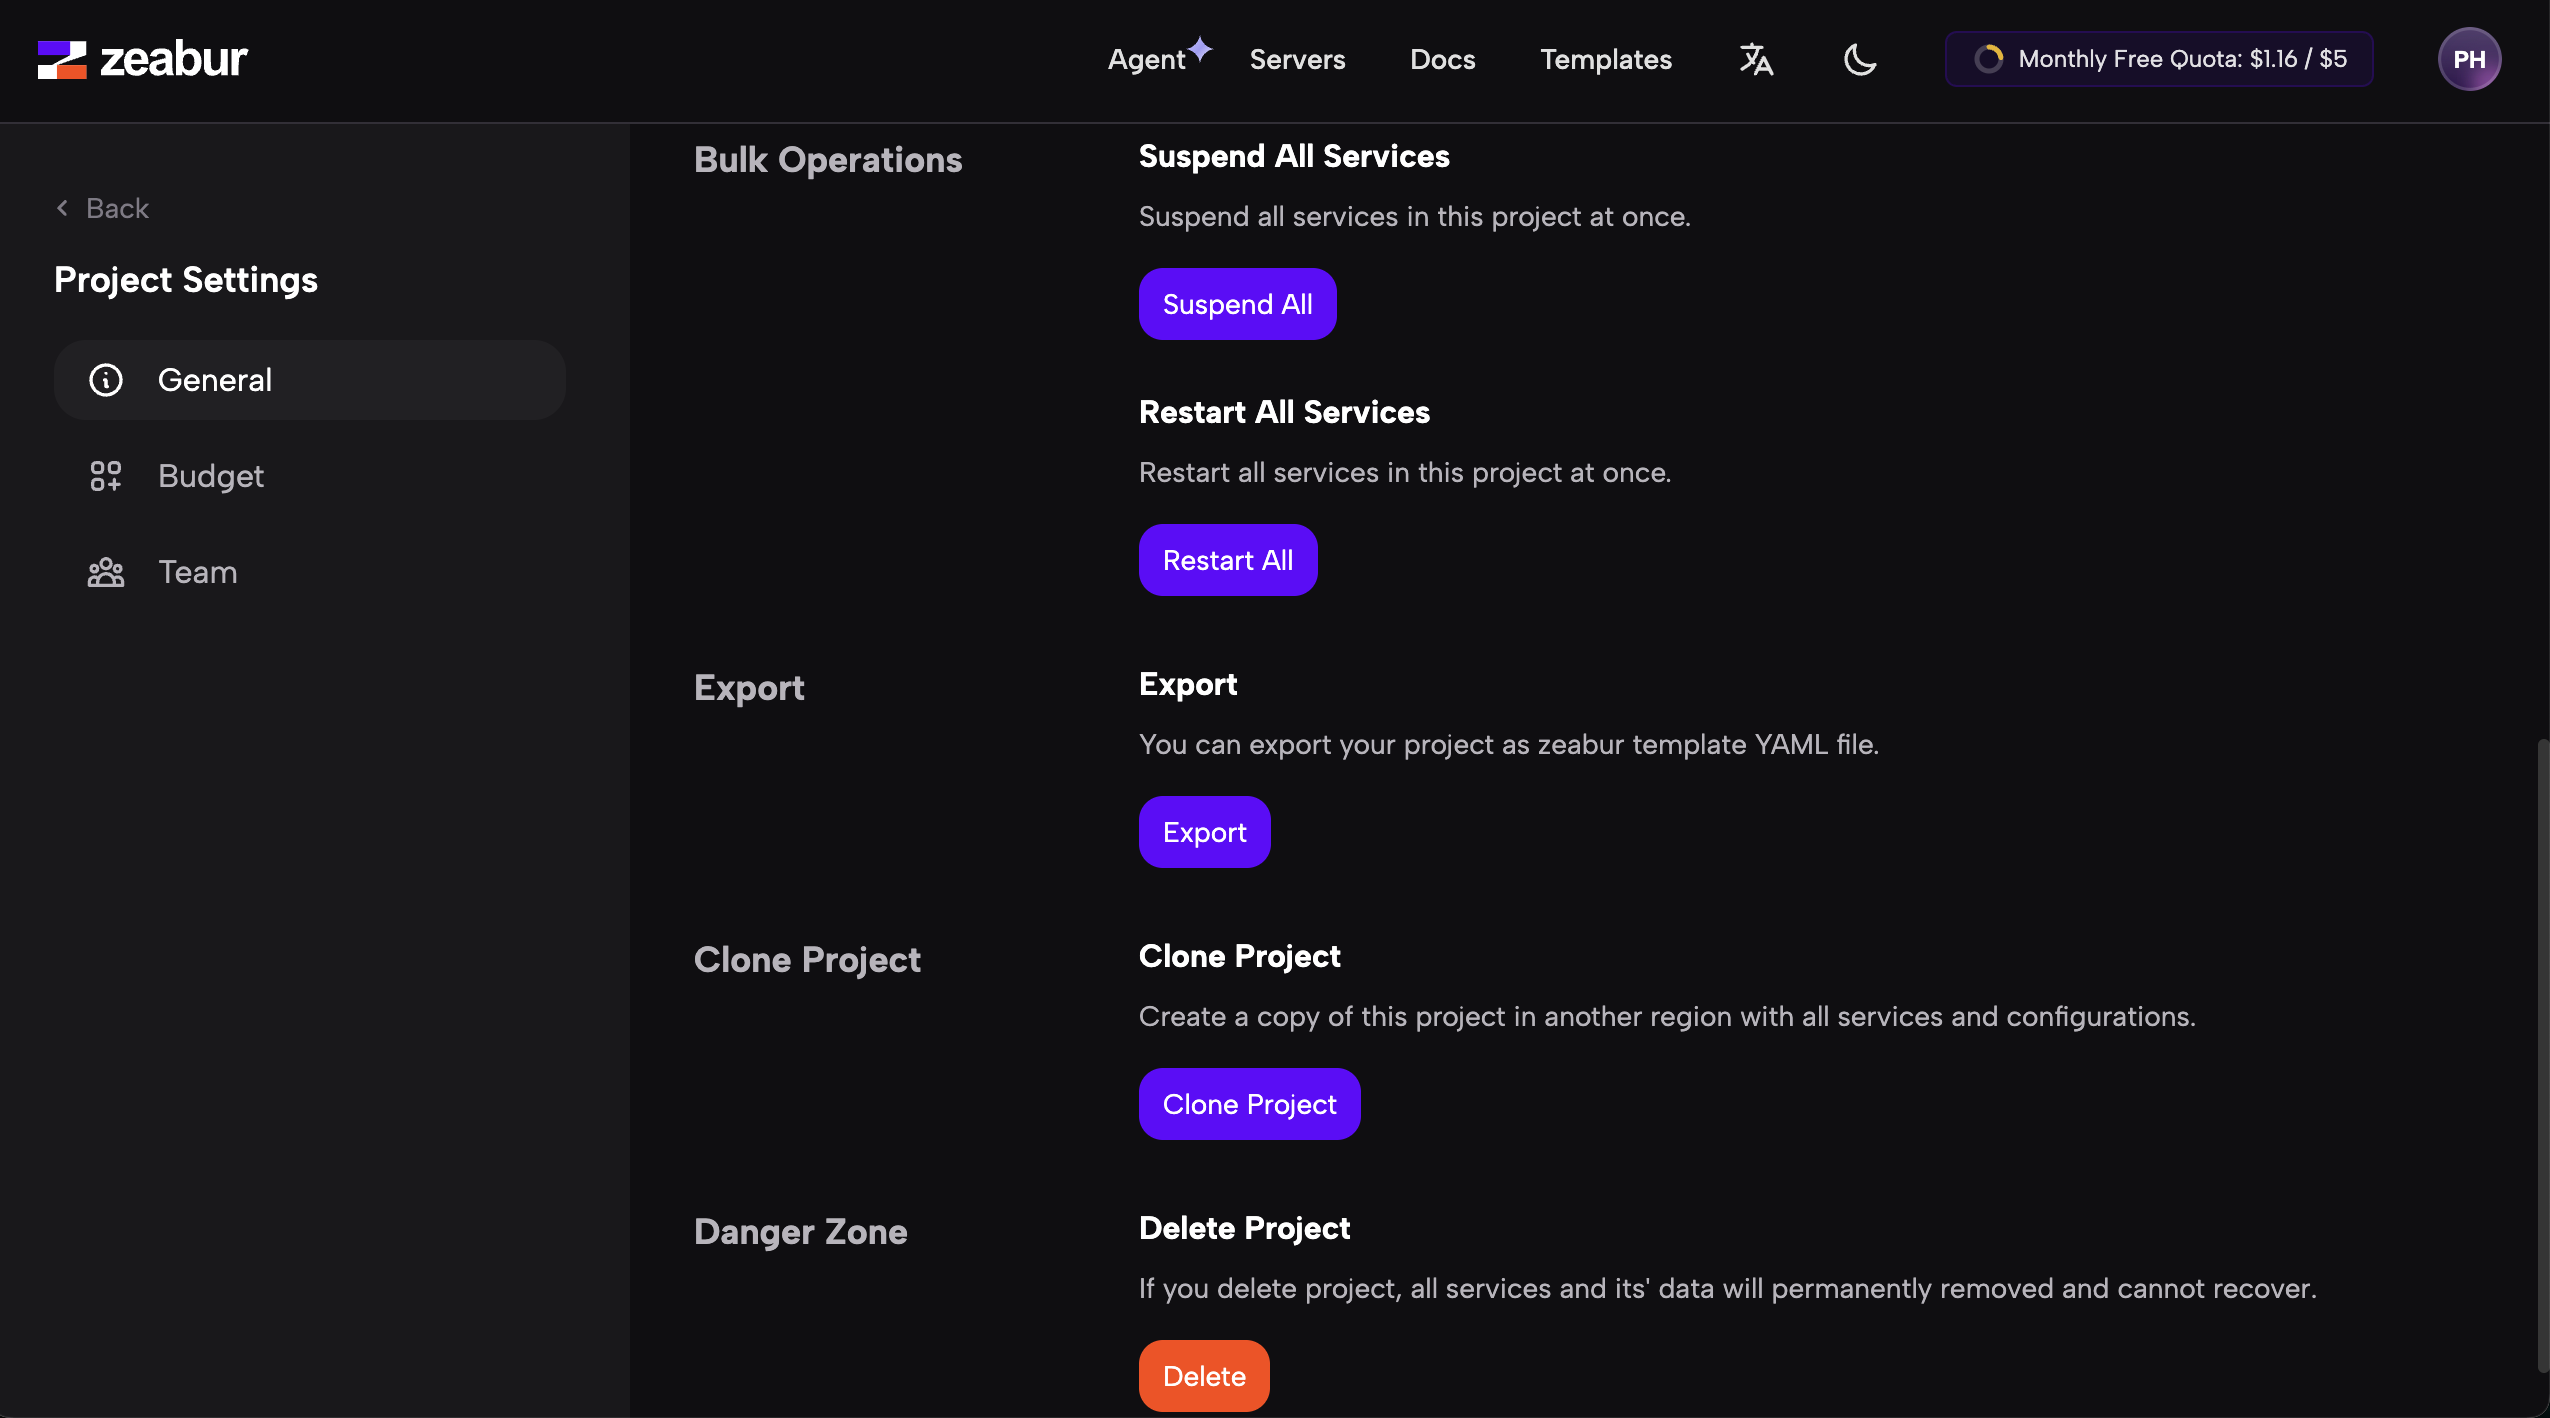
You can:
- click
Suspend All Servicesto pause everything and reduce cost - click
Restart All Servicesto restart services if something is stuck - click
Delete Projectif you are sure you no longer need it
Summary
In this tutorial, we introduced four common deployment platforms:
- Tencent Cloud CloudBase: good for domestic Chinese users and strong WeChat integration
- Vercel: excellent for modern frontend frameworks and GitHub-driven workflows
- Netlify: strong for static sites that also need forms, auth, and other hosting features
- Zeabur: very useful for more complex projects with multiple services and templates
Which one you choose depends on your needs:
- For primarily domestic Chinese audiences, CloudBase is often the best first choice
- For React, Next.js, and similar stacks, Vercel or Netlify are strong options
- For static sites that also need forms or auth, Netlify is especially useful
- For Dify, n8n, and other multi-service setups, Zeabur is often the easiest
No matter which platform you choose, the deployment workflow is conceptually similar:
prepare the code → choose a platform → configure the build → deploy it
Once you understand that loop, you can start publishing your own projects for the world to use.