
Build a Store Inspection App with React Native and Expo
Suppose a retail team needs one small application for daily store inspections. Staff open a checklist, mark each item, leave a note, and save the result. The same project should eventually run on Android and iPhone, while a browser version is useful for quick internal reviews.
This is a good React Native and Expo project: the product is mainly forms, lists, photos, and business data, and the team wants to share most of the TypeScript code across platforms.
1. What React Native and Expo do
React Native lets you build Android and iOS interfaces with React and TypeScript. It renders native controls rather than placing the website inside an app window.
Expo supplies the project tools around React Native: project creation, development servers, common device APIs, builds, updates, and store submission services. You can begin with Expo and still use native code later when the product needs it.
The project in this chapter is a store inspection app. “Inspection” simply means that an employee checks a short list—entrance lighting, shelf labels, fire exits, and so on—and records the result.
2. See how real products use this stack
Shopify POS: a point-of-sale platform for physical stores
Shopify POS is the application employees use at a shop counter to sell products, check stock, and work with retail hardware. Shopify has described moving its POS application to React Native while continuing to test on the lower-powered devices that stores actually use.
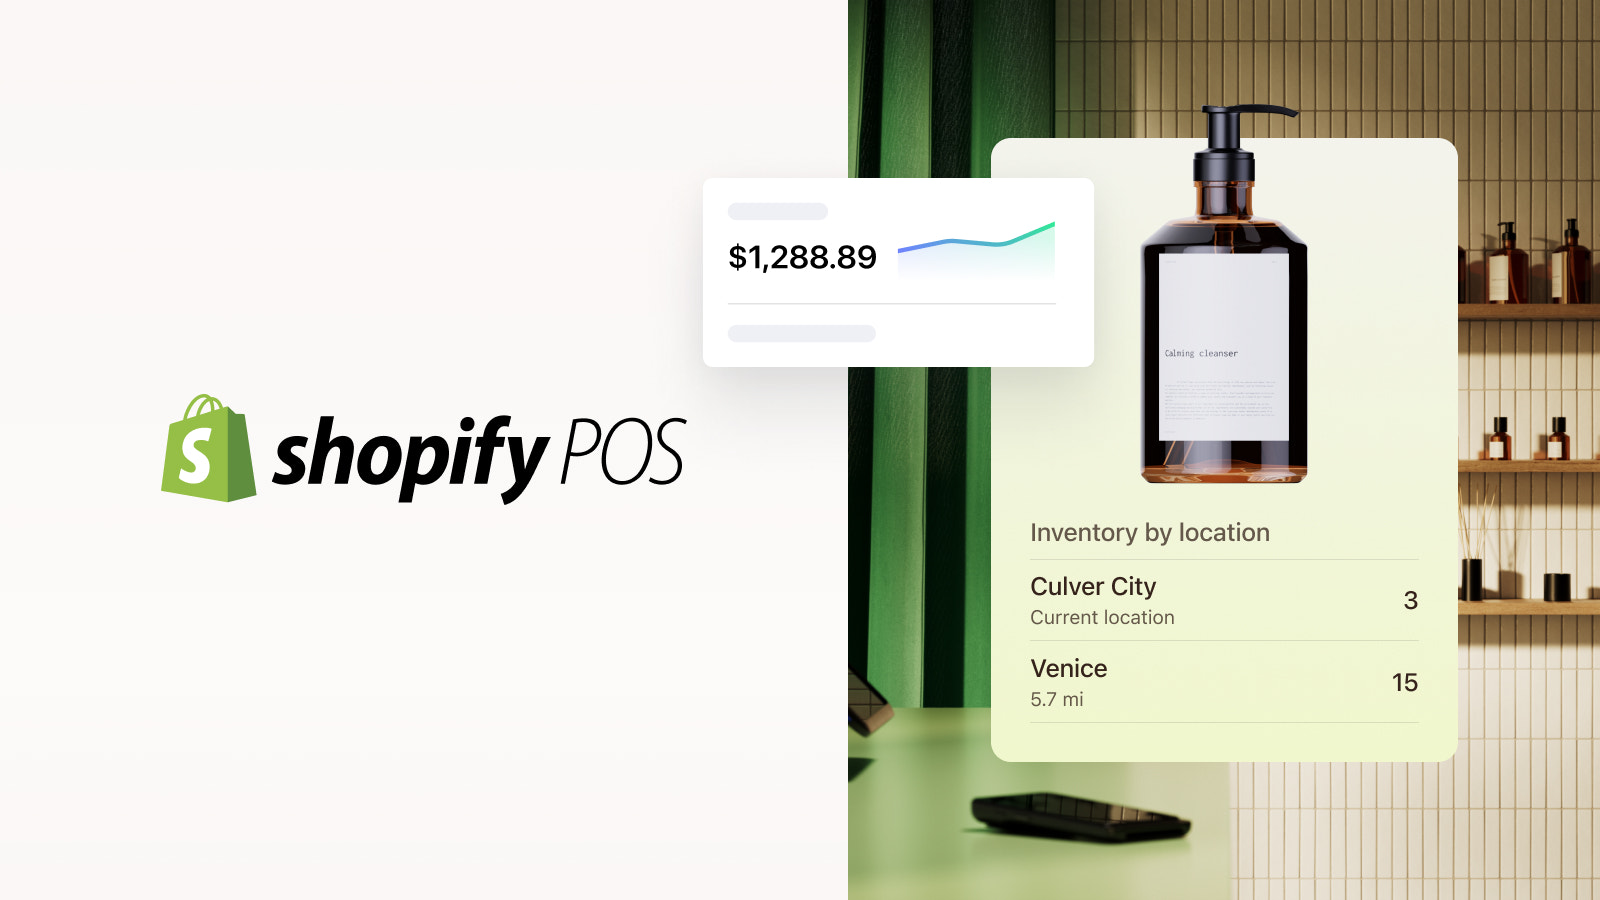
The lesson for our inspection app is practical: the home screen should show the next task and today's progress immediately. A real store worker should not have to navigate through several decorative pages.
Read: Shopify's React Native migration.
Discord: one product on Android and iOS
Discord is a communication platform for communities, friends, and work groups. Its mobile team uses React Native to share product work between Android and iOS while keeping room for platform-specific behavior.
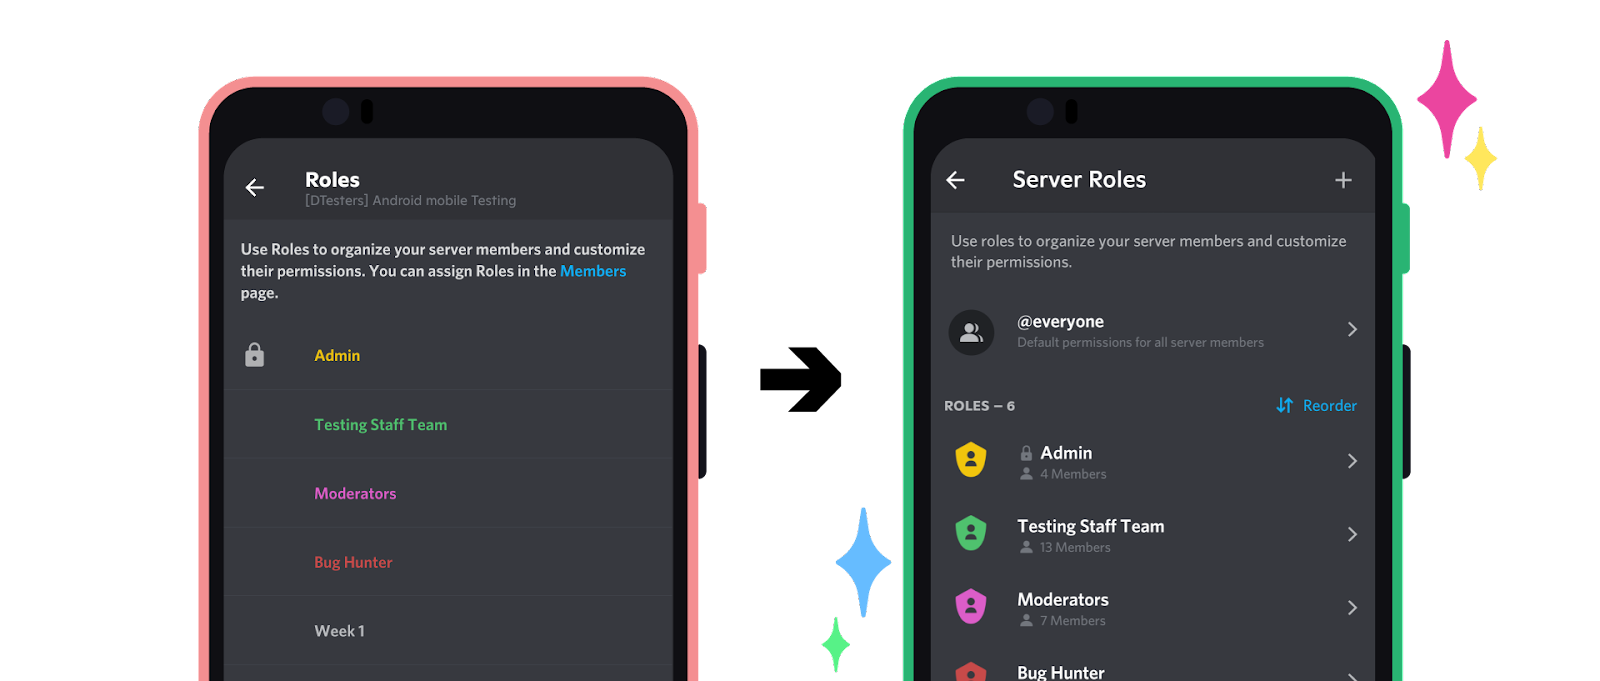
This is the second lesson: share the screen and business logic first. Add an Android-only or iOS-only file only when the two platforms genuinely need different behavior.
Read: How Discord improved React Native on Android.
MTA TrainTime: a production app built with Expo
MTA TrainTime is the official journey-planning and ticketing application for commuter rail services around New York. Expo's case study explains how its team uses Expo tooling for builds and releases.
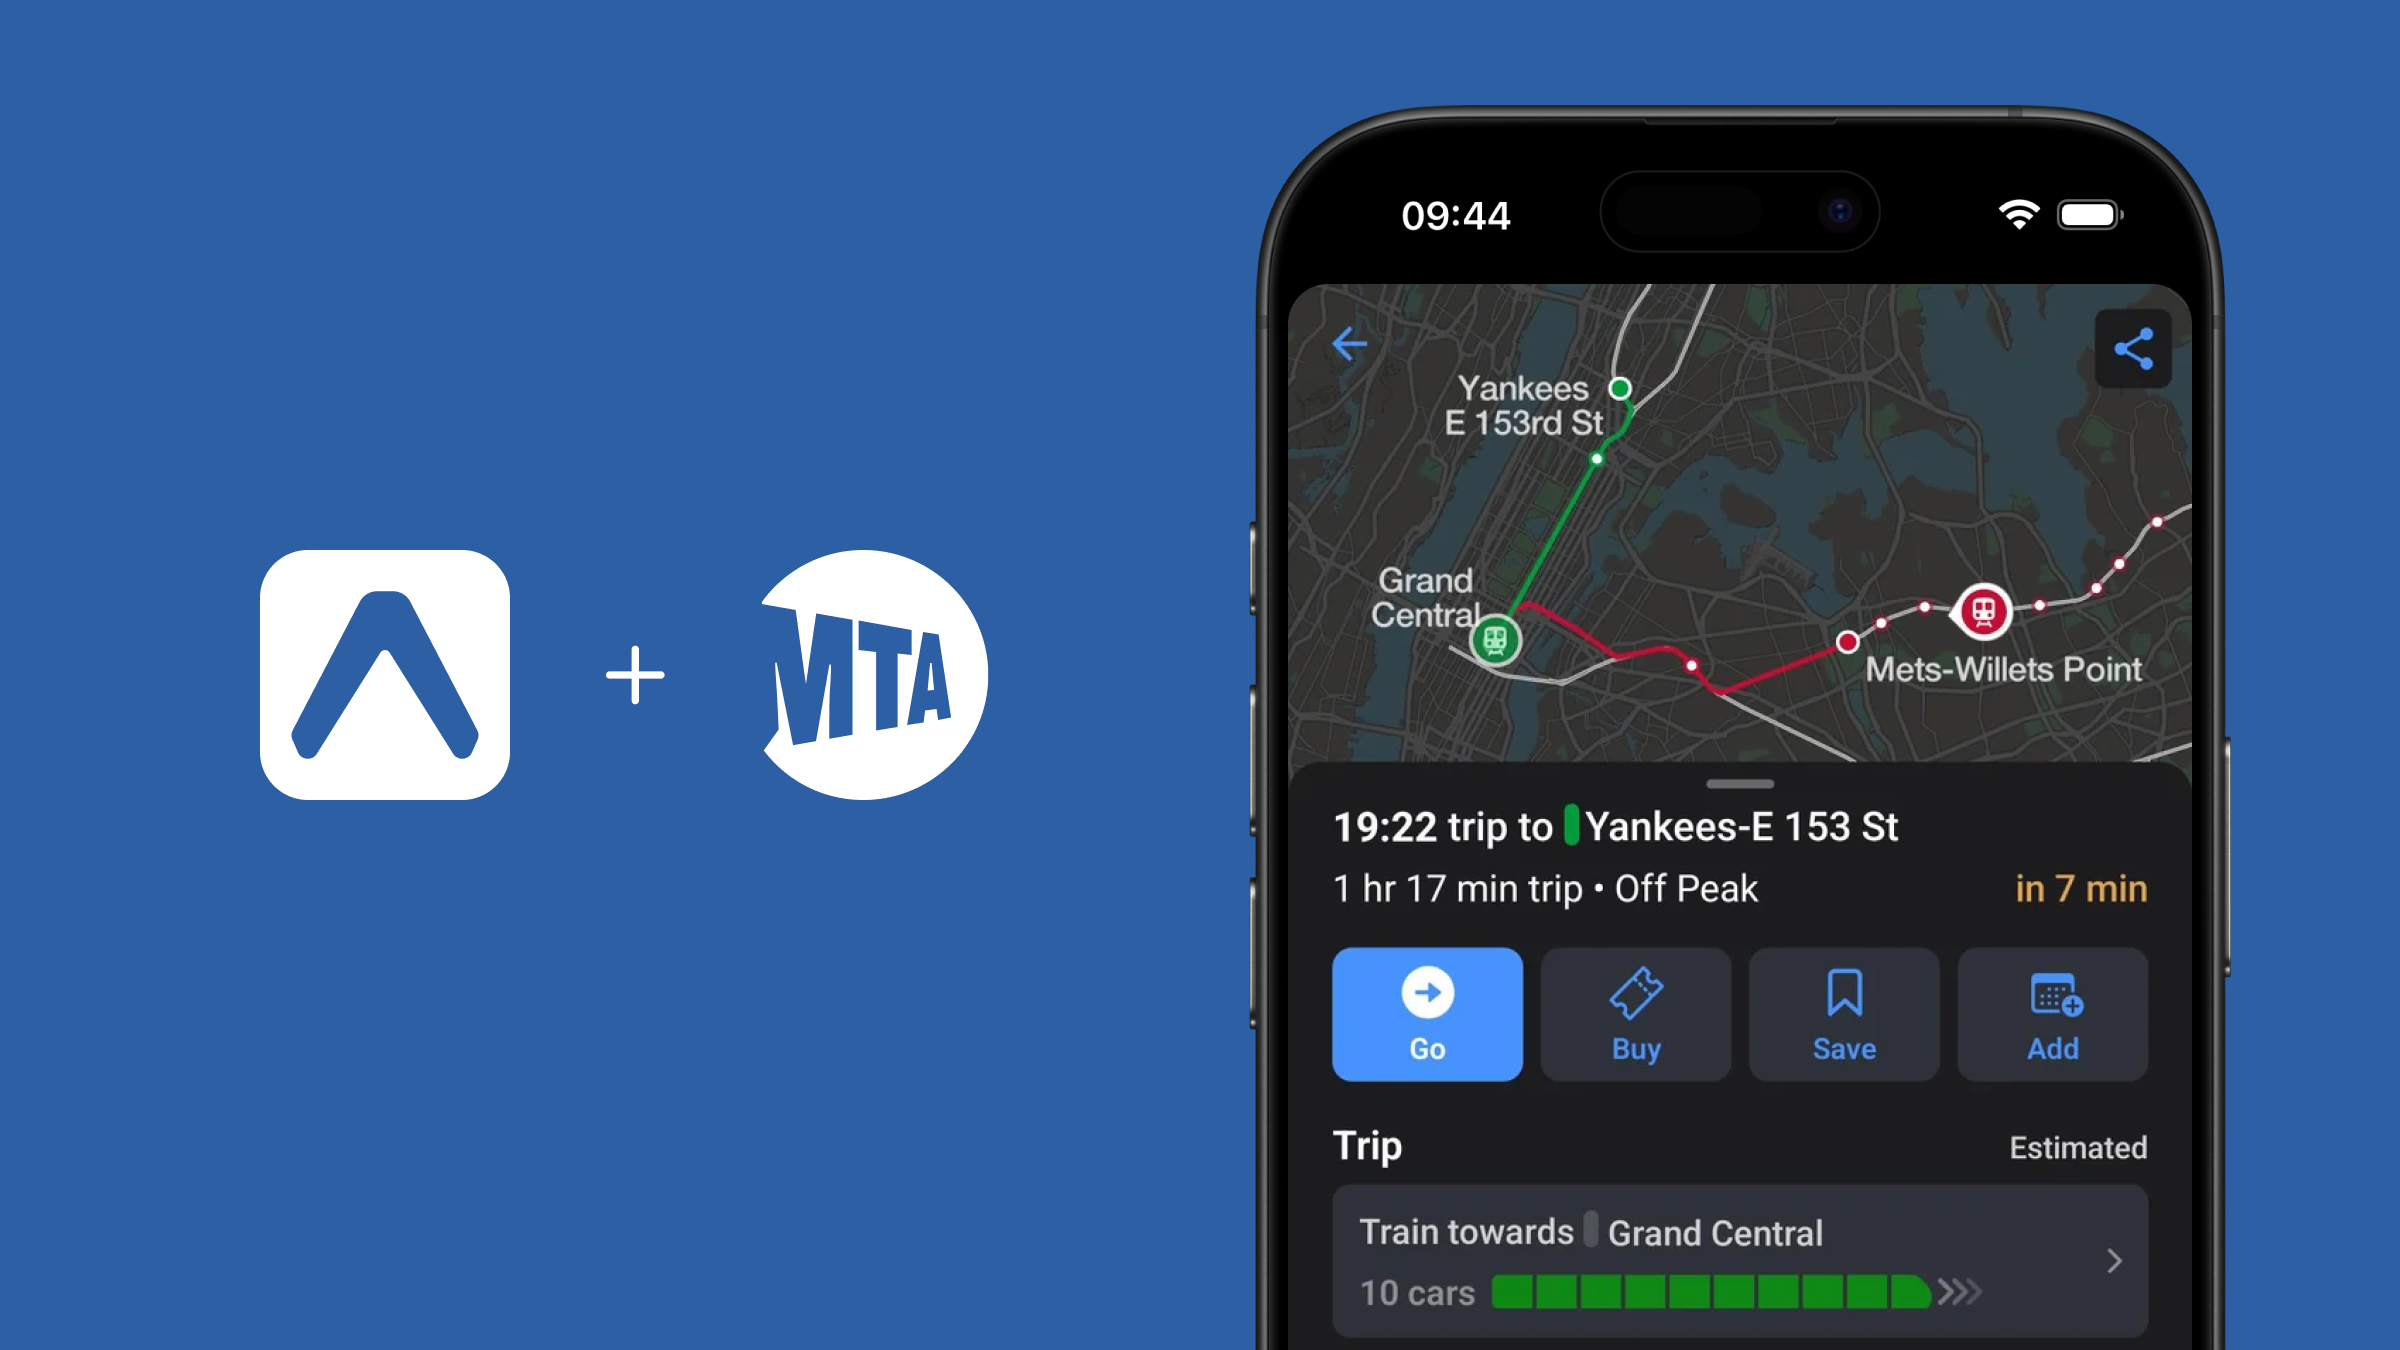
Its value here is not the railway interface. It shows that Expo can support a production release process, not only classroom demos.
Read: MTA's Expo case study.
3. How one project reaches several platforms
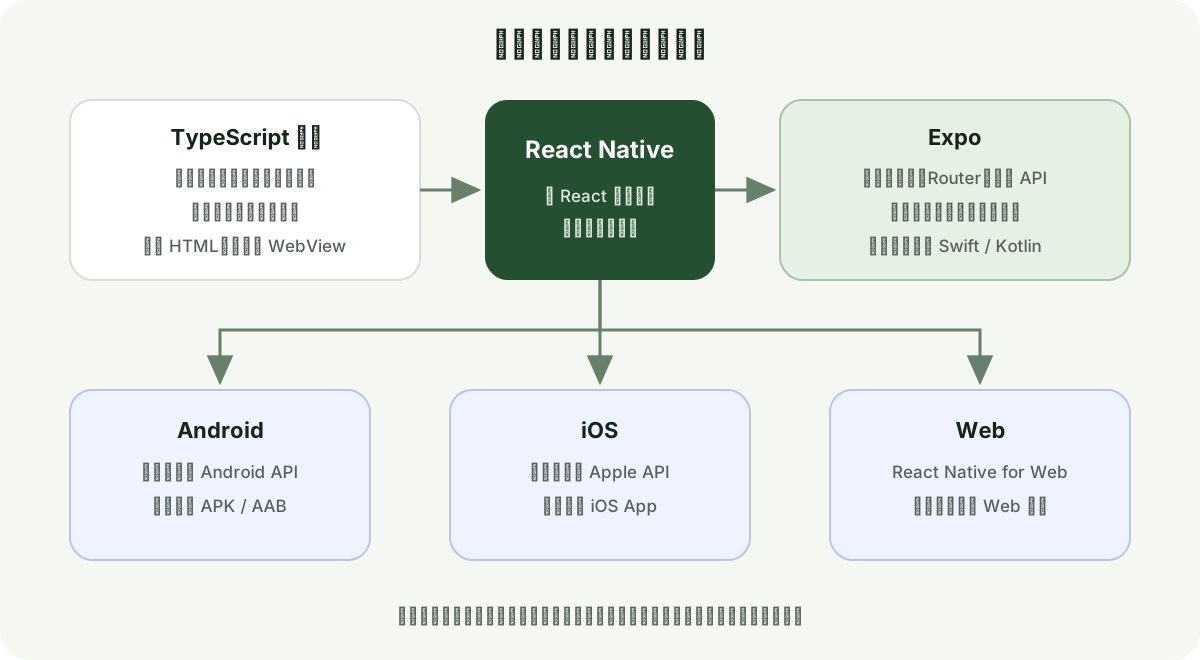
You write screens and state in TypeScript. React Native supplies the mobile controls. Expo starts the project, provides common APIs, and creates builds. A web build can reuse much of the same project, although not every native capability has an identical browser equivalent.
That is why “one codebase” does not mean “every line is identical.” It means the shared product logic stays together and the few real platform differences remain small and explicit.
4. Create the first project
Install a current Node.js LTS release, then open a terminal in the folder where you keep projects:
npx create-expo-app@latest store-inspection
cd store-inspection
npm run web
When the browser shows the starter application, stop and keep that version working. It gives you a safe point to return to.
Now ask your coding assistant:
Turn this Expo starter into a store inspection home page. Show the store name, today's progress, and one button that opens the inspection checklist.
Do not ask for login, camera access, offline sync, and a backend in the same message. First confirm that the home page opens.
5. Add a checklist
Use four ordinary items for the first version: entrance lighting, price labels, aisle cleanliness, and fire exits.
Add an inspection page with four checklist items. Tapping an item should switch it between complete and incomplete, and the progress number should update.
Run the page again. Click every item once, then click one item a second time. The count should increase and decrease correctly.
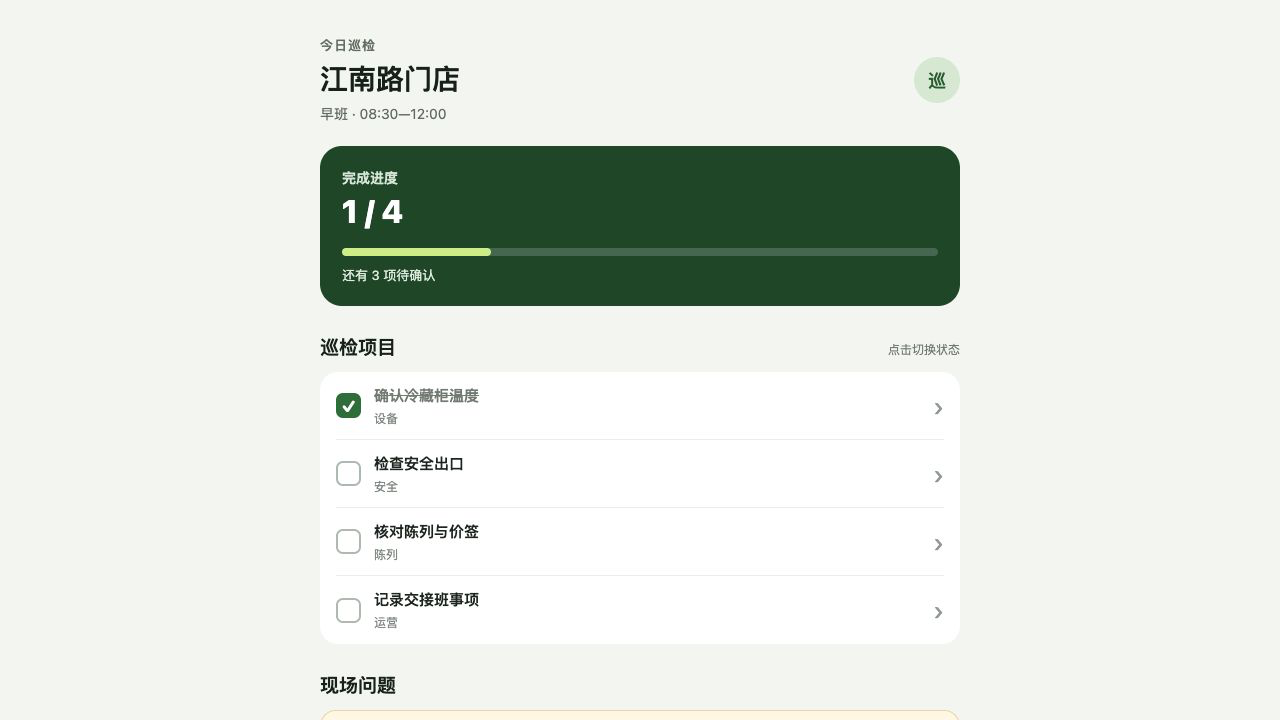
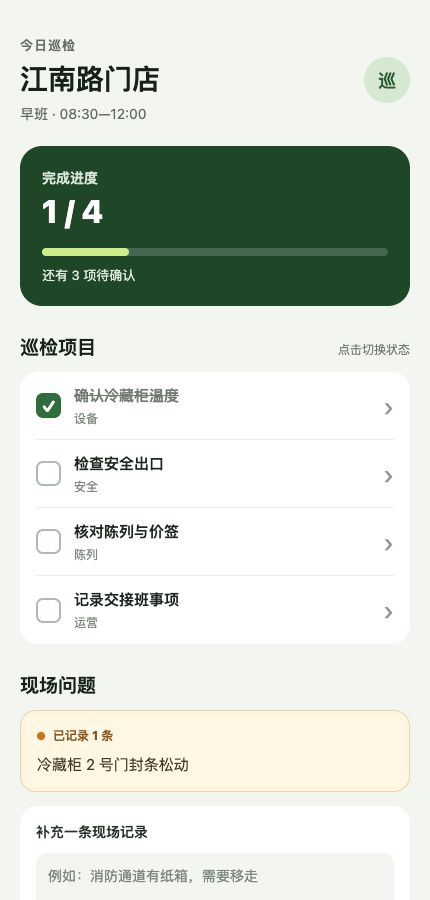
Next narrow the browser window. The controls should remain readable without horizontal scrolling.
6. Save one inspection record
The first record needs only a note and a Save button.
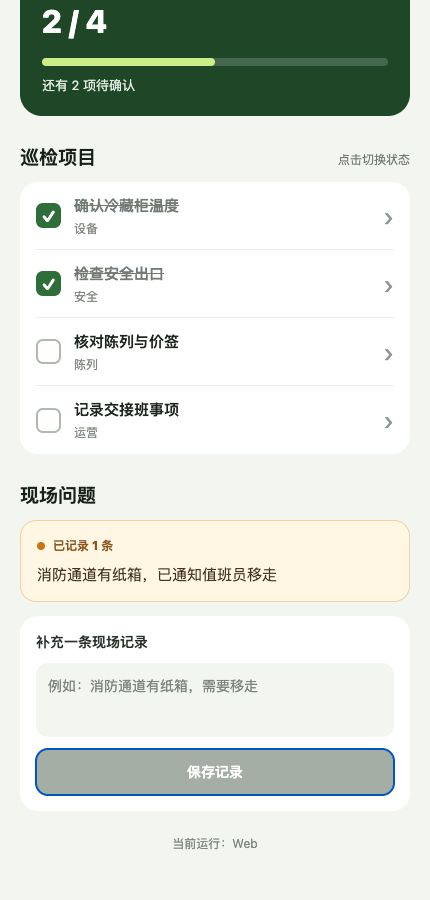
Add a note field and a Save button. After saving, show the time, completed item count, and note in a record card below the checklist.
Test three cases:
- save a normal note;
- try to save when no item is complete;
- save a second record and confirm the first one remains visible.
7. Make the record survive a restart
At the moment, refreshing the page may erase the record. “Local storage” means keeping a copy on the current device so the user can close the app and continue later.
Save the checklist progress and records on this device. Restore them when the app opens again. Do not add a server yet.
For a few simple values, AsyncStorage is usually enough on mobile. When the data grows into inspections, line items, and a retry queue, expo-sqlite is easier to manage. The browser version needs an equivalent web storage path.
After the change, save two records, close the tab, reopen it, and confirm both records return.
References: AsyncStorage and Expo SQLite.
8. Add the camera only after saving works
Photos are useful when an employee needs to record a damaged sign or blocked exit. First add one small action:
Let the user attach one photo to an incomplete checklist item. Show a preview and allow the photo to be removed.
Expo's ImagePicker guide covers the system photo picker. A camera adds permission prompts and more device-specific testing, so do not claim it works until it has been tried on the target phone.
9. Connect a company backend
A backend is the server that owns accounts, store permissions, shared records, and uploaded photos. The mobile app should display that data; it should not decide who is a manager by itself.
Begin with the data relationships:
Describe how users, stores, inspections, checklist items, and photos relate. Do not write code yet.
Then connect login:
Connect the existing login API. A user may only see stores assigned by the server.
Keep mobile login tokens in SecureStore, not ordinary text storage. Never put a server secret in EXPO_PUBLIC_ variables: values shipped inside an app can ultimately be read by the user.
For photo upload:
Upload inspection photos through the backend. Limit file type and size, show progress, and keep the local record when an upload fails.
Test with two accounts. Account A must not read account B's stores, records, photos, or retry queue. Hiding a button is not access control; the backend must reject the request.
10. Understand offline synchronization
“Offline sync” means the device saves work locally when the network is unavailable and uploads it later. It is not required for the first prototype.
Once ordinary local saving and the backend both work, add one state at a time:
Mark unsent records as Pending. Add a Retry button that sends one pending record when the network returns.
Later you can add Sending, Synced, and Failed states. Give every submission a unique request ID so a retry cannot create the same inspection twice.
11. Run on phones and prepare a release
During early work, Expo Go is convenient for features supported by its built-in native modules. A development build is your own installable test app and is the better choice once you add custom native code.
Follow Expo's development build guide and EAS Build guide.
Before release, test the actual Android and iOS builds on real devices:
- first launch and permission prompts;
- text entry with the on-screen keyboard;
- photo selection or camera capture;
- closing and reopening the app;
- weak network, retry, and duplicate submission;
- account isolation and logout;
- upgrade from the previous version without losing local records.
12. What was verified for this chapter
The prototype was created with Expo SDK 57 and TypeScript. Type checking passed, the web production export completed, and the application was opened in a browser. Checklist interaction, saving a record, and the narrow layout shown above were tested in the running build.
This machine did not have a usable Android emulator or iOS Simulator runtime, so this chapter does not pretend that mobile builds, camera permissions, signing, or store submission were completed. Use the same rule in your own project: write down exactly what ran, on which device, and with which build.
The first useful milestone is small: open the checklist, complete an item, save a note, and see the record again. Once that path is dependable, add photos, accounts, synchronization, and release work in that order.